
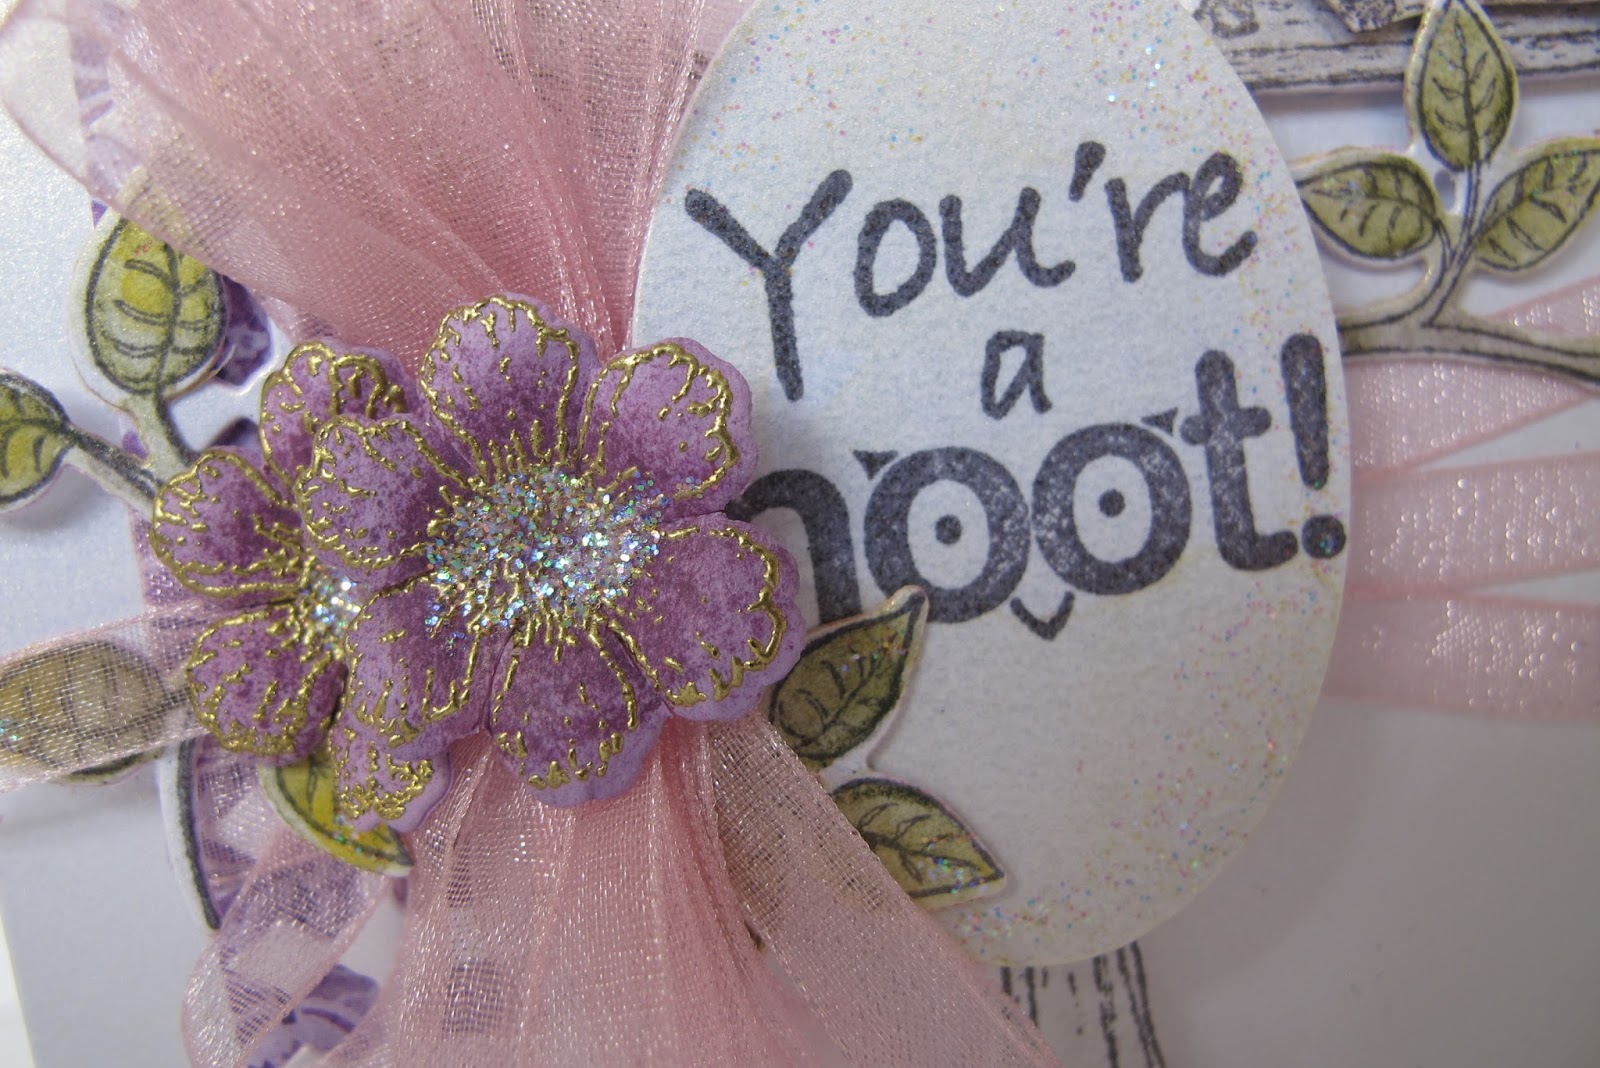
YOU’RE A HOOT!

Heartfelt Creations Products and Products carried by Heartfelt Creations:
Other Products used:
Ranger: Archival jet black ink, Star dust stickles, Gold embossing powder, heat gun, water coloring brush, Seedless preserves distress ink.
Card stock: Crafters Companion -centura pearl- snow white hint of gold 300gm.
Inktense Derwent water color pencils 72 set: 0520 Carmine pink, 0730 Dusty purple, 1400 Apple green, 1230 Mallard green, 2010 Sepia ink, 0200Sun yellow, 0900Iris blue, 1546 Light olive
Other: SUP oval punch 2" x 1" Pink organza ribbon 6mm wide. Darning needle. Fussy cut scissors.
Glue dots. 3d double sided foam tape
Instructions:
The finished measurement of this card is, 21 cm x 14.7 cm.
All the stamping is done with the Archival ink except the flowers. This is done with the gold embossing powder.
Make a card base to the above measurements using the centura pearl card stock. From the design paper cut the matting for the card base. 21 cm x 13 cm.
For the card front, taking the centura pearl card stock, cut to 21 cm x 13 cm.
Use the boarder die on both sides of the 21 cm edge. Using the darning needle and organza ribbon, thread the ribbon through the wholes on the boarder.

Adhere ends. Adhere the matting and card front together. Adhere the ribbon across the front as seen in the card photo. The crossing will be behind the sentiment about 5.5 cm up and 5 cm across.

Stamp the owls x 1, swing x 1, tree x 3, flowers x 1 set and the sentiment x 1. For the flying owl and swing, die cut 2 x extra die cuts. For the tree cut 4 x extra die cuts. Adhere all together to make chip bards from the images.

The remaining 2 stamped trees will be trimmed to fit when adhering to the card front. Using the inktense pencils, color the images.
Use the punch to give the sentiment the oval shape. Prepare flowers and make a bow from the ribbon with 6 loops.

The tree is cut about 3.2 cm from the bottom.
Adhere the swing to the tree branch, trimming as needed.
This card stock is sooooo yum! Pearly and shimmery. You don't see it with these photos...sorry. What I love about the card stock is it is 300 gms so it will hold all my extras and still stand straight....and the pearl shimmer shows through when inks are applied. To get a shard inking on this card stock, I have found archival jet black to be the best. You must leave it a while for the ink to dry before doing any other work on the card though.
Sorry about the hairs in the photo...it really shows up with the close up. You can see all the layering as well....don't you love the hand made look?

Align the tree trunks, leaving a gap for the sentiment oval.

These owls are so sweet! You can do so much with them!
Adhere the sentiment with double dots or foam tape, do the same for the owls sitting on the swing.

Adhere the bow and flowers to the edge of the sentiment. Love that gold embossing powder.
Cut and adhere the tree branches as shown in the photo. Don't worry...you won't see the cuts and joins until you tilt the card and look for them. A birds eye view of the nasties....that you won't see..lol.

When all is dry and secure, apply stickles to the owls, flower centers and leaf edges.
Well thats it for this week....got more coming next week so keep tuned. I am having fun at the CHA...burning the candle at both ends...if there weren't two ends I would not be able to burn them...lol I shall be back home on the 16th...all jet legged....will have a few days to catch up before falling back into the grind. Will be needing a few days to give a little TLC to my DH who has been missing men for the duration of the CHA....what a sweetie he is.
Till I get back have a inky time...scrappy hugs
sussipoppins xox
WOW!!!! This is breathtaking!!!
ReplyDeleteBeautiful!
ReplyDeleteYour projects are always so pretty and elegant!! Love this card!!
ReplyDeletelove your gold embossing which you incorporate on most all your projects, your flowers are awlays stunning.
ReplyDelete