
Hi, this week another Under the Sea creation....but this time a LO. Have fun.....

Heartfelt Creations Products and Products Carried by Heartfelt Creations:
DDOTS -Double Dots/3d foam squares
159723- Art Institute Glue
359760-Gold Embossing powder
Other Products Used:
Ranger: Icicles Stickles, Heat Gun, Water Coloring Brush, Water Mister, Distressing tool, Sanding tool. Distress Inks: Mustard Seed, Tumbled Glass, Crushed Olive, Broken China, Dried marigold, Weathered wood, Peeled paint, Green bough, Tea die, Tattered rose, Dusty concord, Fired brick, Forest moss. Other: White cardstock, Versa-mark, Fussy Cutting Scissors, Cardboard from a packing box/pizza box, Tonic paper cutter, Viva crackle medium-901, Spatula, Dutch Doo-ba-doo wavy stripes mask-407-715.037, Pearl beads-pink, Tonic paper cutter
Click HERE to see the flower shaping tool kit in use

INSTRUCTIONS:
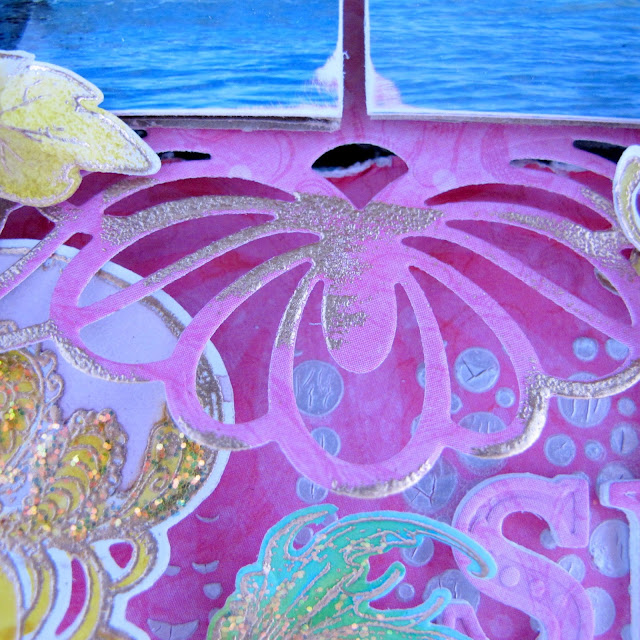
Please note: All the stamping is done with gold embossing powder.
The finished size of this lay out is 30.5 cm x 30.5 cm. The photo size used; 4x 5.7 cm x 4.4 cm.
Cut a LO backing from cardboard or grey board 30.5 cm x 30.5 cm. Find the pink design paper from the paper pad. Cut ay 15 cm, twice. Distress the edges.

Cut 1 strip at 30.5 cm x 6 cm and 2 strips 30.5 cm x 3.7 cm from a blue paper from the pad. The 3.7 cm strip edges are distressed then adhered to the 15 cm paper edges. The 6cm strip is used to join the 15 cm papers together to make the 30.5 LO base. Spray the open ends with water so you can curl the edges open.

Cut 1 strip at 30.5 cm x 6 cm and 2 strips 30.5 cm x 3.7 cm from a blue paper from the pad. The 3.7 cm strip edges are distressed then adhered to the 15 cm paper edges. The 6cm strip is used to join the 15 cm papers together to make the 30.5 LO base. Spray the open ends with water so you can curl the edges open.

While the LO base is drying you can stamp, color, die cut and shape all the images. Cut the photos to size and back with cardboard. Sand the edges.

Apply the medium with the mask to the LO base. This crackle medium does not take long to dry.

Make the matting for the photos with the pink design paper and the pocket border dies. The paper size used for this is 17 cm x 15.5 cm.
Adhere the photos to the photo matting paper. Taking the versa-mark, apply a little to the border edges then add the embossing powder. Adhere the photo matting to the center paper join line so the lower border falls just under the line. Add cardboard to the back of the matting to get the needed height.

Adhere the photos to the photo matting paper. Taking the versa-mark, apply a little to the border edges then add the embossing powder. Adhere the photo matting to the center paper join line so the lower border falls just under the line. Add cardboard to the back of the matting to get the needed height.

Place and adhere the jellyfish

seahorse first then the flowers.

Add the leaves, swirls and coral borders as fillers.

Adhere the fish to their place.


seahorse first then the flowers.

Add the leaves, swirls and coral borders as fillers.

Adhere the fish to their place.

Add the stickles for the finishing touches.

Add the sentiment/title.

Thanks for dropping by today....next week we have another new collection release....can't wait. You can get a sneak peek by going back to the Heartfelt Creations Blog....thats if you have not already seen it....hahaha
Scrappy inky hugs,
Sussipoppins
Your layout is gorgeous! It just makes me very happy!
ReplyDeleteSuch beautiful work and love all the gold embossing x
ReplyDeleteWow Susan!!! This is oh so beautiful!! The colors, the textures the sparkle!! I love it all!! Beautiful beautiful beautiful!!!
ReplyDeleteSorry, auto correct changed Sussi to Susan!!!
Deleteyou do magic with gold embossing powder, love all those details and beautiful die work Susan, this is fabulous
ReplyDeleteYour work is awesome. The colours, the elements, textures-everything is is stunning.
ReplyDeleteSailaja Sharma
http://summersofindia.blogspot.in