Are your pampered pooches "Paw-fect” ...mine aren't... but they are so doggone cute they get away with a lot....lol
A wonderful collection to make cards and gifts for your self or fur baby lovers
Heartfelt Creations Products And Products Carried On Our Website:
Other Products Used:
Card Stock: Tan, Crafters Companion Whit-hint of gold 300gm (card base)
Ranger: star dust and platinum Stickles, Heat Gun, Inking foam tool. Bone folder, Paper-distressing tool, Scissors. Distress Inks: Walnut Stain. Other: Versa-mark, Double sided Tape, Double Sided Foam Tape, Scoreboard, Crop-a-dial, fussy cutting scissors.
Instructions:
INSTRUCTIONS TO MAKE THE ‘Z’ SLIDER CARD FROM A4 card stock.
This Z slider card fits into an envelope that measures 22 cm x 21 cm when completed. The finished size of this card is 17.5 cm x 21 cm. To make the card base: Taking the A4 card stock and score at 6 cm and at 12 cm along the long edge. Fold into valley and hill folds. This will form the card front foot (6 cm x 20.8 cm) and card front background (17.7 cm x 20.8 cm). For the slider, cut 11.5 cm x 7 cm. For the card front cut 14 cm x 17 cm. All the matting layers will be cut at 2 mm smaller each side. Cut one matting layer in each of the Tan card stock and the design paper found in the paper pad to fit all the card base elements. Distress the design paper edges then you can adhere all the matting layers together with tape or glue.
DO REMEMBER,
not to glue the top edge of the card front and the first matting layer. This is so you can slide the slider between the card stock layers. If you forget to do this, don't panic. (Make a band measuring16.5 cm x 2 cm and adhere to the top back side of the card front. Use this for the slider guide; adhere to the back of the card front. Fixed.) Adhere the slider to the top centre of the card background front. (Make sure you do not place the glue and double-sided tape too low. If you do this, the card front will not sit flat when closed. If this happens, to fix it, make a slider guide for the back and place it lower in the back ) Adhere the card front to the centre of the card foot. Slide the slider in to place.
For the card front decoration:
Make and adhere all the embellishments to the card front. NOTE: All the stamping is done with the gold embossing powder.
Stamp the dog collar twice and trim to fit. Use the crop-a-dial to take the wholes in the dog collar loops.
Make the paw hanger by die stamping once and die cutting extra to give it strength. Adhere the paw layers together using the clear drying glue. Stamp the bones and cut a few extra.
Stamp the sentiments onto the bones.
Adhere the layers of the bones together for strength the design paper and adhere to the front with the foam dots.Fussy cut the butterfly found in the left over design paper.
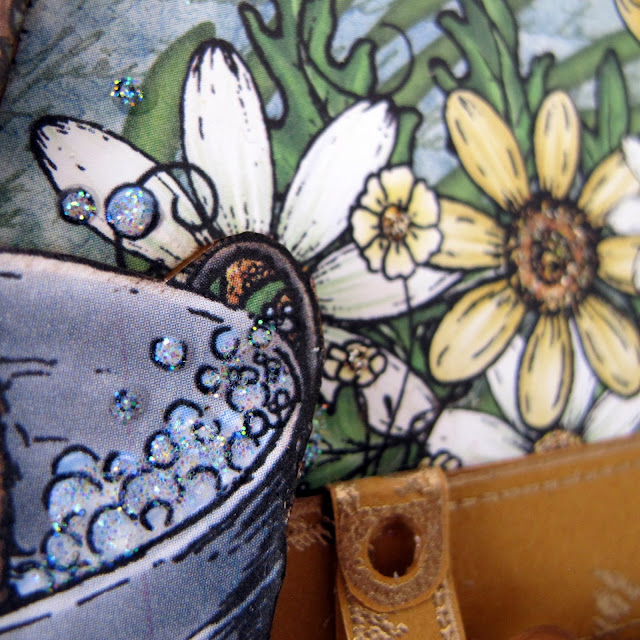
Once all is in place, apply the star dust stickles to the soap bubbles and butterflies.
Apply the Platinum stickles to the flower centers then set aside to dry.
Don't you just love that dog collar and paw hanger ? I sure do.
Till next posting, inky hugs sussipoppins. oxo


Great design and I love all the details!
ReplyDeletegorgeous beauty!!!!
ReplyDeletelove your style Susan, on this card, the way you have sued the collar and attached a key chain, beautiful embossing and details.
ReplyDeleteSuper cute. I love the little paw charm you created!
ReplyDeleteHugs, Marie
Super cute I love your colors.....this is beautiful.
ReplyDeleteWow!!! I just ❤️ ❤️ ❤️ this card!!! So beautifully done. Thank you for showing us how!! God bless!!
ReplyDeleteSuch a delightful card with nothing but pleasure to give.
ReplyDelete