Hi, this week is a new collection full of goodness and wonder...
...thats just the top of the ice berg...believe me as the month goes on...
...it just gets better and better...wait and see!
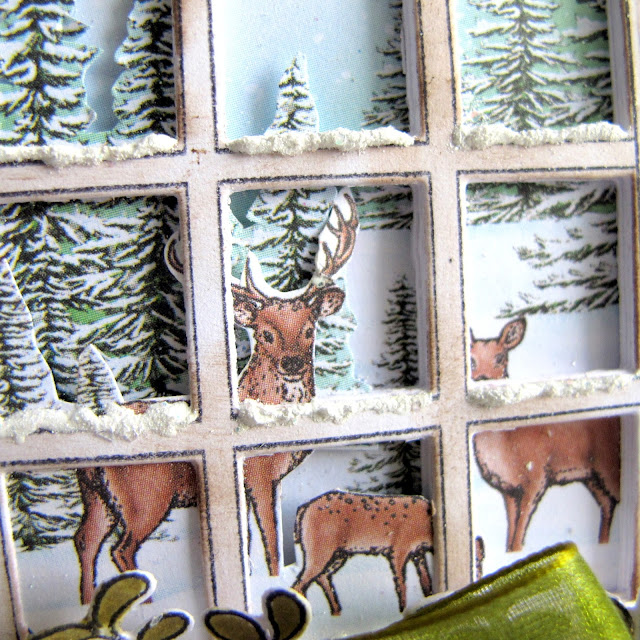
This Wednesday I start with a winter card...I could not resist the cute little Reindeer family
and the spruce trees from a older collection...the main feature of this card...
...the new window frame from the 'WINTERS EVE' collection to make the card front pop.
Heartfelt Creations Products And Products Carried On Our Website:
HCDP1-281 Winters Eve paper collection
HCPC-3794 Window Frame stamp set
HCD1-7148 Window Frame die set
HCPC-3795 Window Box Fillers stamp set
HCD1-7149 Window Box Fillers die set
HCD1-7150 Window Box Elements die set
Other Products Used:
Zutter Bow it all, Organza ribbon, Diamond Stickles, Heat Gun, Misti, Bone folder,
Water colouring brush, Paper distressing tool, Scissors, Ruler, Black Archival Ink, Walnut Stain, Peeled Paint Distress inks, Hot glue gun, Fussy Cutting Scissors, Double sided Tape, White drying glue.
Instructions:
The finished size of this tent fold card is 5 1/4 “ x 5 1/4” (13.5 cm x 13.5 cm)
Taking the white card stock make the tent fold card base. The two matting papers are found in the paper collection, blue and green stripes. Cut the first layer a little smaller than the card base, the second about 1/4 ” (.5cm) smaller than the first matting layer. Ink the edges with the Peeled paint ink then distress the edges.
Taking the white card stock stamp and die cut the spruce trees x 3, snowflakes x 4, mistletoe x 4. Bring colour to the die cuts.
Add the Red Berry crystal drops to the berries. Apply white drying glue to the spruce trees for snow then apply glitter to the glue before it dries to give a glittery snow effect. Same effect to be seen below on the window.
Taking again the white card stock stamp and die cut the window frame x 7.
Find the small animal winter scene in the paper collection. Cut the scene out so you can make 3 layers between the window frames. Adhere the first 2 window frames to the snow and tree background. ( There will be two frames between each layer. ) Arrange the fussy cut trees and animals between each frame layer to make a 3d scene, when pleased with the scene adhere in place. ( For a deeper 3d effect you could add 2 extra window frames between the layers ) Apply the white drying glue and glitter to the window frame and ledge.
Make a bow from the ribbon. Arrange and adhere all the embellishments made on to the card matting then card front. To finish apply the diamond stickles to the snowflakes.
I hope you get enough of those close ups to be able to make this card. A great winter card for those cozy snowy days...think of wishing some one a great winter sport vacation...or just because you want to add to a box of chocolates gift...may be some one went that extra mile and cleaned the snow off the car or pathway...or just because you want to put a smile on the face of someone you love.
Who really needs a excuse to play with these great toys anyway!
...it's called art from the heart....
Sussipoppins love and hugs
have a scrappy inky day...till next time
OXO


How gorgeous Sussi! I love your frosty window panes! You really created a gorgeous wintry scene here!
ReplyDeleteWow...this is so beautiful Susan!
ReplyDeleteAbsolutely beautiful!!
ReplyDeleteSo Beautiful! I love the snowy trees with the deer image!!
ReplyDeleteGorgeous card!!
ReplyDelete