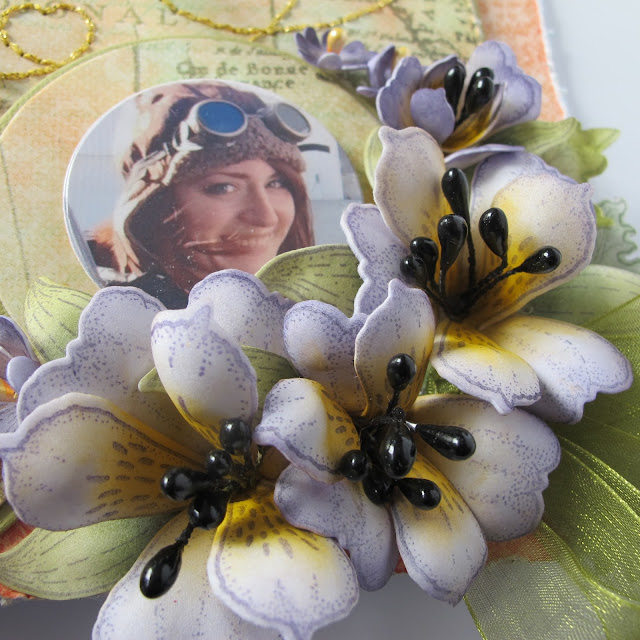
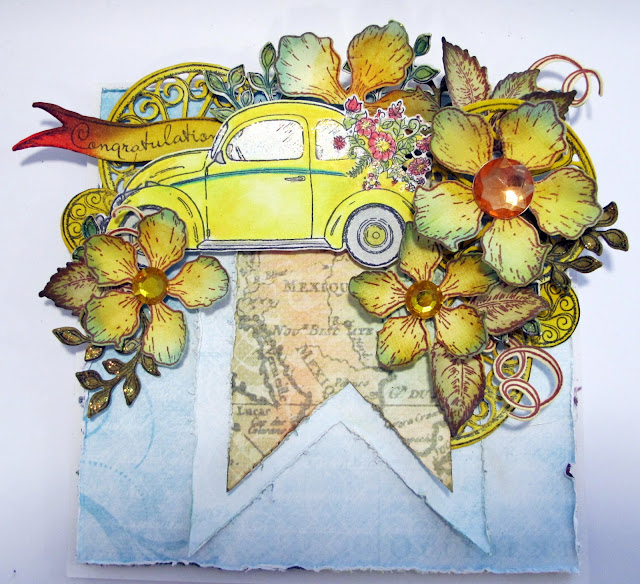
A new product over at Heartfelt Creations today. Art Foam Paper! Fun paper to make flowers....a totally new fun way to make flowers for the cards, LO's or other projects.
Have fun checking it all out. You will find the link in the product list and a film telling and showing you all about it.
***
Today you get to see all the photos before the how to...have fun with the eye candy....showing off today...so proud of this new flower method.
“COME FLY WITH ME” slider card
Heartfelt Creations Products And Products Carried On Their Website:
Green Card Stock : Green Bazzill, A4 Crafters Companion Pearla Hint of Gold 300gm.
Inks and coloring mediums: Pan-Pastels: 24703-Violet Shade, 22505-Dairylide Yellow, 26603-Chrom.OX Green Shade, 26083-Bright Yellow Green. Staz-On: Royal Purple, Black Copic marker 100. Other: Paper distressing tool, Scissors, Ruler, Double sided Tape, Paper distressing tool, Needle and gold thread, Paper piercer, Pricking mat, Green organza ribbon, Misti, Scrap paper, Paper clips, Hot glue gun, Photo.
Instructions:
Visit HERE to see a detailed photo tutorial and instructions
on how to make the card base
Visit HERE to see how to use the art foam paper to make flowers.
The finished size of this slider card is 8 ¼” x 7” (21 cm x 17.8 cm )
Taking the A4 card stock, make the card base.Taking the A4 Crafters companion card-stock, from the long
edge make two hill and valley folds 2.36in (6cm) to form the card foot. This
will be the card background and card foot. Cut the card front from another A4
card-stock measuring 6.70in x 5.52in (14cm x 17cm) This will be the card front
base. From the remaining card-stock cut the slider 1.78in x 3.94in (4.5cm x
10cm) For the card front, take the green card-stock, cut this to 6 ¾” x 5 6½ “ (17 cm x 13.8 cm ) Find the orange and the world map design papers in the paper collection. From the orange paper cut 8 ¼ “ x 7 “ ( 21 cm x 17.8 cm ) for the background and 8 ¼ “ x 2” (21 cm x 6 cm ) for the card foot, cut also to fit the slider stop. From the world map paper cut a little smaller than the green card stock. Ravel both the design paper edges with the paper-distressing tool. The world map design paper card front, has embroidered hearts in the curved flying line. To do this, sketch on to a piece of scrap paper cut to the same size. Secure the two papers together with the paper clips. Taking the pricking tool and pricking mat, make holes for the backstitch embroidery on the drawn line. Embroider this with the gold thread. Adhere the papers and card –stock together as shown in the tutorial. Find the airplane in the paper collection and die cut this. Using the misti stamping tool, stamp the image with the gold embossing powder. Cut x 4 extra of the airplane from the white card-stock, adhere together to make a chipboard embellishment. Taking the circle dies, green car-stock, the world map design paper from the collection and the photo make the circles. The green card-stock size is the 4th of the Small circles set, cut x 4 extra from the white card-stock as backing. The world map design paper is cut from the 5th circle of the large die set. Cut x 4 extra from the white card-stock for backing. The photo is cut from the 3rd circle die from the same set. Cut extra circles for the photo if needed. The photo is adhered to the circles with the 3d foam double dots. The circles are adhered with glue to the card front. For the sentiment circles, stamp the sentiment with gold embossing powder onto the world map design paper, cut a circle to fit from the die sets. Cut from the green card- stock matting from a circle a little larger. Adhere these together. Trim to fit in against the larger circles, adhere in place. Adhere the airplane to the card front in line with the embroidered flying line. Make 3 triple bows from the organza ribbon. Taking a bow, fold it back on it self and secure this with the hot glue gun. Do this for 2 bows. The third bow. Put aside for the slider stop at the top of the card. To make the Art Foam Paper flowers and leaves, use the Staz-on inks for stamping, as this will be permanent. Use the green Pan-pastels for the leaves and the Violet and yellow for the lilies and small flowers. Use the ‘Heat It Craft Tool’ to bring heat onto the Art Foam Paper flower shapes. While still warm, shape with the flower shaping tools and your fingers. You will need to do this to one flower petal layer at a time and
Well that was a mouthful. Don't you love the look of the new art foam paper flowers. Makes a nice change. Once I did a few, I really got to like them.
See you next week,
Inky hugs from sussipoppins
OXO


