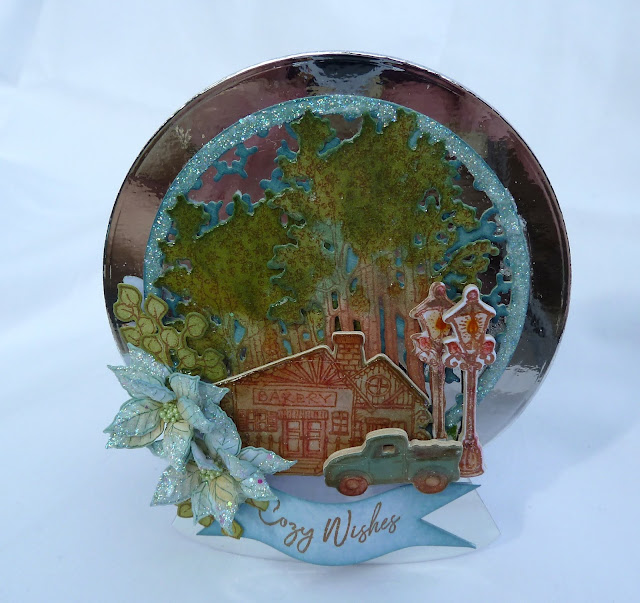
HEARTFELT CREATIONS PRODUCTS AND
OTHER PRODUCTS CARRIED BY THEM THAT ARE USED IN THIS PROJECT
HCDP1-2119 Summers Garden paper collection
HCFB1-492
Small Zinnia 3D Shaping mold
HCFB1-491
Large Zinnia 3D Shaping Mold
HCPC-3923 Large
Garden Zinnia cling
HCD1-7314 Large
Garden Zinnia die
HCPC-3923 Small Garden Zinnia cling
HCD1-7315 Small Garden Zinnia die
HCPC-3934 Elegant Especially For
You cling
HCD1-7319 Elegant Especially For
You cling
HCD1-7202
Album Tags and Accents die
HCD1-7191
Intricate Swirl Frames die
HCD1-7283
Courtyard Elegance die
RAHT
Heat It Tool
3D1844 3D Crystal lacquer 4 oz
85-Glitter Crystal
Ultrafine Transparent Glitter
RACP451
Ranger Archival Ink Pad-Coffee
RACP475
Ranger Archival Ink Pad- Library Green
OTHER PRODUCTS USED:
Ink: Spectrum Noir Harmony ink- Chinses red, Orange. Distress Inks: Tattered rose. Yellow misting spray. Other: Inking tool, White card stock, double side tape, Hot glue gun, 3D double sided foam tape, Misty stamping tool, Versa-mark
INSTRUCTIONS:
The size of this tent fold card is 6 ¾” x 6 ¾” (17.2cm x 17.2cm)
Taking the white card stock, make a card base by cutting two pieces of card to 6 ¾” x 6 ¾” (17.2cm x 17.2cm). Make a fold at ½” (1.5cm) along one edge of one of the cards. Apply double sided tape to this and adhere both cards together. Forming your tent fold card base.
Find the paper for the matting on sheet 4a cut two pieces, one at 6 ½” x 3 ½” (16.5cm x 9cm) and the other at 6 1/2” x 1.9” (16.5cm x 4.9cm). The second matting from sheet 9a, the candy stripes, cut this to 6” x 6” (15.3cm x 15.3cm). Ink the edges of all papers with the tattered rose ink and inking tool. Adhere the first matting papers to the card front. Cut the strips that is printed in the paper and cut about 3” (7cm) long. Ink the edges with the tattered rose ink and fold in half. Adhere to the card base between the 1st matting papers. Adhere the 2nd matting paper to the card front using the 3D circle foam dots.
To make the sentiment frames, use the white card stock and the dies: Courtyard Elegance die set (the inside circle frame), Intricate swirl frames die set (the small lace oval frame, cut in half) and the Album Tags and Accents die set (the tab front and back) Die cut all these frames and ink the edges with the Tattered rose ink. Apply the clear drying adhesive to the edges of the die cuts using the aid of a hydra sponge then sprinkle or dip into the glitter. When the adhesive is dry adhere the small lace frame that was cut in half to the tab frame back so this frame will become longer. Adhere all the frames and tabs in layers to the card front using the 3D foam circle dots. The placement for this is at the folded strips in the first matting.
To make the Zinnia flowers and leaves: Using the Flower shaping paper, the misti stamping tool, the coffee and library green ink, the yellow mist spray, sheets 11b and 8b, both sizes of the Zinnia stamps, dies and the 3D shaping molds. First stamp with the library green ink onto the sheet 8b for the four leaves, die cut these and bring shape to them by using the matching 3D shaping molds. Second stamp the zinnia petals with the coffee ink onto the sheet 11b: 2x the largest size then x1 from the size down for the largest flower. For the smaller flower, the same but a smaller size. Apply a little orange ink to the petal ends and bring shaping to the petals by using the 3D shaping mold for the Zinnia flowers.


