


The products used List:
Heartfelt Creations and products carried in their web store:
HCDPC-2121 Dazzling Dahlia paper collection
HCFB1-494 3D Dazzling Dahlia mold
HCPC-3928
Dazzling Dahlia cling
HCPC-3929
Dahlia and Leaves cling
HCD1-7324
Dahlia and Leaves die
HCD2-7190
Frame a Card Leafy Borders
HCD1-7263
Swirly Accent Spray die
RACP436 Ranger
Archival Ink Pad- Leaf Green
PACP663 Ranger
Archival Ink Pad- Tea Rose
RACP475
Ranger Archival Ink Pad-Library Green
159723
Designer Dries Clear Adhesive
HCDP1-475
Deluxe Flower Shaping paper pack of 50 -white
HCDA1-449
Stack and Store Daubers- pack of 6
RLHS100
Hydra Sponges
HCST1-401 Deluxe Flower Shaping Kit
OTHER
PRODUCTS USED:
Cardboard box (corrugated), Cardboard (empty cereal box), Hot glue gun, Canvas (50cm x 50cm),Foam Inking tools, Gesso, Double sided 3D foam tape, Double sided tape, foam inking tools, Green Micro beads, Glitter, Fussy cutting scissors or a paper cutting knife, Photo, Fine Sandpaper, Ranger Archival Ink Pads-Saffron, Thistle.

INSTRUCTIONS:
Prepare the canvas by using the hydra sponge to apply the gesso to cover the whole front and sides. Find the papers used in the paper collection sheet 10b and 4a. 4a is used for the frame and the back ground. Using the scissors or paper knife, cut the frame out. Using the corrugated cardboard box, cut strips for the frame. About 2-3 layers to give the frame height. Apply gesso to the sides of the corrugated cardboard strips. When dry adhere to the back of the frame. Adhere this to the canvas.
Prepare the photo. Back the photo with a piece of cardboard (cereal box) then sand the edges of the photo. Taking the sheet 10b to make the frame a card leafy borders and the dies. Cut the frame s to fit the photo and for the border strips to go at the side of the frame, this will be five longer borders. Cut also four layers for each border from the cereal card board. Adhere all the layers together before gluing down. Once you know how large your photo and border frame will be, you can stamp the flowers with the library green ink that you see popping up behind the photo onto the cut away paper from the frame. (At this stage you can chose to use a second paper sheet 4a and adhere the frame back onto the frame on the second sheet, then you won’t see any cut away shapes. It is a choice) Colour the stamping with the thistle and the saffron ink and the foam inking tools. Adhere this paper back into the frame then adhere the phot and border frame to the left corner. You can raise the photo to as high as you want by adhering corrugated cardboard behind the photo. Play around with it till you get what you want.
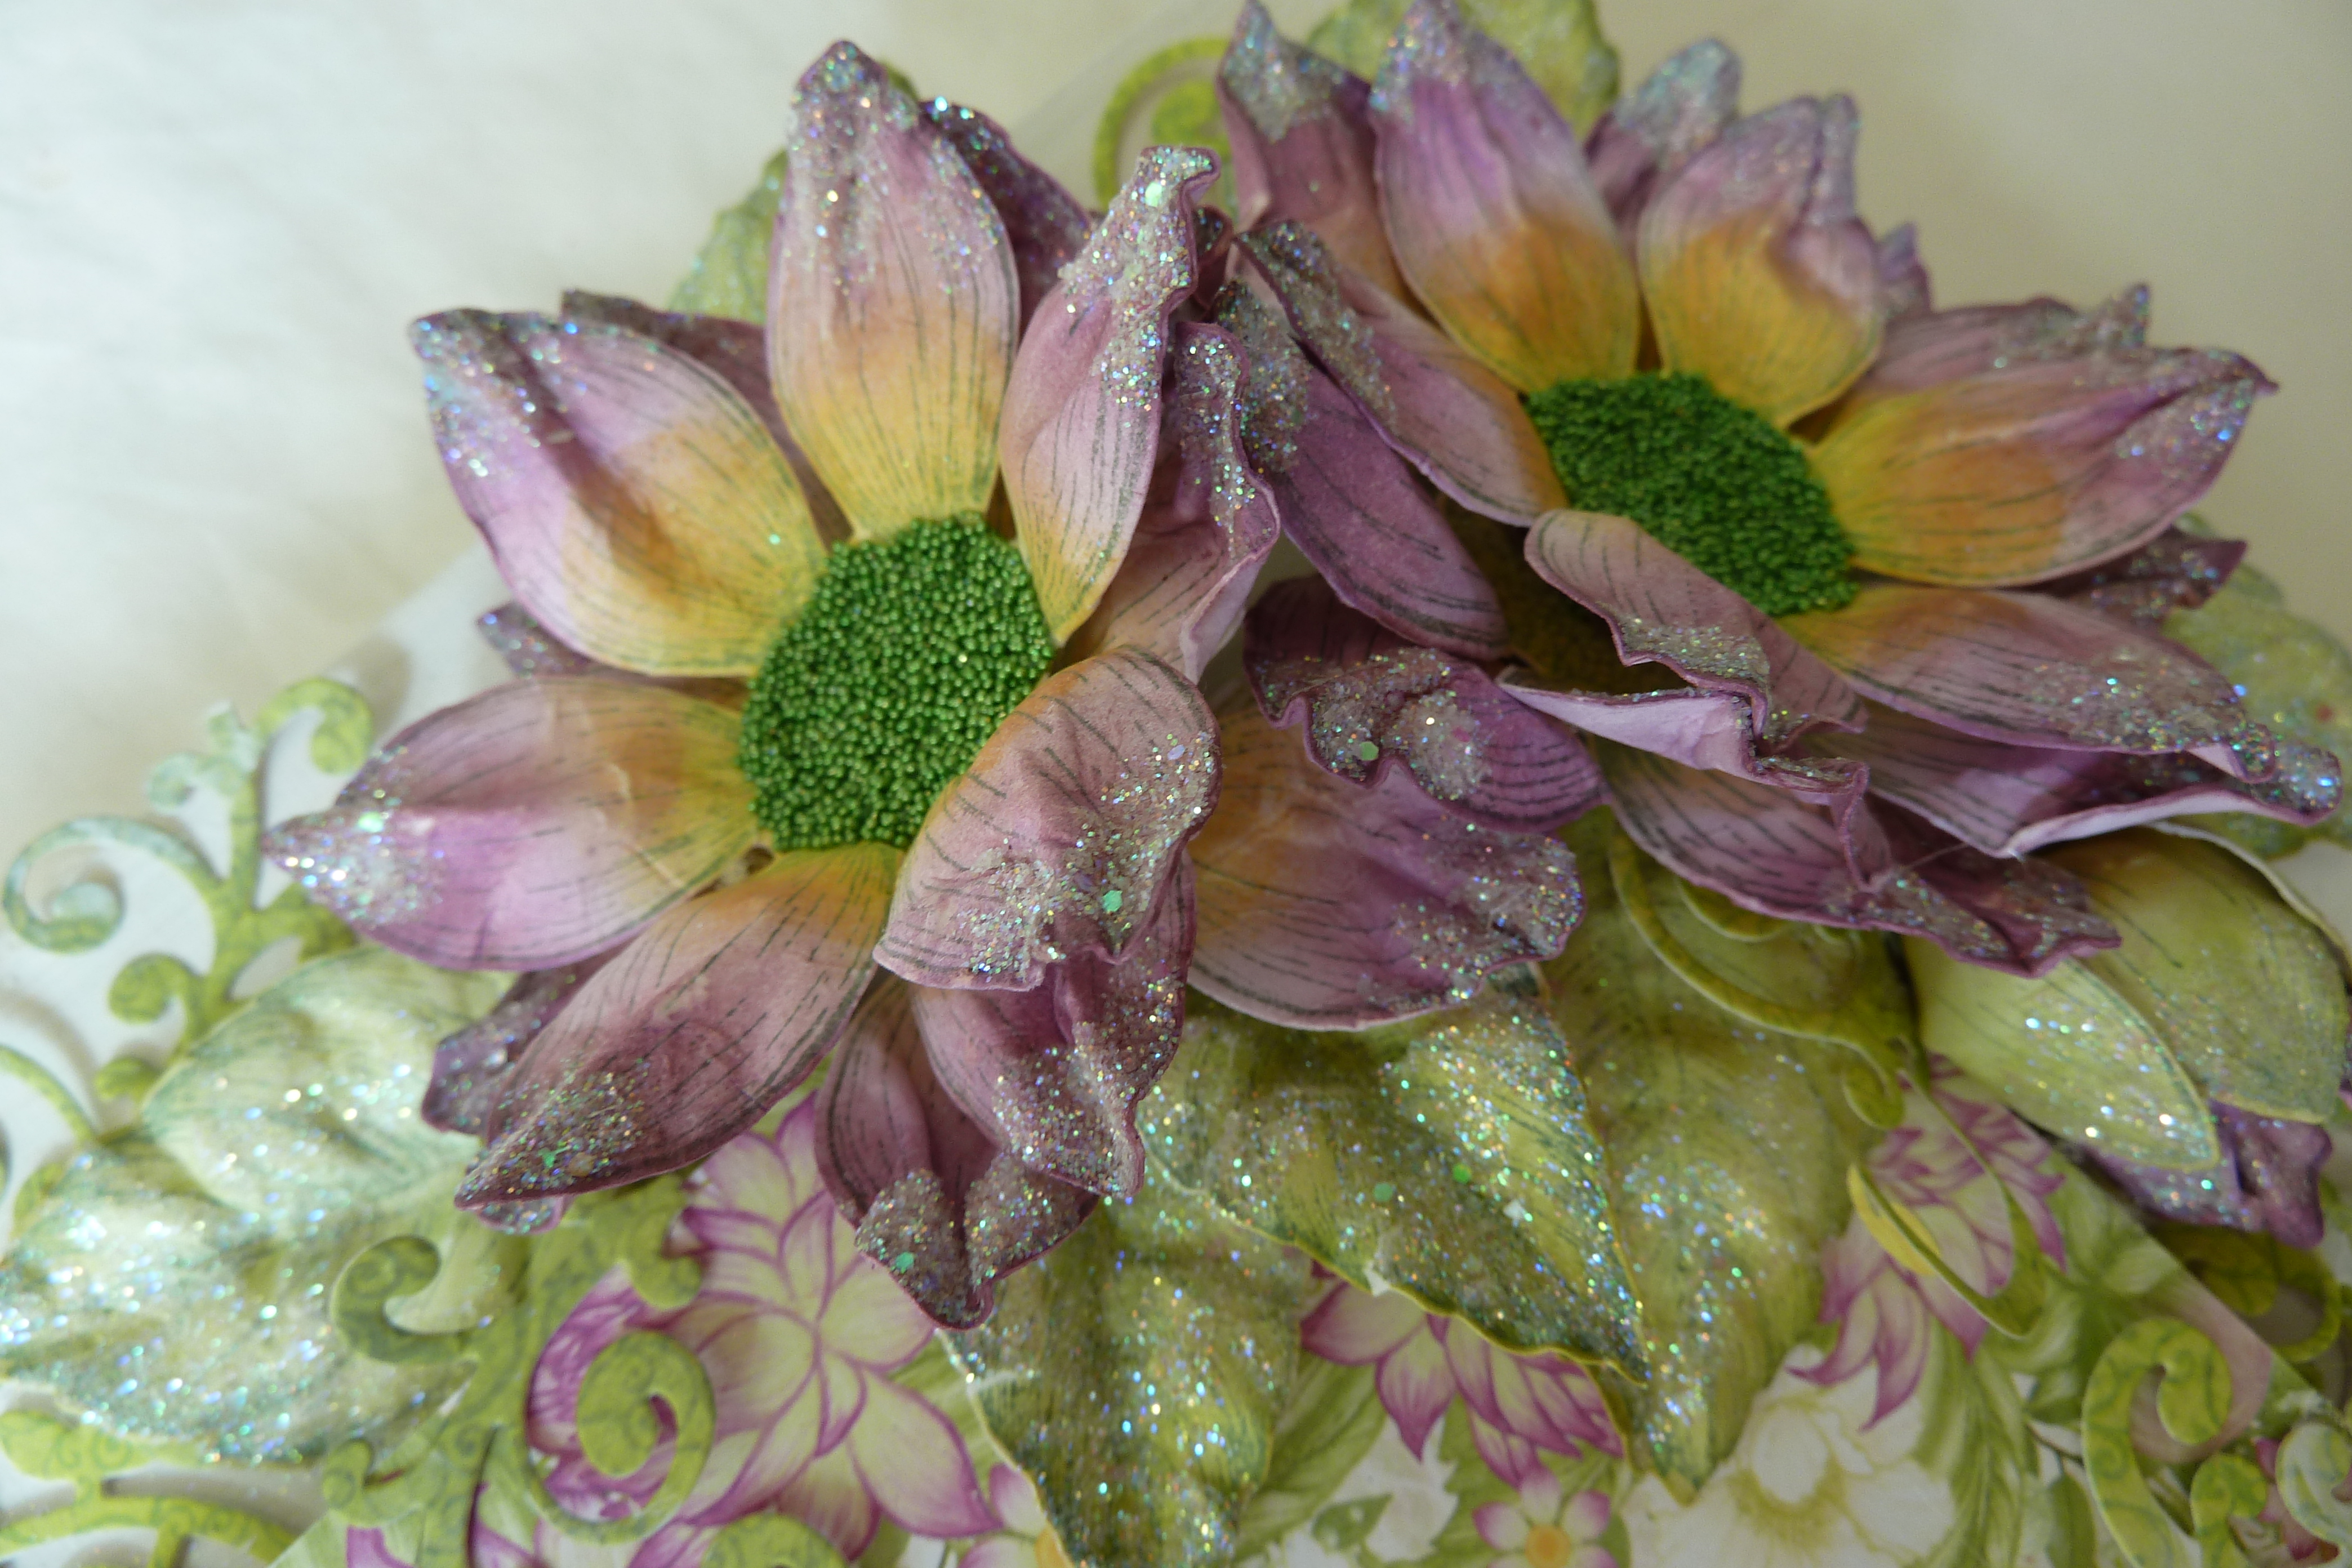
To make the flower clusters: Prepare six large petals, nine small petals, ten large leaves, eight smaller leaves, four butterflies and six swirls, nine leafy boarder frames. The Dahlia flowers are made using three layers. Two large and one smaller petal shapes. Stamp the dahlias with the library green ink onto the white card stock. Use the saffron for the centers and the thistle for the outside. Use the matching molds to bring shape to the flowers then pinch or pleat the petal ends. Apply clear drying glue to the petal ends then dip into the glitter. Adhere the layers together using the hot glue gun. The centers are filled with the clear drying glue then the micro beads are poured on to the glue, pressed in then put aside to dry. The leaves are done the same way, stamped, inked, shaped then glittered. The buds are made using two flower petal shapes one green and the other thistle. Shaping the petals into a ball using the flower shaping tools. Use the hot glue gun to secure the shape, first the thistle then the green, this also has been finished with glitter. Once the leafy borders are glued down in place you can arrange the Dahlia and leaf clusters. You can adhere these with the hot glue gun or the clear drying glue. Taking the sheet 10b again and the Swirly accent die, cut six. Adhere as fillers in the clusters. Colour the butterflies and cut extra from the cardboard so they will be raised when glued in place.


Beautiful Layout Susan! I love your flowers and how you used the leafy frame dies.
ReplyDelete