HCDP1-2124 Delightful Daffodil and Butterfly paper collection
HCPC-3943 Delightful Daffodil and Butterfly cling
HCD1-7341 Delightful Daffodil and Butterfly cling
HCPC-3944 Delightful Daffodil and Hyacinth cling
HCD1-7342
Delightful Daffodil and Hyacinth cling
HCPC-3915
Welcome Baby cling
HCD1-7300 Welcome
Baby die
HCD1-7202
Album Tags and Accents die
HCD1-7201
Ticket and Tags die
HCD2-7189
Eyelet Rectangle and Basics die
HCPP1-475
Deluxe Flower Shaping paper pack of 50
HCST1-401 Deluxe Flower Shaping Kit.
DDOTS-Double
sided 3D foam dots
RACP451-Ranger
Archival Ink- Coffee
RACP505 -Ranger
Archival Ink- Sepia
159723 Designer
Dries Clear Adhesive
409311 Colo
In Water Brush-fine
OTHER
PRODUCTS USED:
Inks: Spectrum Noir: Harmony Ink Grasshopper Spectrum Aqua blend pencils: Daffodil: Primrose, Wheat, Sunshine, Strawberry. Leaves: Pesto Green, Oregano. Butterfly: Asphalt, Sunshine, Bison, Umber. OTHER: Card board box (corrugated), Diamond stickles, Double sided tape, Double sided 3D foam tape, Green card stock, Ribbon, Fussy cutting scissors.
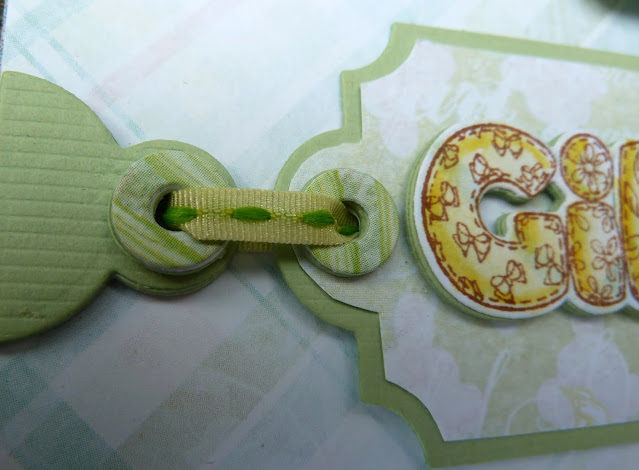
This is a lay out of 12 “ X 12 “. The checked printed design found in the paper collection for the Delightful Daffodils used for the base of this lay out. Taking the green matching card stock cut the bases for the tags used. Die cut also the tag hole enhancers and tabs ( cut 4 for each tab and hole enhancer, adhere together in layers before adhering them to the lay out where needed) Using a matching design paper from the collection to die cut the matting for the tags. For the smaller tags/tabs, you will need to fussy cut these at the indent made by the die. When you die cut them, you will see the indents. Make also the boy and girl using the Welcome Baby stamp and die set. Die cut also 4 extra for each word. Adhere all together then use the ribbons to join the tags together. When this is done you can now adhere all the elements to the lay out. The placement for the top large tag is 4 1 / 2 across at the flat edge and 3 1 / 4 down from the top of the lay out edge. The lower large tag is placed 2 1 / 4 from the foot of the lay out. The Daffodils are placed under and over the small tags as seen in the photo. Adhere the butterflies in place and add the diamond stickles to the Daffodil centers.


No comments:
Post a Comment