Wednesday, November 16, 2016

Wednesday with Heartfelt Creations with a "Doggone You're Paw-fect" card


Are your pampered pooches "Paw-fect” ...mine aren't... but they are so doggone cute they get away with a lot....lol 
A wonderful collection to make cards and gifts for your self or fur baby lovers


Heartfelt Creations Products And Products Carried On Our Website:

Other Products Used:
 Card Stock: Tan, Crafters Companion Whit-hint of gold 300gm (card base)
Ranger: star dust and platinum Stickles, Heat Gun, Inking foam tool. Bone folder, Paper-distressing tool, Scissors. Distress Inks: Walnut Stain. Other: Versa-mark, Double sided Tape, Double Sided Foam Tape, Scoreboard, Crop-a-dial, fussy cutting scissors. 


Instructions: 
INSTRUCTIONS TO MAKE THE ‘Z’ SLIDER CARD FROM A4 card stock. 
This Z slider card fits into an envelope that measures 22 cm x 21 cm when completed. The finished size of this card is 17.5 cm  x 21 cm. To make the card base: Taking the A4 card stock and score at 6 cm and at 12 cm along the long edge. Fold into valley and hill folds. This will form the card front foot (6 cm x 20.8 cm) and card front background (17.7 cm x 20.8 cm). For the slider, cut 11.5 cm x 7 cm. For the card front cut 14 cm x 17 cm. All the matting layers will be cut at 2 mm smaller each side.  Cut one matting layer in each of the Tan card stock and the design paper found in the paper pad to fit all the card base elements. Distress the design paper edges then you can adhere all the matting layers together with tape or glue. 
DO REMEMBER, 
not to glue the top edge of the card front and the first matting layer. This is so you can slide the slider between the card stock layers. If you forget to do this, don't panic. (Make a band measuring16.5 cm x 2 cm and adhere to the top back side of the card front. Use this for the slider guide; adhere to the back of the card front. Fixed.) Adhere the slider to the top centre of the card background front. (Make sure you do not place the glue and double-sided tape too low. If you do this, the card front will not sit flat when closed. If this happens, to fix it, make a slider guide for the back and place it lower in the back ) Adhere the card front to the centre of the card foot. Slide the slider in to place. 
For the card front decoration: 
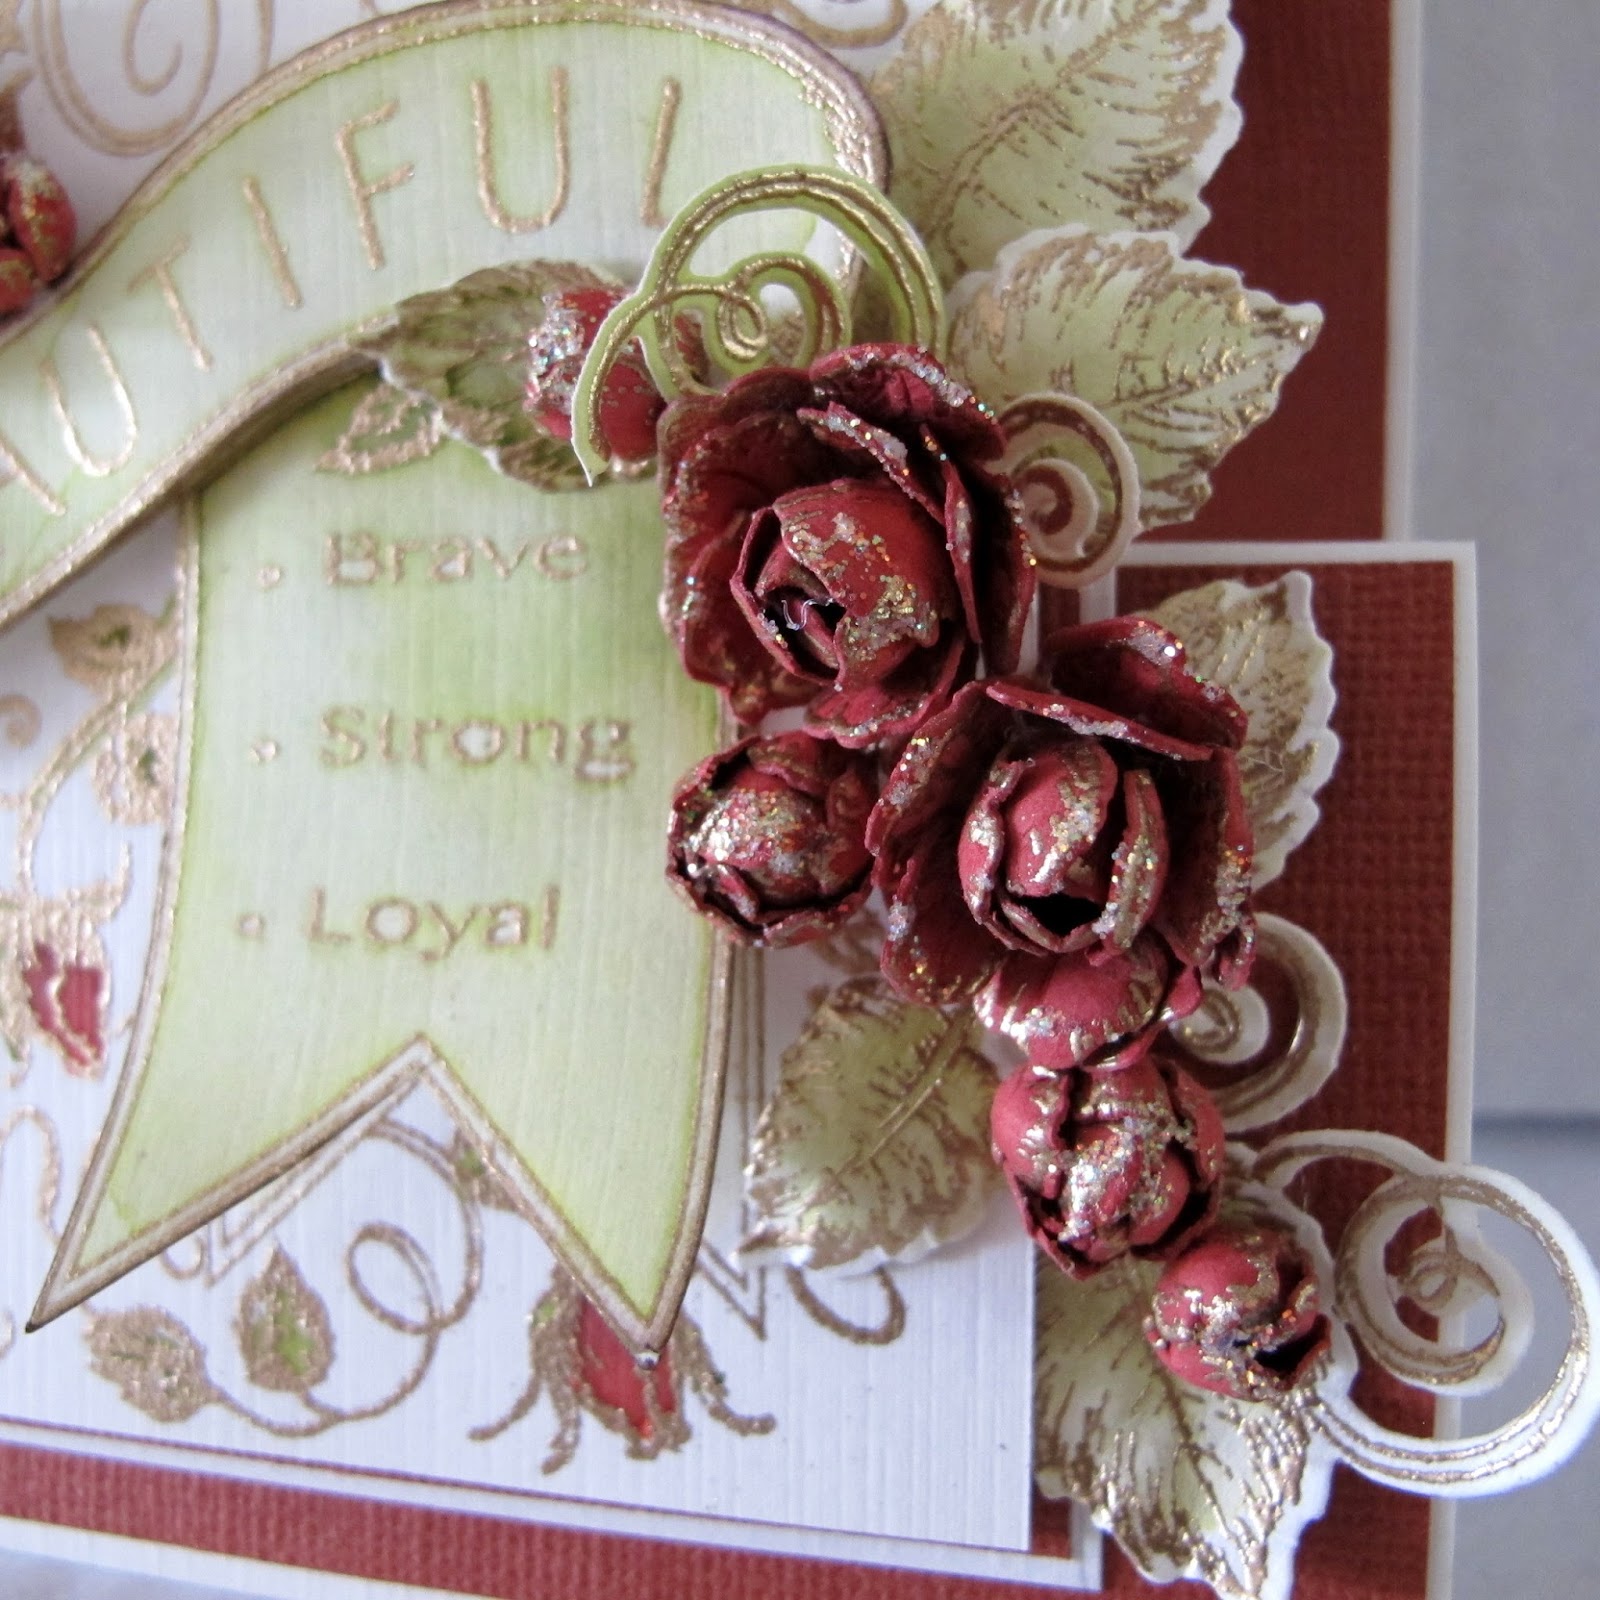
Make and adhere all the embellishments to the card front. NOTE: All the stamping is done with the gold embossing powder. 


Stamp the dog collar twice and trim to fit. Use the crop-a-dial to take the wholes in the dog collar loops.


Make the paw hanger by die stamping once and die cutting extra to give it strength. Adhere the paw layers together using the clear drying glue. Stamp the bones and cut a few extra. 


Stamp the sentiments onto the bones.


 Adhere the layers of the bones together for strength the design paper and adhere to the front with the foam dots.Fussy cut the butterfly found in the left over design paper. 


Once all is in place, apply the star dust stickles to the soap bubbles and butterflies. 


Apply the Platinum stickles to the flower centers then set aside to dry. 
Don't you just love that dog collar and paw hanger ? I sure do.
Till next posting, inky hugs sussipoppins. oxo


Wednesday, November 9, 2016

Pampered Pooch...this new adorable new collection for November.


First I have to show and tell my two adorable pampered Pooches......
Whiskey giving me a lick of a kiss....lol...talk about a wet nose....


Our faithful Nino....well as long as he is feed, he finds all OK...he's the dog version of Garfield... 


 They do look after each other....the Yorkie is the boss....lol


Now...getting back on track....Doggone!


A pyramid card...yes three sides


Heartfelt Creations Products And Products Carried On Our Website:
Other Products Used:
 Card Stock: Bark Brown. White. Ranger: Orange peel and platinum Stickles, Heat Gun, Water Mister, Inking foam tool. Bone folder, Water coloring brush, Paper-distressing tool, Scissors, Distress Inks: Walnut stain, Twisted citron, Ever green bough, Dusty concord, Brushed corduroy, Gathered twigs, Blue print Sketch, Worn lipstick, Mustard seed, Crushed olive, Forest moss, Old paper, Black soot, Vintage photo. Other: Black archival ink, Versa-mark, Double sided Tape, Double Sided Foam Tape, Scoreboard, fussy cutting scissors, Versa-mark, Hot glue gun, Misti, Hot glue gun, Organza ribbon, Double sided tape.


INSTRUCTIONS: This pyramid card measures 20 cm x 16 cm at the base when standing. When Flat, 30 cm x 21.2 cm
You will find a tutorial HERE  instructions on how to make
t. 
this pyramid card base. This lady does wonderful work! NOTE: I have used other measurements to make the pyramid bigger. The card stock is cut to 15 cm x 15 cm.  The design paper is cut 14.5 cm x 14.5 cm. cut the card stock and paper to these measurements x 3. Plus an extra card stock and design paper .5 cm smaller for the joining front. Before adhering together the base and matting to form the pyramid as shown in the photos on the tutorial, use the foot print die and the cut matting design paper to cut the Pooch footprints. One of the design paper cut is stamped and colored before the next step. Apply the distress ink to the edges then adhere in place. Not to forget to adhere the ribbon at the same time. Make all the embellishments for this card. First make the daisy’s buy stamping with the gold embossing powder, die cutting, adding color and shaping. Each flower has two layers. Adhere together.

 Stamp all the sentiments and Pooch images with the black ink. 
Cut the Sentiment to size and ink the edges.


Color the remaining Pooch images and fussy cut. Adhere the sentiments and Pooch images to their place with 3d foam tape to the card base. Arrange and adhere the daisies. Make the Pooch Paw hanger by die cutting this 4 times then adhering the layers together. Stamp, die cut the dog collar loop. Fold this in half so it will hold the paw hanger. Adhere this under the daisies. To finish the card apply stickles to the flower centers, suitcase and the jean studs.

Make the Pooch Paw hanger by die cutting this 4 times then adhering the layers together. Stamp, die cut the dog collar loop. Fold this in half so it will hold the paw hanger. Adhere this under the daisies. To finish the card apply stickles to the flower centers, suitcase and the jean studs. 


A good close up of the flowers...these are real cuties.


Below is the card folded out so it is flat so you can see how it looks when the closing is not yet tied with a bow.


The closing. See how the closing bow is just able the sentiment for that side.


I hope you had fun seeing my fur boys and all the closeups of this fun card...try to make the time to make this as it really is a must do!
There is so much you can do with this collection...and if you have fur babies...you won't be able to stop your self....lol.
There is so much eye candy this week on the Heartfelt Creations blog....as always!There is also a film on the whole collection...which is always fun to watch.
 Scrappy, happy days and inky hugs
sussiPoppins xox


Wednesday, November 2, 2016

Heartfelt Creations and "Get Well Wishes"...card

Hi, I have something lacy today to frame this wonderful timeless paper and roses.
Have fun scrolling.


Heartfelt Creations Products And Products Carried By Heartfelt Creations:
The Blushing Rose Collection

Other Products Used:
WANT-2-SCRAP self-adhesive bling: Half pearls. 
Distress inks: Peeled paint, Forest moss, Scattered straw, Mustard seed. Aquarelle paper, Yellow card-stock, A4 Crafters Companion White hint of gold 300gm card-stock.
Heat gun, Paper distressing tool, Water coloring brush, Fussy cutting scissors, Diamond stickles


Directions:
To get tips on how to make the roses click HERE   
This Z slider card measures 22.5 cm x 19 cm when completed. Please note: All the stamping is done with the gold embossing powder. To make A Z slider card base: 
Taking the A4 cardstock and score at 6 cm and at 12 cm along the long edge. Fold into valley and hill folds. This will form the card front foot (6 cm x 20.8 cm) and card front background (17.7 cm x 20.8 cm). For the slider, cut 11.5 cm x 7 cm. For the card front cut 14 cm x 17 cm. All the matting layers will be cut at 2 mm smaller each side. Cut a matting layer from the yellow card stock and the design paper found in the paperpad to fit the card base. All the matting is cut 2 mm smaller each side. Adhere all the matting layers together, except the top edge of the card front and the matting layer. This is so you can slide the slider between the card stock layers. If you forget to do this, don't panic. Then you make a band measuring16.5 cm x 2 cm and adhere to the top back side of the card front. Use this for the slider guide; adhere to the back of the card front. Fixed. Adhere the slider to the top center of the card background front. (Make sure you do not place the glue and double-sided tape too low. If you do this, the card front will not sit flat when closed. If this happens, make a slider guide for the back and place it lower in the back. ) Adhere the card front to the center of the card foot. Slide the slider in to place. For this card: Find the design paper with the dress on the cloths hanger, cut to size and distress the edges with the paper-distressing tool. Apply the small half pearls to the purple dot circle around the dress form. Cut four times the border in the yellow card stock. Cut twice the bow from the ‘All glammed up collection’ to make a double bow. Stamp, color, die cut and shape the roses and leaves using the classic rose and blushing rose stamp and die sets. With the yellow cardstock cut four lace borders. Adhere the borders to the back of the yellow cardstock matting front. NOTE: Remember to leave the top front between the matting open for the slider! Adhere all the layers to the white base front. Now you can arrange and adhere the sentiments, leaves and roses to the front. Place and adhere the bow and rose bud to the top border front. To finish the card add stickles to the made roses and the rose in the dress and hanger image.


 Above, a rose cluster. 
The stickles are added to the rose petal edges...always gives the work a fantastic bling finish.


Close up of the the rose cluster to the left of the sentiment. love it that Heartfelt Creations gives us maltable sized roses...and now they put them out in one set....instead of dividing them into two sets in the past....aren't they kind to us...lol


Below and above you can see the pearl placements. The pearls are supplied by a very generous company called -Want 2 Scrap Bling-
A big thank you.


Below you get a closer look at how there card stands...these borders are a dream to work with.


Hope you had fun today, scrappy inky hugs,
sussipoppins

Wednesday, October 26, 2016

The Beauty Is Meant To Be Shared...LOVE OF MY LIFE


Hi, got something yummy today for you all....

Over at heartfelt Creations we are doing whats called a cross promotion with a great company called
Creative Embellishments...
love chippies and I'm not talking about the ones you eat!...lol  


Heartfelt Creations Products And Products Carried By Heartfelt Creations:


Other Products Used:

 CREATIVE EMBELLISHMENTS: 
Love Border Words, Victorian Wind Up #1 and Victorian Wind Up #2.

Distress inks: Peeled paint, Forest moss, Victorian velvet, Evergreen bough, Mustard seed, Fossilized amber. Card-stock: Green, Pink, White.  Ranger:Tim Holtz mask-Gothic TH5026, Versa-mark, Diamond dust , Heat gun, Water coloring brush, Foam inking tool, Hot glue gun, Sand paper. 
Other: Want-2-scrap self adhesive half pearls.Cardboard / Grey board (for the backing of the LO), Fussy cutting scissors, Structure paste, Plastic card / Spatula.


Directions:
The photo for this lay out measures7.8 cm x 6.8 cm.
Take the design paper and trim the white top strip away. Apply the structure paste to the design paper by using the mask so the design will show from behind the clustering later. Leave to air dry. While you are waiting, prepare the Creative Embellishments chip pieces by 1st covering them with the versa-mark. 2nd over with the gold embossing powder and then 3rd apply heat with the heat gun to melt the powder. Trim the love of my life chip between the f and the m so you have two pieces. Stamp the roses and leaf images from both the Classic and Blushing collections. Color, die cut and bring shape to all the images with the shaping tool kit. Apply a sugar coating to the roses and rose buds by first applying the clear drying glue to them, then dip the roses and rose buds into the diamond dust. Leave to air dry. Trim the photo to size. Sandpaper the edges of the photo to give a distressed edge. Before arranging and adhering all to the LO base, back the design paper with the grey board / cardboard so your base will stay flat and be able to carry all the embellishments applied. When the glue is dry, start by arranging and gluing down the photo, leaf swirls and roses to the lower right side of the LO. Arrange the flowers, leaf swirls and chips as seen in the photo of the LO. Arrange the chip sentiment. Apply the ? pearls to the open flowers and place here and there between the swirls and leaves. Add a few ? pearls to complete the flower cluster trail on the left.


Above you can see all that glass glitter on the roses....close up is not that great but you do get to see how much was used. When the roses are done. Add wet glue and dip into the glass glitter jar. Tap the excess away into a container a couple of times when dry as no matter how careful you are the excess glass glitter will still away and you find it every where....lol 

Look at all this creamy yum! Love the masked background!....and look at that gold embossing.
Makes the water colouring that much fun. 


I fell in love with the wind up's. Victorian gentlewoman. and men.
I want at least, 10 in each style!...lol


The chips are covered with gold embossing powder...I thought perfect for this LO. 


Love the glass glitter. It catches the light perfectly, a little more subtle than stickles and glitter but does the job just as well and makes a refreshing change.


In these close ups you get to see all the details of the 1/2 pearl placements.


Small details do count...it's candy to the eye.....


Here you get to see close up the masking....so creamy


The print in the paper design made it so easy to arrange the roses with the trailing leaf swirls as a base. Once again, the 1/2 pearls enhance the beauty of the flowers.The gold gentle man tipping his hat to the gentlewoman in the lower section of the LO...brings the story together.


I had such fun creating this LO...a bit of mixed media is always fun and always love making the roses...putting it all together....Mm Mmm...well....working with Heartfelt Creations product is always a fun journey.....
See you next week, till then inky hugs....from sussipoppins oxo
PS....don't forget to go back the Heartfelt Creations and see the other eye candy over there....

Wednesday, October 19, 2016

2nd post today... As You Recover card


Hi again with #2 post today
My day continues.....a show and tell with another Z slider card using the wonderful Blushing Rose collection. Heartfelt Creations know how to make us happy...enjoy the journey.


Heartfelt Creations Products And Products Carried By Heartfelt Creations:

Other Products Used:
 Ranger: Heat gun, Diamond stickles, Water colouring brush, Peeled paint and Forest moss distress inks. Aquarelle paper. Winter white and Green card stock.Versa-mark, Fussy cutting scissors,  Foam tape, Spellbinders embossing folder - Splattered circles, 
Chameleon pens tint of color Olive green OL3. ‘Want-2-Scrap’  Self adhesive bling half pearls. 


Directions:
This is basic instructions on how to cut a Z slider card that measures when finished15 cm x 13.5 cm. Using a winter white base card stock cut for the card base, 27 cm x 13.5 cm. Make folds at 6 cm and 12 cm across the 27 cm side. Fold these creases to form hill and valley folds. Once the card base is folded, the measurements to be further used will be, 15 cm x 13.5 cm (background), 6 cm x 13.5 cm. (card front foot). Further, cut from the base card stock, 13 cm x 10 cm (card front) and 11.5 cm x 4.5 cm (card front slide).Cut all the contrasting matting and design papers 2mm smaller each side for each layer used. Once the card background and the slider card piece is completed with the matting, the slider can be adhered to the top centre of the card background. NOTE: When the card front is being put together, leave the top of the card between the base and the matting layers open. This is so you can slide the slider between the layers. This part of the card holds it all upright and works as a stand. Adhere the card front to the card foot, making sure you have enough room for the slider to slide into the card front opening. To make the Z card base for this card cut two mattings. The first green and the second white, this will be embossed with the embossing folder. Adhere the matting layers to the card base. Remembering to leave the top open for the slider. Taking the aquarelle paper, stamp twice both sizes of the rose stems from the ‘Blushing Rose Stem’ stamp set. Colour, using the distress inks, then die cut the stamped shapes. Stamp the sentiment, then cut into a banner for across the card front. Bring the olive colour to the half pearls with the Chameleon pen. Apply to the banner ends. Adhere the rose stems and banner in place using foam tape/ squares to adhere the front roses to give depth to the embellishment. To finish the card, apply the diamond stickles to the stems and leaf centres.

A simple but elegant card. this stamp set is fantastic with the gold embossing, it catches the water colouring just how I like it. Posted 2 eye candy today....don't forget to check the other out also all the drop dead cards etc the DT have put out this week.....keeps on getting better and better....
I hope you have a fantastic inky scrappy day,
Inky hugs sussipoppins
oxo


Double candy today! 1st of 2 posts.

#1
'True Beauty.'..CONGRATULATIONS

Heartfelt Creations Products and Products Carried By Heartfelt Creations:


Other Products Used: Card stock: A4 Crafters Companion white hint of gold 300gm. Other card stock: Winter white, Red and Green. Other:  Spellbinders-S2-082 Sentiments one, Heat gun, Hot glue gun, Versa-mark, Walnut stain distress ink, Foam inking tool, Double sided tape.


Instructions: 
This is a Z slider card measuring 21 cm x 17.5 cm when finished. Please ~Note all the stamping is done in gold embossing powder.

###Click HERE to see the roses being made.


To make the card base: 
Taking the A4 cardstock and score at 6 cm and at 12 cm along the long edge. Fold into valley and hill folds. 
# This will form the card front foot (6 cm x 20.8 cm) and card front background (17.7 cm x 20.8 cm).
# For the slider, cut 11.5 cm x 7 cm. For the card front cut 14 cm x 17 cm. All the matting layers will be cut at 2 mm smaller each side. 
# Cut one matting layer in each of the red card stock and the design paper found in the paper pad to fit all the card base elements. Ink the edges of the design paper with walnut stain ink. 
# Adhere all the matting layers together, except the top edge of the card front and the first matting layer. This is so you can slide the slider between the card stock layers. If you forget to do this, don't panic. Then you make a band measuring16.5 cm x 2 cm and adhere to the top back side of the card front. Use this for the slider guide 
# Adhere the slider to the top center of the card background front. ( Make sure you do not place the glue and double-sided tape too low. If you do this, the card front will not sit flat when closed. If this happens, make a slider guide for the back and place it lower in the back. ) Adhere the card front to the center of the card foot. Slide the slider in to place. 


Stamp, color and shape the roses, leaves. Arrange and trim the leaf vines as needed for a base for the roses. These are adhered by using the clear drying glue, this is so they can be slide into place. 4 rose cuts are used to make each rose. 3 cuts for the fuller rose buds. 1 cut for each of the small rose buds. The sentiment is cut x 5 from the winter white card stock and the layers adhered with the clear drying glue. The roses are adhered together with the hot glue gun. The hot glue gun is also used to adhere the roses to the card front.


Finally got this posting done....one of my favs. I had a hard time posting this one....well at least I can always make another one...or two...lol
See you at the 2nd post with some more eye candy.
Inky hugs sussipoppins oxo


Wednesday, October 12, 2016

12th Oct....May I introduce you tot the Blushing Rose collection...

A complement the last months timeless 'Classic Rose ' collection......
 Imagine a pristinely decorated, old fashioned parlor filled with charming antiques, vintage wallpaper and the finest assembling of handsome rose patterned china offering up delectable treats and deliciously fragrant tea! Amidst the refreshments, and scattered throughout the quarters you are drawn to lavish rose bouquets in every color imaginable, plucked from the pristine rose garden just outside the elegantly draped garden doors. As you glance around it is clear that this exquisite sitting room has been adorned for a very special occasion! Heartfelt Creations invites you to sit, relax and indulge as they unveil the new Blushing Rose Collection! Soft in hues and striking in patterns, this newest rose themed release will have you reminiscing of old fine bone china, lace tablecloths, and elegantly wallpapered sitting rooms. Delicate images of swirling roses, fluttering butterflies and vintage scripted postcards nestled among old fashioned wallpaper like stripes, beautiful brocades and decorative lace accents have been gently set against calming tones of pale yellows, mixed blends of greenish blues, and soft lilacs. The delicate, illustrations of rose clusters and single stemmed roses found within the cling stamp sets will bring back memories of the ravishing patterns on Grandma’s finest tableware that were kept behind glass and only made an appearance for the grandest of occasions. Paired together with the coordinating stamps, the ornate dies in this collection will allow you to create enamoring rose motif die cuts perfect for all of your paper crafting needs. A large focal background stamp, along with a full assembling of all occasion sentiments are the perfect window dressings to complete your soft and romantic vintage style rose themed creations. We invite you to enjoy the finest in paper crafting as we present the Blushing Rose Collection!BEAUTIFUL card

Heartfelt Creations Products And Products Carried By Heartfelt Creations:

HCD1-7110 Classic Rose die
Other Products Used:
Cross Promotion: ‘Want-2-Scrap’  Self adhesive bling half pearls. INKS: Distress inks: Peeled paint, Forest moss, Barn door. PAPERS: Cardstock: Winter white, Red. OTHER: Heat gun, Versa-mark, Water coloring brush, Fussy cutting scissors, Diamond stickles
Foam tape, Hot glue gun.

Directions: 
Check this YOU TUBE out to learn how to make the Heartfelt Creation roses
Directions: This is the basic instructions on how to cut a Z slider card that measures when finished15 cm x 13.5 cm. Using a white base card stock cut for the card base, 27 cm x 13.5 cm. Make folds at 6 cm and 12 cm across the 27 cm side. Fold these creases to form hill and valley folds. Once the card base is folded, the measurements to be further used will be, 15 cm x 13.5 cm (background), 6 cm x 13.5 cm. (card front foot), 
Further, cut from the base card stock, 13 cm x 10 cm (card front) and 11.5 cm x 4.5 cm (card front slide). This can now be matted with the red contrasting card stock. All matting and design papers are trimmed 2mm smaller each side for each layer used.
Once the card background and the slider card piece is completed, the slider can be adhered to the top center of the card background. NOTE: When the card front is being put together, remember to leave the top of the card between the base and the matting layers open. This is so you can slide the slider between the layers. This part of the card holds it all upright and works as a stand. Adhere the card front to the card foot, making sure you have enough room for the slider to slide into the card front opening. To make this card, please note, all the stamping is done with the gold embossing powder. Make the card base then, adhere the red matting to the card fronts. Stamp the background image to the winter white card stock twice. The second, so you can fussy cut the lower banner and die cut the sentiment banner. Color both backgrounds as seen in the photo. Stamp the rose with the red cardstock. Shape. Stamp the leaf swirls onto the winter white cardstock then color and die cut. Trim the background to fit the card front. Adhere to the front with double side foam tape. Adhere the sentiment banner also with foam tape. Adhere the fussy cut banner in place. Arrange the leaf swirls, trimming as you go. Adhere the roses in place with the glue gun. To finish the card apply a little stickles to give the roses a bit of bling.
A close up of these fantastic roses.
 I love this banner...Heartfelt Creations have dies to match all the stamps....
this is a win win for the die hards
I hope you have had fun visiting today....see you next week. Don't forget to go on back to check out the other girls creations this week....they are all fantastic!
Inky scrappy sussipoppins hugs oxo