Showing posts with label HEARTFELT CREATIONS STAMPS. Show all posts

Wednesday, August 10, 2016

NEW COLLECTION FROM HEARTFELT CREATIONS...'SNOW KISSED'

Hi, welcome to my hang out place.
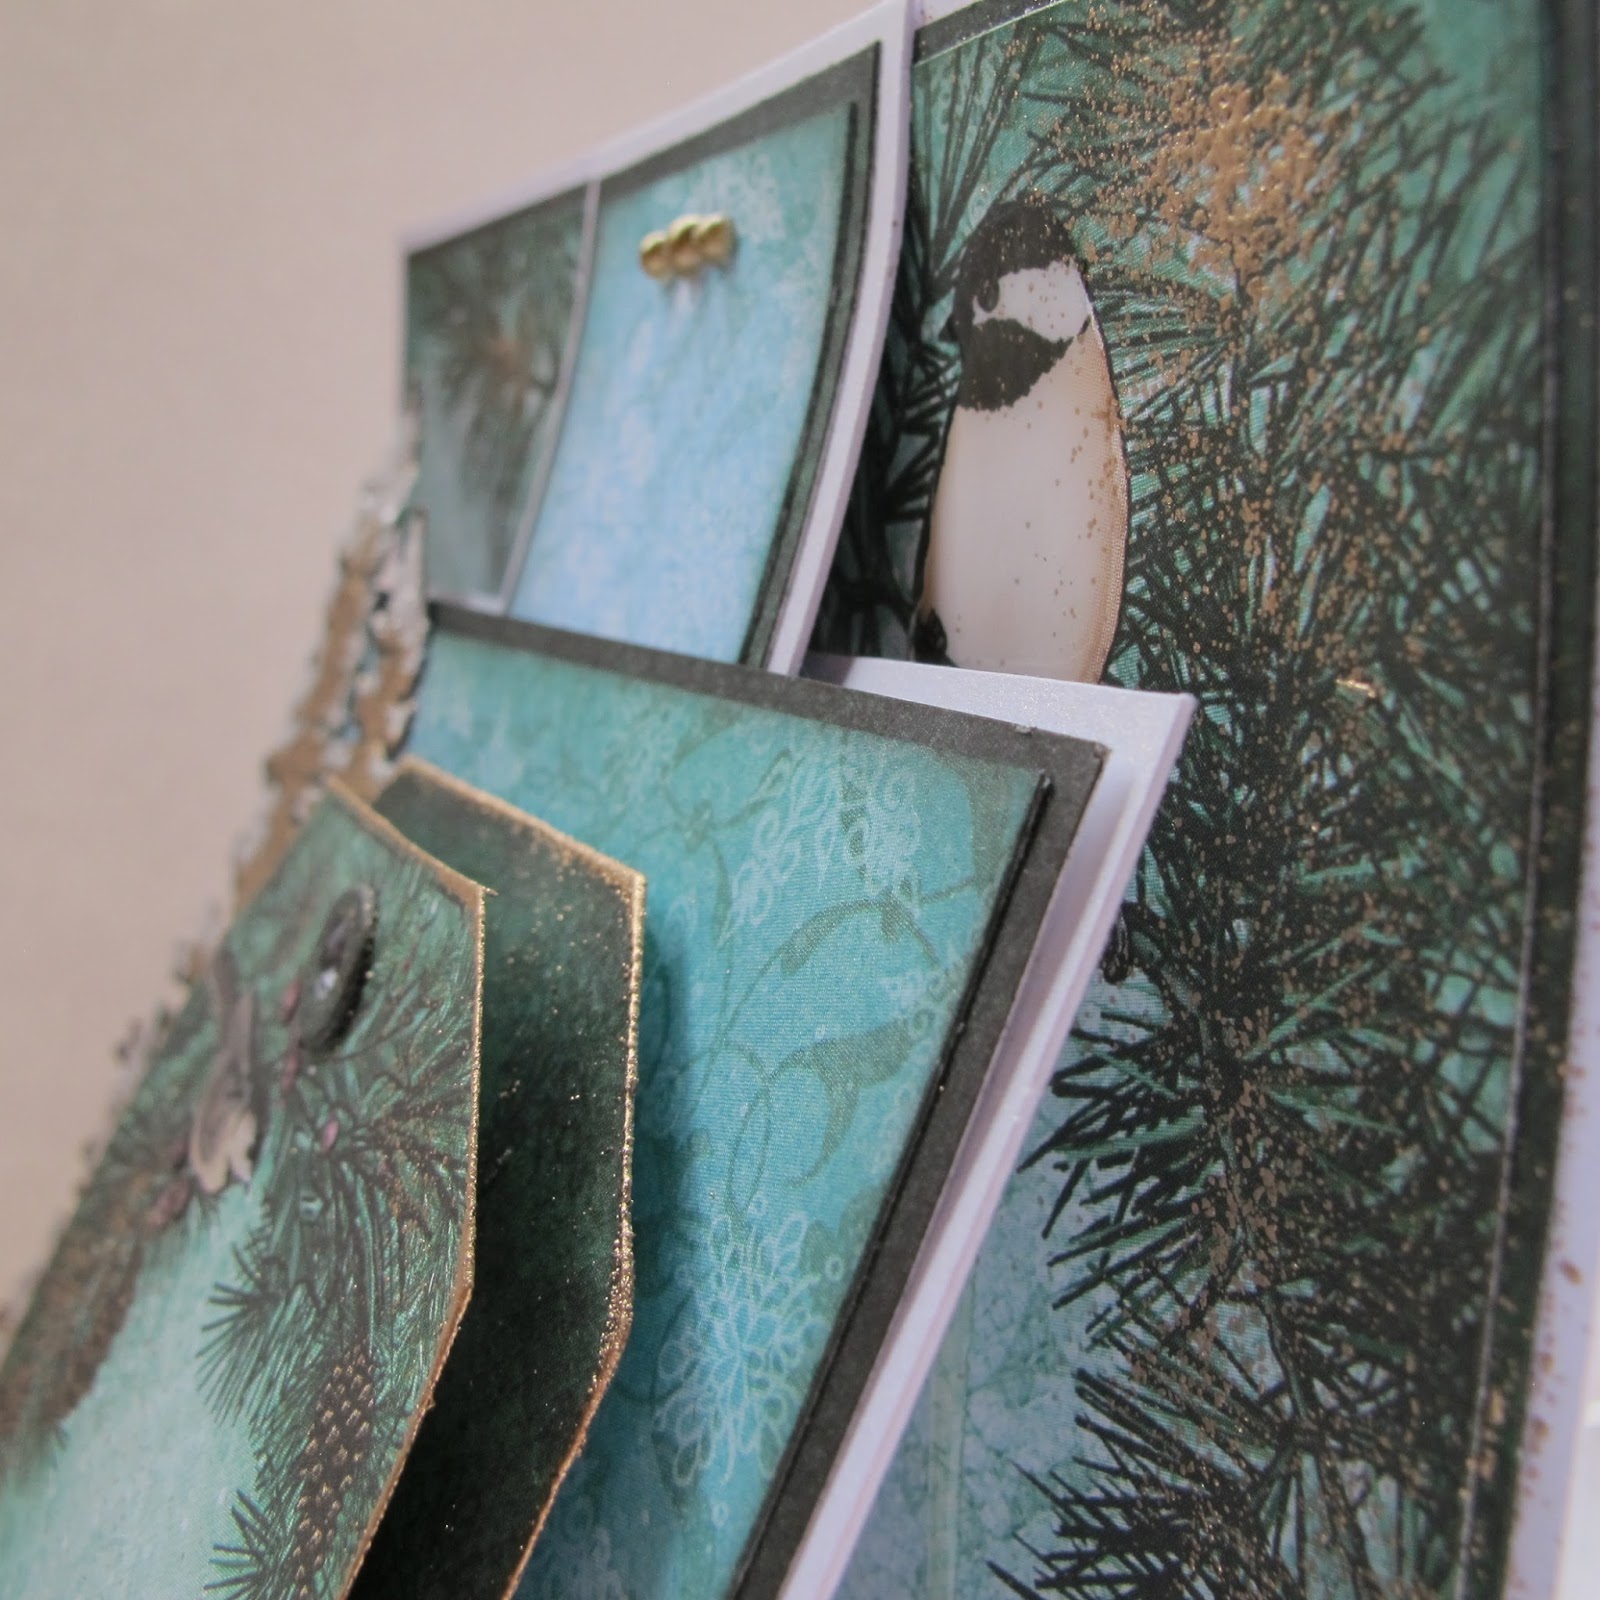
Today I want to share a very elegant card to start the new 'SNOW KISSED'  collection off with.
The tag and box in this release can be used all the year round.
Today I start with a Z slider card...I am totally in love with at the moment. If you make one you will know what I mean... Have fun on your visit.
'BABY IT'S COLD OUT SIDE'
Heartfelt Creations Products and Products carried by Heartfelt Creations:
Other Products:
Card stock: Crafters Companion 300gm White hint of gold. Other: Versa-mark, Ranger glossy accents, Glue dot, Winter white seam binding ribbon, fussy cutting scissors, 1/2 Gold pearls, Diamond dust. Black soot, Pine needles distress inks. Foam distress ink tool.
Directions: 
The finished size of this Z slider card is 15 cm x 13.5 cm.
Using the white card stock cut for the card base, 27 cm x 13.5 cm. Make folds at 6 cm and 12 cm across the 27 cm side to form a hill and valley fold. 15 cm x 13.5 cm and 6 cm x 13.5 cm. from this will be decorated with design paper. The card front extension, cut 13 cm x 10 cm. For the card front slide, cut 11.5 cm x 4.5 cm. 
Find the papers in the paper collection to decorate the card fronts. Taking 2mm off the edge for each layer.  Take the tag die from the Snow Kissed collection and cut from the design paper. Do the same with the tag die from the Luggage and Tags die set. 
After applying ink to the edges of the cut design paper, adhere all to the card stock bases. 
* NOTE* 
Matting on the card front extension is left open along the top so the card front slide can be slipped in to it. Adhere the Card front extension about ? cm up from the card foot edge. The card front slider can now be adhered to the center top of the card. 
Stamp the Spruce trees with the gold embossing powder, cut and shape with the flower shaping tool kit. 
Apply the white drying glue on the tips and branches of the Spruce tree, sprinkle Diamond dust over the glue. Put aside to dry. 
Die cut the leaf banner image and apply glitter to it. 
Find the sentiment, cut and apply gold embossing the edges, do the same for the tag edges.  
Make a bow from the ribbon. Arrange the embellishments then adhere in place. 
Sprinkle a little gold embossing powder onto the tag and background, heat emboss this. Add the ? pearls. 
Apply the glossy to the birds and berries. When dry slip the card front slider between the matting papers that have been left open and card stock. This will allow the card to close and when pulled a little, the card will stand firmly on it’s own.
I found this card base so wonderful....so much so that I will be using this as a card base in a lot of my future cards....if you visit often you will notice...lol
Thanks for stopping by to look at the details of this card.
sussipoppins inky hugs...and I wish you a very happy scrappy day.

Wednesday, August 3, 2016

TOOL CONTAINER / HOLDER using Celebrate the Season collection from HEARTFELT CREATIONS


Amazing what one can do with a tin can!...Get your skates on and take a look...lol 

Heartfelt Creations Products And Products Sold By Heartfelt Creations 
HCD1-7105 Festive Gate die
HCD1-783 Boarders die
Other Products Used:
Card Stock: White, Green. Ranger: Stardust and Platinum stickles, Heat Gun, Water Coloring Brush, Water Mister, Inking Foam Tool. Distress Inks: Forest moss, Bundled sage, Victorian velvet, Spiced marmalade, Mustard seed, Brushed corduroy, Ground espresso. Other: Versa-mark, Fussy Cutting Scissors, Double Sided Foam Tape, Recycled tin can from tinned fruit. Tonic paper cutter, 
Tonic die cutting machine.
# Click HERE and HERE to see the Deluxe Flower Shaping Tool Kit
# Click HERE to see how to make the Poinsettias
# Click HERE to see more info on this collection
The finished size of this project is, 10 cm x 11.5 cm. 8.5 cm across the circle base
Please note all the stamping is done with the gold embossing powder.
Got your skates on yet?....lol
Instructions: Begin with washing the tin can. Because all cans are not equal, you will need to cut the cardstock to fit your own can measurement.  Cut: 1 outer and 1 inner cover from the green cardstock. Cut an outer and inner circle also from the same green cardstock. 
Taking the boarder die, cut a strip to fit the can top edge with a 1.5 cm over lap. Adhere the cardstock to the out side of the can. Place and adhere the border to the can edge. Spray a little with water to help get the cardstock to fold and bend better if needed. When dry adhere the can lining and inner circle. Ink the can edge. 
Stamp, die cut, color and shape the leaf border. Adhere this border to the inside can edge to hide the cardstock joins. Adhere the under bottom circle in place.  
Stamp, die cut x 2 of the fence. Color the fences with the Bundled sage and Ground espresso inks. Trim the fence to fit the outside of the can, apply foam dots or tape to the back then attach.
Stamp, color, die cut and shape the Poinsettias, 
Then the skating-boots and mittens. 

Adhere these in place with glue and foam dots. When all is dry and secure, apply stickles to make it all pop.
Aren't these mittens and skates so cute!
You could always make a set of theses. Have them joined together or leaves separate to show all your skills.
This is a very practical gift or a must have for your self. Remember there is always more joy in giving, but even more joy in making.
Well with that scrappy thought....I wish you much inky scrappy fingers and
sussipoppins inky hugs.