Introducing the new Botanic Orchid collection
Showy, elegant and graceful, the divine orchid flower is one that is most certainly recognizable for its unique shape and known for taking center stage all on its own! Heartfelt Creations presents to you their newest collection…The Botanic Orchid. Overflowing with stunning floral images enveloped in soothing moss like greens, soft sky blues, creamy whites and flowery pinks, alongside rich burgundies and vibrant teals this collection is sure to appeal to any flower enthusiast. Intricate illustrations and die cuts of orchid blossoms and bouquets, accompanied by delightful hummingbirds and scripted sentiments will have you creating your very own botanical experience with hand shaped orchid flowers bringing a realistic touch to all of your paper creations! Preprinted sentiments along with those in the stamp collection are ideal for covering a wide range of occasions including weddings, friendship, sickness, encouragement and sympathies. As one of the oldest flower species in the world, this unusual blossom native to rainforests and jungles has also taken on beautiful meanings relating to each specific orchid color including innocence, grace, joy, respect, admiration, health, happiness and passion, making this the perfect flower to convey a silent but special message for friends and loved ones on any paper creation!
‘Warmest Wishes’

PRODUCT LIST
NEW PRODUCTS- Botanic Orchid collection
NEW PRODUCTS- Botanic Orchid collection
HCDP1-267 Botanic Orchid Paper Pad
HCPC-3741 Botanic Orchid Cling Stamp
HCPC-3742 Regal Humming Bird Cling Stamp
HCPC-3743 Botanic Orchid Bouquet Cling Stamp
HCPC-3744 Botanic Orchid Wishes Cling Stamp
HCD1-7100 Botanic Window Die
HCD1-7101 Botanic Orchid Die Set
HCD1-7102 Regal Humming Bird Die Set
HCD1-7103 Botanic Orchid Bouquet Die Set
Other Products Used:
Cardstock: A4 Crafters Companion Centura pearl-snow white hint of gold 300 gm, , Bazzill Fuchsia Cardstock. Aquarelle paper. Tonic: Paper cutter, Die cutting machine. Ranger: Icicles stickles, Heat gun. Derwent Inktense 72 watercolor pencils: fuchsia-0700, Dusky Purple-0730, Fern-1560, Cadmium yellow-0210. Pink wired ribbon, Foam tape, Zutter bow maker, Foam tape, Versa-mark, Hot glue gun, Tonic paper cutting machine, Tonic die cutting machine.
Instructions:
Click HERE to wet your appetite
Click HERE to see the video on using the Deluxe Flower Shaping Tool Kit…
Click HERE to see tips on this collection
This tent fold card measures when completed, 20.9 cm x 14.7 cm. Please note: All the stamping is done with the gold embossing powder. Using the A4 Crafters companion card stock, fold in half to make the card base. From the Fuchsia cardstock, cut 14.3 cm x 20.3 cm, adhere to the card base with foam tape.

Find the paper from the paper pad with the diamonds design, cut all the diamond shapes out. Gold emboss the edges of the diamonds with the orchid spray on it, trimming as needed to fit the card matting. Adhere to the matting with the foam tape or foam dots. This was a fair bit of work...but well worth it, you can get 2 cards out of 1 design paper. The diamonds are already printed so this cuts all the measuring part out of the equation.

Die cut the frame using the Fuchsia cardstock and the two outer dies from the window frame. Adhere to the card front.

Make a triple bow and adhere to the card.

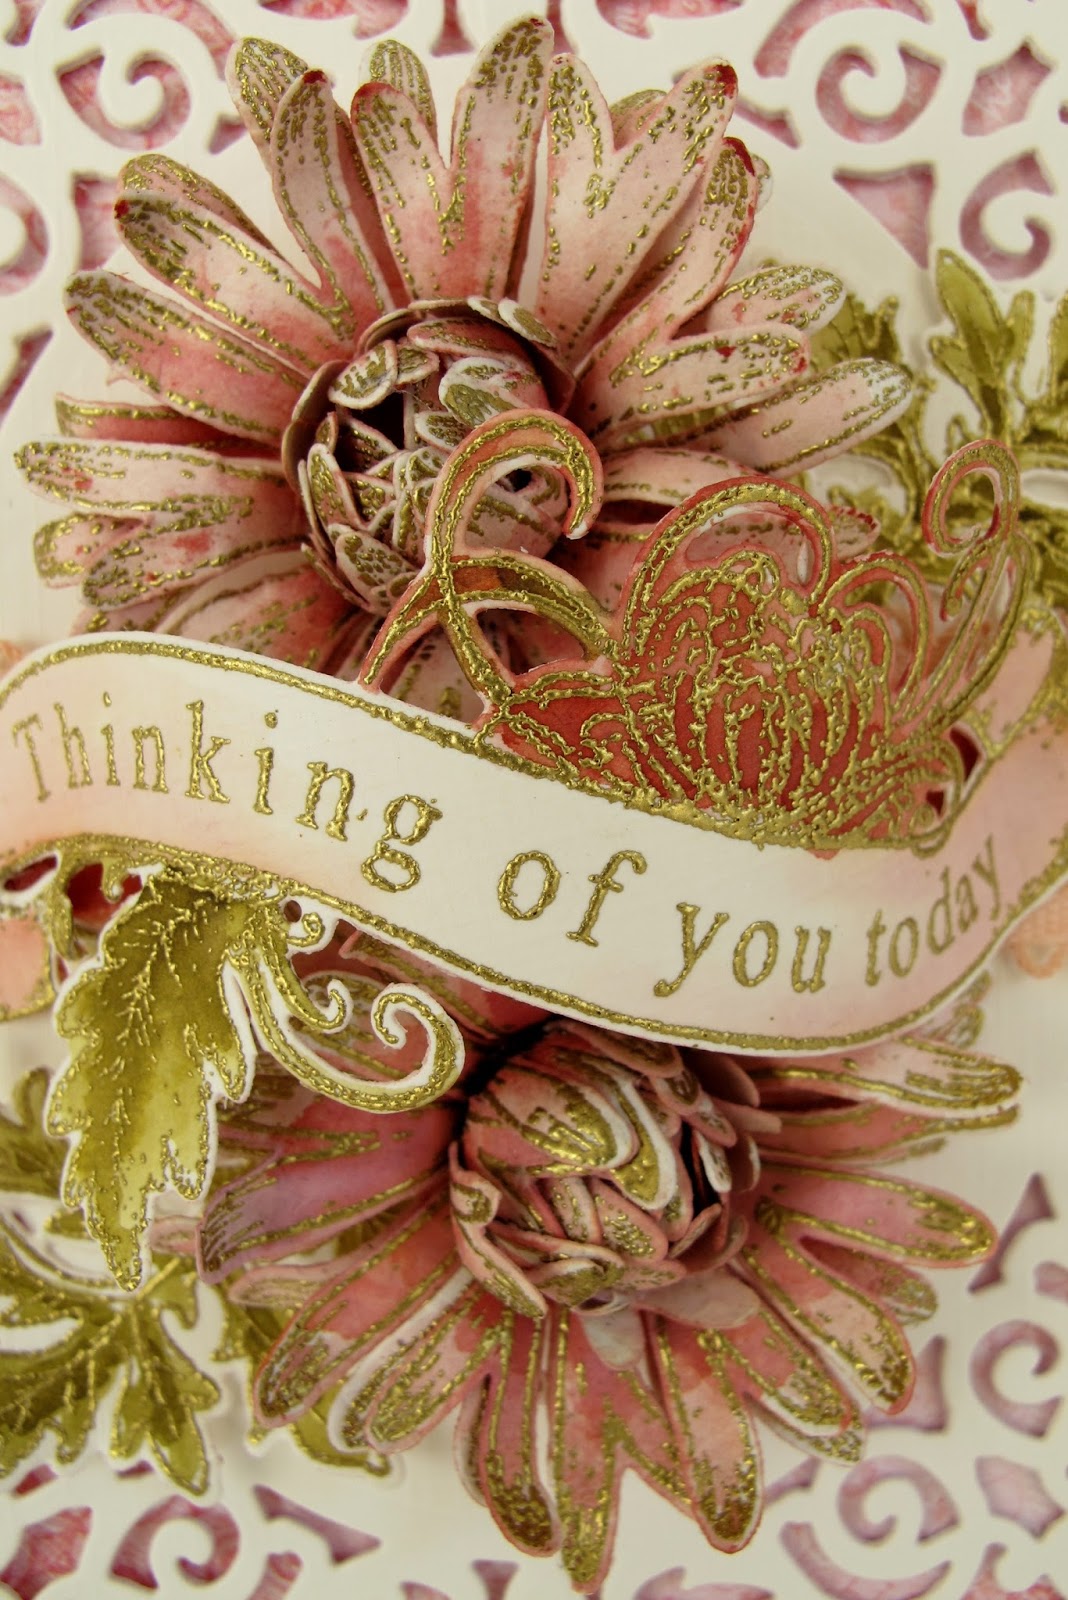
Stamp, color and die cut the orchid, orchid swirl and the orchid trail from the Botanic orchid bouquet sentiment. Mask and stamp the sentiment, ‘Warmest wishes’ from the same stamp.

Trim the sentiment then apply embossing powder to the edges. If extra embossing powder gets on the tag...that looks even better. So don't greek out, if you think it is too much brush the powder off a little before bringing heat to the banner

Here you can see all the water colouring, I think it brings texture to the Orcid...so yum with the gold embossing powder....I am so addicted to this....thats if you have not already guessed....hahahaaha
Adhere to the card. Bring shape to the elements with the flower shaping tool kit. Apply stickles to the frame.
Below you can see the layers..the humming bird tucked between the ribbon makes a subtle finish to the embellishment. He is so cute! You could add stickles to him if you wanted him to pop more.

When dry arrange and adhere the elements in place.
Another view of the finished card, you could change the sentiment for a card for any occasion.

I hope you love this card as much as I do....so love this collection!....Always falling in love with what Heartfelt Creations brings out.... Till next week...inky hugs and wishing you all scrappy sunshine,
sussipoppins love...oxo