

FOR THE BRIDE AND GROOM

Heartfelt Creations Products And Products
Carried On Their Website:
Calla Lilly paper collection HCDP1-2110
Calla Lilly 3D shaping mold HCFB1- 484
Calla Lilly cling stamp set HCPC-3897
Calla Lilly die set HCD1-7275
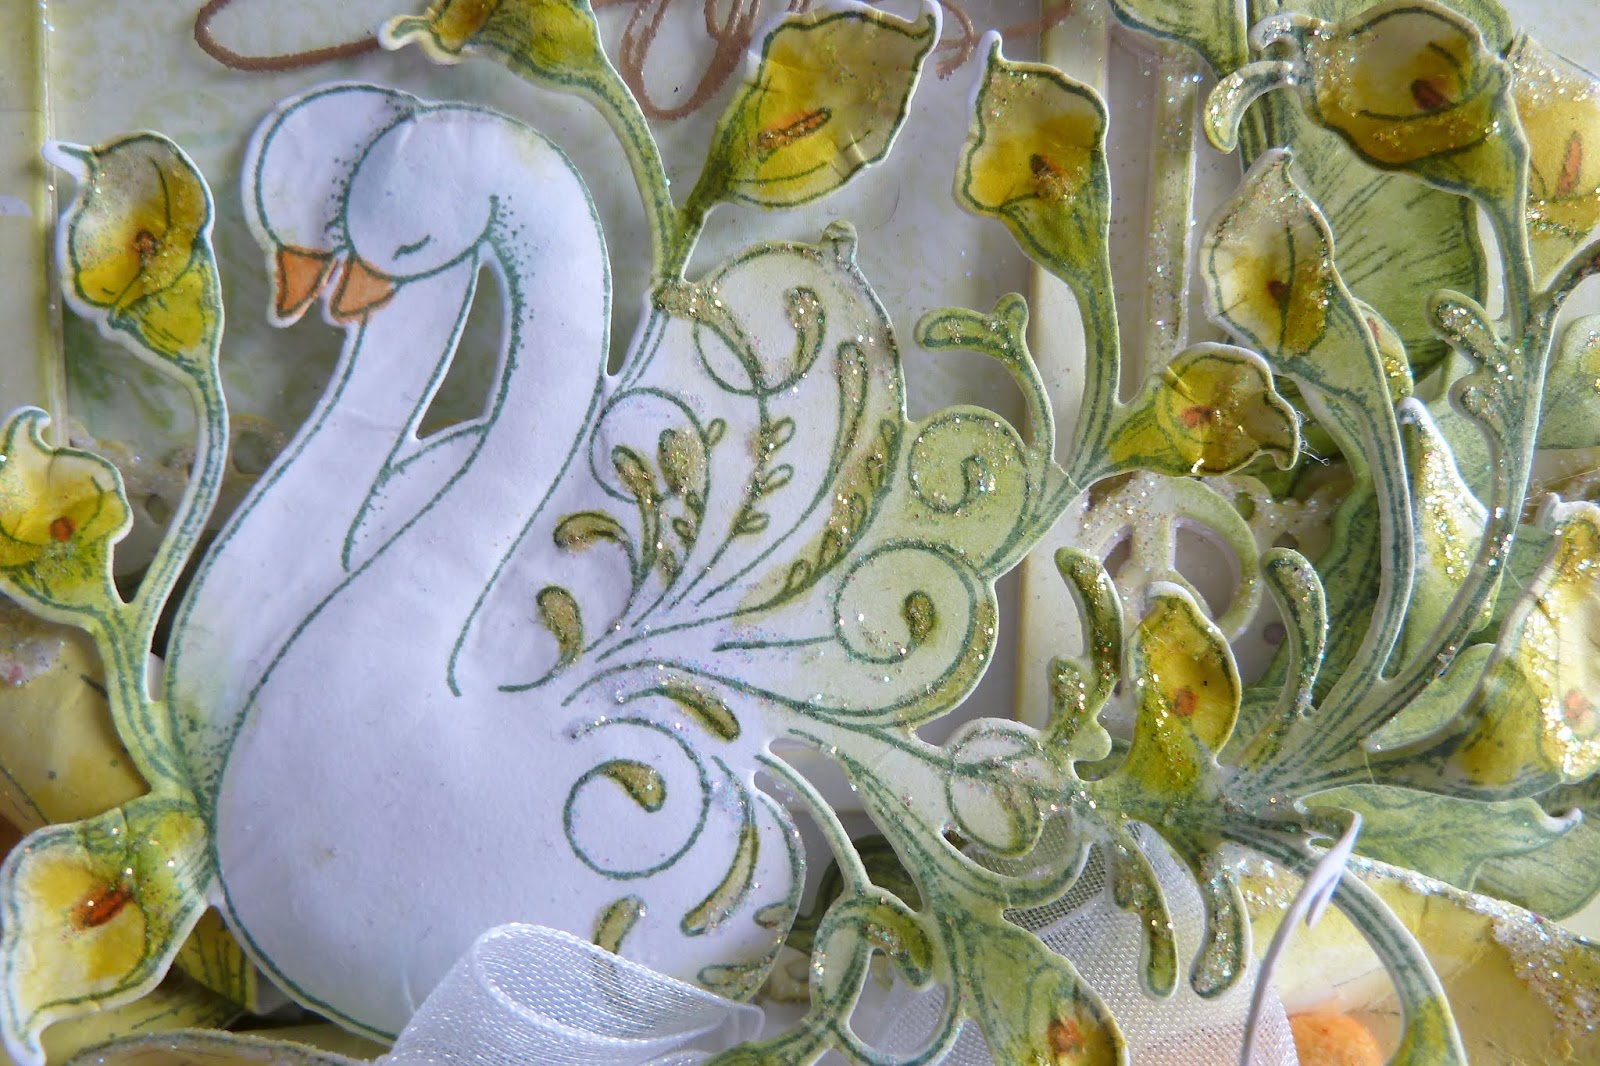
Feathery Swan cling stamp set HCPC-3898
Feathery Swan die set HCD1-7276
Swan Lake cling stamp set HCPC-3899
Swan Lake die set HCD1-7277
Botanic Window (Limited Edition) HCD1-7100
Album Tags and Accents die HCD1-7202
Pastel Pollen Stamens Medium HCS1-485
Classic Wedding Wishes cling stamp set HCPC-3790
Stack and Store Daubers Pack of 6 HCDA1-449
Deluxe Flower Shaping Kit HCST1-401
RAHT Heat It Craft Tool
359760 Gold Embossing Powder
DDOTS Double Dots-3d foam circles
159723 Designer Dries Clear Adhesive
173842 Score-Pal Measuring and Scoring
Board
359848 Spellbinders Tool N’ one
31510 Funnel Tray
85-glitter Crystal Ultrafine Transparent
Glitter
RACP475 Library Green Archival Ink
Other Products Used:
Spectrum Noir Harmony inks: Orange, Pine
tree, Grasshopper, Lemon Tonic.
Diamond stickles, Hot glue Gun, Fussy
cutting Scissors, Double sided Tape, Double Sided Foam Tape, Misti Stamping
Tool, Versa-Mark, White organza ribbon, A4 Sheena Douglas White Stamping Card.
Crafters Companion Heat Resistant acetate. White card.

INSTRUCTIONS:
The finished size of this card is 8 ¼” x 6
¼” / 21cm x 16cm
Taking the white card stock make a hinged
tent fold card measuring 8 ¼” x 6 ¼” / 21cm x 16cm. To do this, cut x2 of the
above measurements from the white card stock. From one of the cards make a
½ “ / 1.5cm fold line across the smaller edge. Apply the double-sided tape between the edge of the card and fold line. Remove the protection tape about 1” / 2-2.5cm on both ends, fold these back on an angle so you will be able to remove it when adhered. Once both the cards are aligned remove the protection tape. Your card base is made. When the card is completed, the back card can be folded out so the card will stand.
½ “ / 1.5cm fold line across the smaller edge. Apply the double-sided tape between the edge of the card and fold line. Remove the protection tape about 1” / 2-2.5cm on both ends, fold these back on an angle so you will be able to remove it when adhered. Once both the cards are aligned remove the protection tape. Your card base is made. When the card is completed, the back card can be folded out so the card will stand.
Cutting list:
The Arch: 3x white card, 1x
white stamping card. The swans:1x
Calla Lilly: 3x large,3x medium, 2x small. Calla Lilly large sprays: 3x
pairs Calla Lilly sprays small: 2x spray pairs. Leaves; 3x large leaf, 3x small
leaf. All the stamping is done with the Library Green ink.
Ink the card front edge with the Yellow
Tonic ink using the dauber or foam-inking tool.
Find from the collection the pale green
background paper with the swan in the arch on it, cut this to size. Ink also
the outer edges of the papers with the Yellow Tonic ink. Adhere the papers to
the card front leaving the space to between the two papers for the paper eyelet
lace die cut. The paper lace trim is inked with the Yellow Tonic ink then
dipped into the glitter. Set aside to dry, when dry trim to size then adhere
across the card.
Make the arch by adhering all the die cuts
together, making sure you have the stamping card on the top for inking with the
Yellow Tonic and Grasshopper inks. When the arch is inked apply glitter to the
outer edge, when this is dry adhere the arch to the card front so the tip of the
arch is about ½” / 1.3cm from the top of the card.
To make the Calla Lilly’s:
The cream colored stamens are used for each Calla lily; apply a little orange ink to the stamens before use. Bring color to the leaves and the Calla lily’s using the Harmony inks and the inking tool. When this is done bring shape to them by using the 3D Calla Lilly mold that comes with the collection, using the shaping tools when needed. Adhere the stamen to the lily center using the hot glue gun and then folding both the lily edges over to the front to cover the beginning of the stamen. The wire is inked with the grasshopper ink. For these flowers the wire is not cut away until they are twisted around each other to keep the flower spray in place.
The cream colored stamens are used for each Calla lily; apply a little orange ink to the stamens before use. Bring color to the leaves and the Calla lily’s using the Harmony inks and the inking tool. When this is done bring shape to them by using the 3D Calla Lilly mold that comes with the collection, using the shaping tools when needed. Adhere the stamen to the lily center using the hot glue gun and then folding both the lily edges over to the front to cover the beginning of the stamen. The wire is inked with the grasshopper ink. For these flowers the wire is not cut away until they are twisted around each other to keep the flower spray in place.
Once the Calla Lilly’s, leaves and all the
elements are made adhere first the leaves and the Calla Lilly’s the foot of the
card front. Make a double bow and adhere this in place. The swans, then the
sentiment above the swan’s heads, adhere the sentiment made with the acetate
using the hot glue gun or clear drying glue to the edges of the arch. Adhere
the Calla Lilly sprays where needed as fillers for the arrangement making sure
the glue used for the sentiment is covered. Also adhering the Calla Lilly
sprays on both sides of the arch.
To finish the card, apply the diamond
stickles to highlight the stamens in the Calla Lilly sprays and to the swans
leaves and lilies.

I love love this collection...the lilly's and swans make a great marriage...well done Heartfelt Creations!
Till next week...inky scrapping,
Hugs Sussi


