Wednesday, January 31, 2018

This Heartfelt Creations Wednesday brings you....

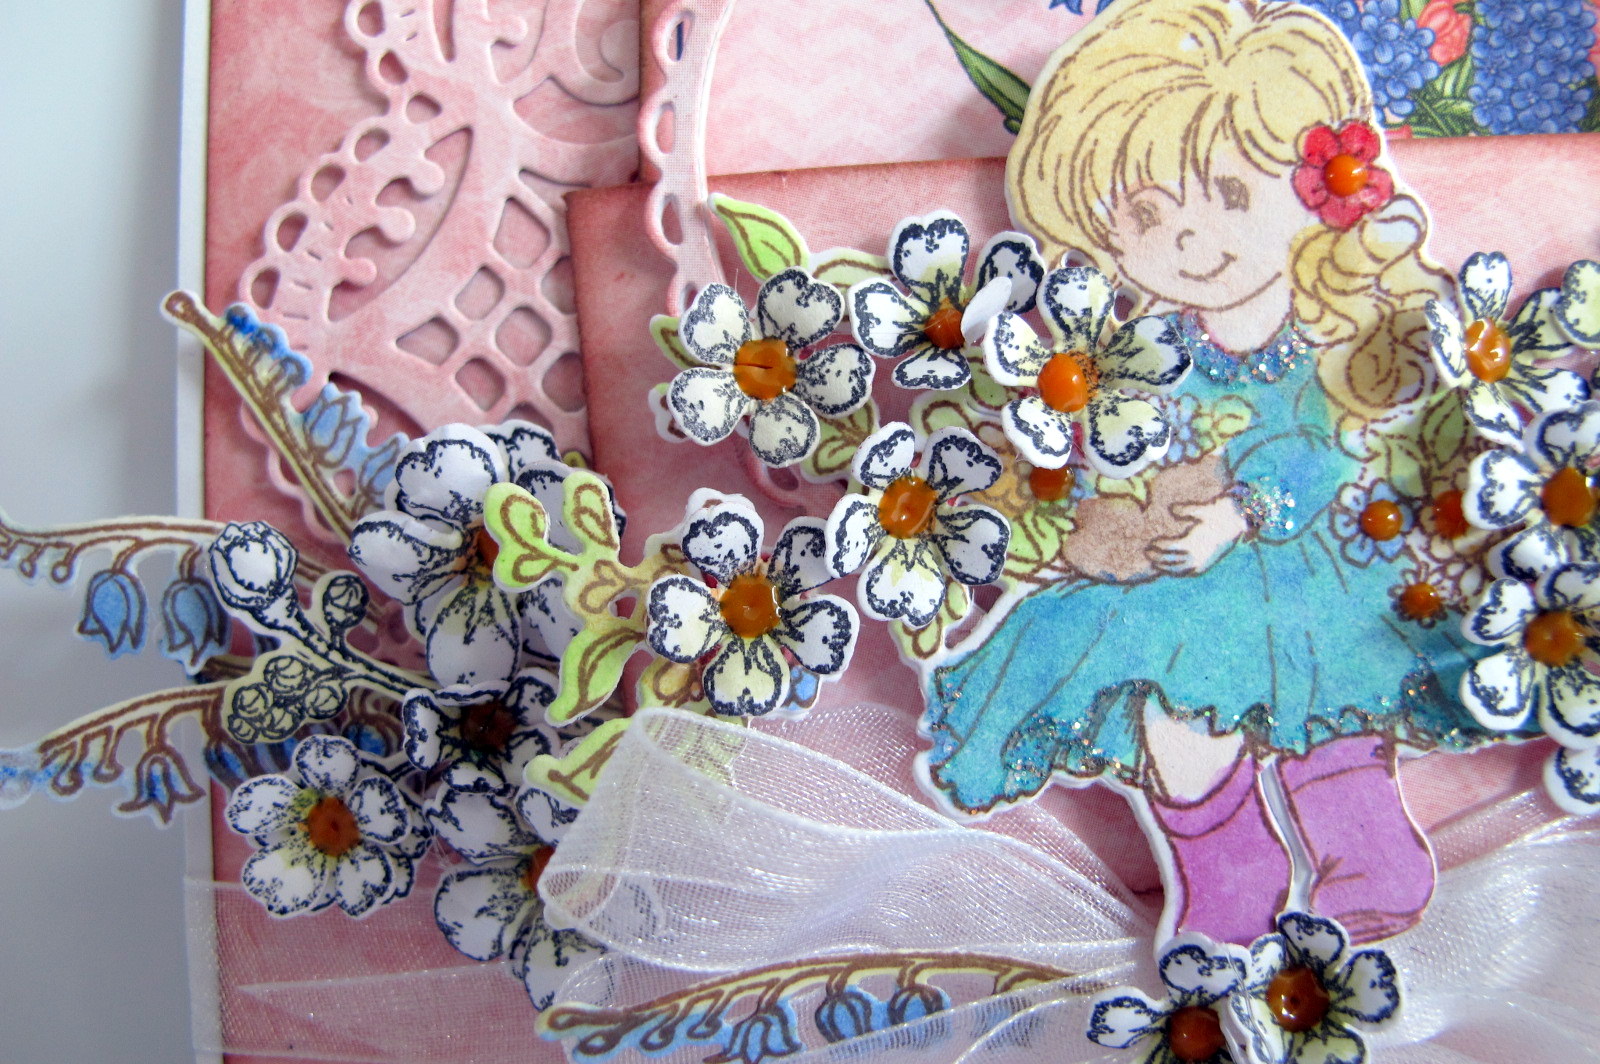
 another sweet card from the 'Singing In The Rain' collection
THINKING OF YOU


Heartfelt Creations Products And Products Carried On Thier Website: 

Other products used: 
Inks: Carad`ache Neocolor II water-soluble wax pastels: 140-Ultramarine, 230-Yellow Green, 070 Scarlet, 081-Pink. Archival coffee ink. Distress inks: Victorian velvet, Faded Jeans, Peeled Paint. Other: Diamond stickles, Water Mister, Inking tool, Water coloring brush, Scissors, Ruler , Hot glue gun, Double Sided Foam dots, White organza ribbon, Misti stamping tool.


Instructions:
The finished size of this card is 5.31 in x 5.31 in (13.5cm x 13.5cm) Taking the white card-stock, make the tent fold card to the above measurements. From the Singing in the rain paper collection, find the green background paper and the paper with the birds and umbrella printed on it. Cut the green as the 1st matting at 5.12in x 5.12in (13cm x 13cm) The 2nd being the printed birds and umbrella, cut this to 4.72in x 4.72in (12cm x 12cm) Ink the edges with the matching distress inks. Adhere to the card front using the 3d foam dots. Find the design paper from the collection with a pink color, the sentiment stamp and the archival coffee ink, stamp the sentiment to the paper. Taking the eyelet heart die, die cut the sentiment. Ink the edges with the Victorian velvet ink. Taking the white card-stock, stamp and coffee ink, stamp the images. X2 the broken heart flowers, x1 the bird on the branch and x1 the birds under the umbrella (die cut this x2 extra, to make a chippie from the image.) Color these images using the colors listed in the product list. 


Adhere the extra dies cuts to the bird and umbrellas image to make the chippie. Adhere this to the already printed image on the paper. Adhere the ribbon around the foot of the card. Adhere the sentiment heart to the left side of the card. Make a triple bow and adhere this to the point of the heart so you can still see the words. 


Trim the bird and leaves from the branch of the stamped image and trim the broken heart sprigs. Arrange these around and on top of the knot of the bow. 


To finish the card, apply diamond stickles to the broken heart flowers, the polka dots on the umbrella and the flowers under and on top of the umbrella.
*****
Exciting event!
Yes I would love to remain in the team for another DT term. I would appreciate your vote.
Sussipoppins inky hugs
OXO


Design Team Call: Many of you have been asking when our next design team call is happening....it's finally here! If you are passionate about stamping or scrapbooking, and love Heartfelt Creations products, CLICK HERE for more details. 
Vote for your favorite design team members: When we announce a new design team call, that also means that we have a tough time deciding which of the current designers continue on the design team. We are giving you the opportunity to get involved and vote for 5 or more of your favorite design team members: http://hcgo.co/DesignTeamVote2018. You can only vote one time and you have to select 5 or more to be eligible to participate. Voting ends on February 9th, 2018.

Monday, January 29, 2018

Crafters Companion love today....'Unleash your inner Sparkle'

Hi there, today I have lots of fun sparkle going on. As always the camera has not done the sparkle justice....believe me there is a lot of sparkle going on, you will see it more in the close ups further on in the post. Enjoy the visit.


INSTRUCTIONS:
*The finished card measures 14.5cm x 21cm.
*To make the card base-Taking the fancy card-stock cut x2 the above measurements.
*Make a 1.5cm fold on one end of one of the card-stock pieces.
*Apply double sided tape and clear drying glue to the fold, adhere together.
*Take the fancy design card-stock and make the contrasting matting a little smaller than the card base, stack and adhere.
*Stamp the images used from the stamp collection using the archival inks. 
*Use the pencils from the set to bring colour to the images.
*Fussy cut the images then apply clear drying glue where you want the glitter. Apply the glitter. 
*Adhere all to the card front as seen in the photo.
*Stamp the dragonflies as showen.
*Stamp the sentiment onto matching paper then die cut the sentiment using the smallest oval from the Parisian Mirror die set.
*Taking and trimming the card-stock for the inside of the card, adhere the images all ready prepared and stamp the dragonflies.
*Adhere to the card inside ready to for the message to be written.


Loving all that glitter....got quite addicted to it....there is now glitter all through the house.....
....every where....my poor DH....lol


Get out the fussy cutting scissors....sorry no matching dies to go with this collection.
...but fussy cutting can be fun too!...can be very relaxing...lol.


A side view.


The inside is decorated with a fussy cut flower, hanging leaves and stamped dragonflies.
All ready for a personal hand written message.


*****

PRODUCT LIST:
STAMPS: 
Fairy Door CC-ST-FD
Magic Garden CC-ST-IMG
Fairy Garden CC-ST-FG

DIES:
Desiree die Classiques- Parisian Mirror DD-C-PMIRR
Inks:
Spectrum Noir-Aqua Blend Primaries set of 24
Archival inks-Plum, Maroon, Magenta hue, Sap green,Coffee, Olive. 

PAPER:
Crafters Companion fancy card-stock
Crafters Companion water colour paper

OTHER: 
Glitter, Clear drying glue, Double sided tape, Score board, Paper cutter, Fussy cutting scissors, Water spritzer,Gemini.
All products can be found at Crafters Companion or Hobbeidee-breda

The best way to unleash your sparkle....be a copy cat and do the sparkle thing.....
.....most of all have fun having a happy scrappy day
InkySussipoppins hugs
OXO
*******

Wednesday, January 24, 2018

Heartfelt Creations Wednesday....'In my Heart'

Hi...if you like a lot of details....this is for you.....
a lot of fussy mini flowers, but well worth the time and effort.
Enjoy your visit.


Heartfelt Creations Products And Products Carried On Their Website:

OTHER PRODUCTS:
Carad`ache Neocolor II watersoluble wax pastels: 140-Ultramarine, 230-Yellow Green, 070 Scarlet, 220 Grass green, 031-Orangish yellow, 159-Perssian blue, 081-Pink, 059-Brown, 051-Salmon, 211-Jade green, 100-Purple violet. Distress Inks: Walnut Stain, Victorian Velvet. Other: Diamond stickles, Heat Gun, Water Mister, Inking tool, Water coloring brush, Scissors, Ruler, Coffee Archival Ink, Hot glue gun, Fussy Cutting Scissors, Double sided Tape, Double Sided Foam dots, White organza ribbon, Misti stamping tool.

Instructions:
The finished size of this card is 5.31 in x 5.31 in (13.5cm x 13.5cm) Taking the white card-stock, make a tent fold card to the above measurements. From the paper collection find the pink design paper and cut a card front matting a little smaller than the card base. Ink the edges of this paper with the Victorian velvet distress ink. Then with the Walnut stain ink. Using the same design paper cut a small heart shape using both the scalloped heart edge and the plain heart edge to make a heart shaped ring. From the same heart dies, cut 2 extra from the white card stock to make a chippie. Again from the same design paper cut the two dollies using the Festive Holiday die and cut once the window box from the Window Box Elements die set. Using the Victorian Velvet ink, ink the edges of the window box and the heart ring. Find the printed tag used in the paper collection. Ink around the edges with the Victorian velvet ink. Taking the white card-stock, archival coffee ink and stamp the images used for this card from the Wildwood Florals, Rain Boots And Blossoms, Songs Of Spring and the Wildwood Accents stamp sets. Bring color to the images using the colors listed as a guide. Once all has been colored die cut the images with the matching die sets. 


To decorate the card front: 
Adhere the two dollies to the card front then the window box to the lower center of the card front. 


Wrap the ribbon around the card front and secure with a triple bow. Secure in place with the hot glue gun.


 Adhere the heart circle to the window box then adhere the girl sitting on the branch. Bring shape to the flowers then adhere to the arrangement. 


Add the flower clusters to each side of the window box inline with the already adhered flowers. Adhere a few flowers over the knot of the bow. 


Taking the tag, adhere a flower cluster arrangement to the top of the tag. Apply the Nuvo crystal drops to the flower centres. 


Adhere the tag in place in the window box with double-sided tape. To finish the card, apply stickles to the little girls dress skirt edge, collar, and cuffs.

You have probably noticed I have cut the wings away....you don't have to only use these little sweet heart girls as fairies
I love to be able to use product for more than one use.....you get to get more out of the investment.

****
Have a scrappy happy day, with inky love,
Sussipoppins
OXO


Tuesday, January 23, 2018

Crafters Companion love with flowers today....

You can always say it with flowers.....and today the hue is Purple and Lilac...


 Framed in Green....you will never go wrong with this one...for any occasion.


A few close ups of the inked flowers...as always to finish...a bit of bling.


So pretty...and so easy to make.

PRODUCT LIST:
CREATE-A-CARD dies: Love is in the air-DS-CAD-AIR and Spring Garden-DS-CAD-SPR
SUP Inks: Old Olive, Daffodil Delight, Perfect Plum
Self adhesive gems-yellow, Inking tool, Clear drying glue, white card-stock, organza ribbon.

INSTRUCTIONS:
This  card measures 13.5cm 13.5cm when completed.
First make the tent fold card base.  
Taking a piece of card-stock and cut 3.5cm longer than the card front. Thus, 17cm x 13.5cm. 
Make a fold at each end 1.5cm.
Taking the Spring garden die, place it at the centre and die cut.
Taking a piece of card-stock 13.5cm x 13.5cm and die cut the shape from the die-Love is in the air.
Use the inks to bring colour to the cuts in both card-stock peices.
Adhere the loe is in the air to the card front base then adhere the folded ends of the Spring garden die cut card-stock to the card front base. This will leave a curve in the card front.
Bring shape to the flowers and adhere the gems to the flower centres 
Wrap and adhere ribbon to the lower card front under the doves. 
Make a triple bow from the ribbon and adhere to the ribbon band.
Adhere flowers to the right of the bow.

 I am sure you will find this card can be used for any occasion needed. Visit Crafters Companion UK or  Hobbidee-breda to find these fun dies 

Wednesday, January 17, 2018

Wednesday's Heartfelt Creations


...with the beautiful and cute, 'Singing in the Rain' collection....


PRODUCT LIST:

Other products:
 Inks: Carad`ache Neocolor II water-soluble wax pastels: 230-Yellow Green, 070 Scarlet, 081-Pink, 159-Prussian Blue, 031-Orangish Yellow, 059-Brown, 051 Salmon. 050 Flame Red, 220 Grass Green. Archival coffee ink. Other: Diamond stickles, Water Mister, Water colouring brush, Scissors, Ruler, Hot glue gun, Double Sided Foam dots, White organza ribbon, Misti stamping tool.


Instructions:
The finished size of this card is 6.61in x 5.31in (16.8cm x 13.5cm) Taking the white card-stock make a tent fold card using the measurements from above. From white card-stock cut 5.98in x 4.37in (15.2cm x 11.1cm) and 4.76in x 3.89in (12.1cm x 9.9cm) Find the design paper with a green tone as used in the card in the paper collection. Trim these a little smaller than the cut card-stock and card base and adhere in place as matting.  Adhere the larger card front to the tent fold card base. Adhere the card front with the 3dfoam dots to the card front panel. Taking the white card-stock, stamps and ink, stamp the leaves, broken hearts, flowers, girl and bird on the branch from the stamp sets listed in the product list. Color the images using the colors in the product list. Die cut the images using the matching dies from the sets. Cut x3 extra dies cuts from the white card-stock for the girl and the bird on the branch. Adhere these together to form chippies. Adhere the bird on the branch onto the printed images. Add a flower and a trimmed broken heart sprig to the branch.  Wrap the ribbon around the foot of the card. Make a triple bow and adhere to the card. Adhere the girl to the card front. Arrange and adhere the leaves and flowers around the girl. Trimming as needed. Do the same for the bow, three flowers adhered across the knot of the bow and leaf and broken heart sprigs to under the bow. Add the crystal drops to the flower centers. To finish the card, add stickles to the broken heart flowers and the lace on the girls dress.
***
All products for this card can be found in the product list above.
Have fun today...and create from the heart.
Inky love and hugs,
sussipoppins
OXO