
Hi, today I have for you a card.
"Aloha"
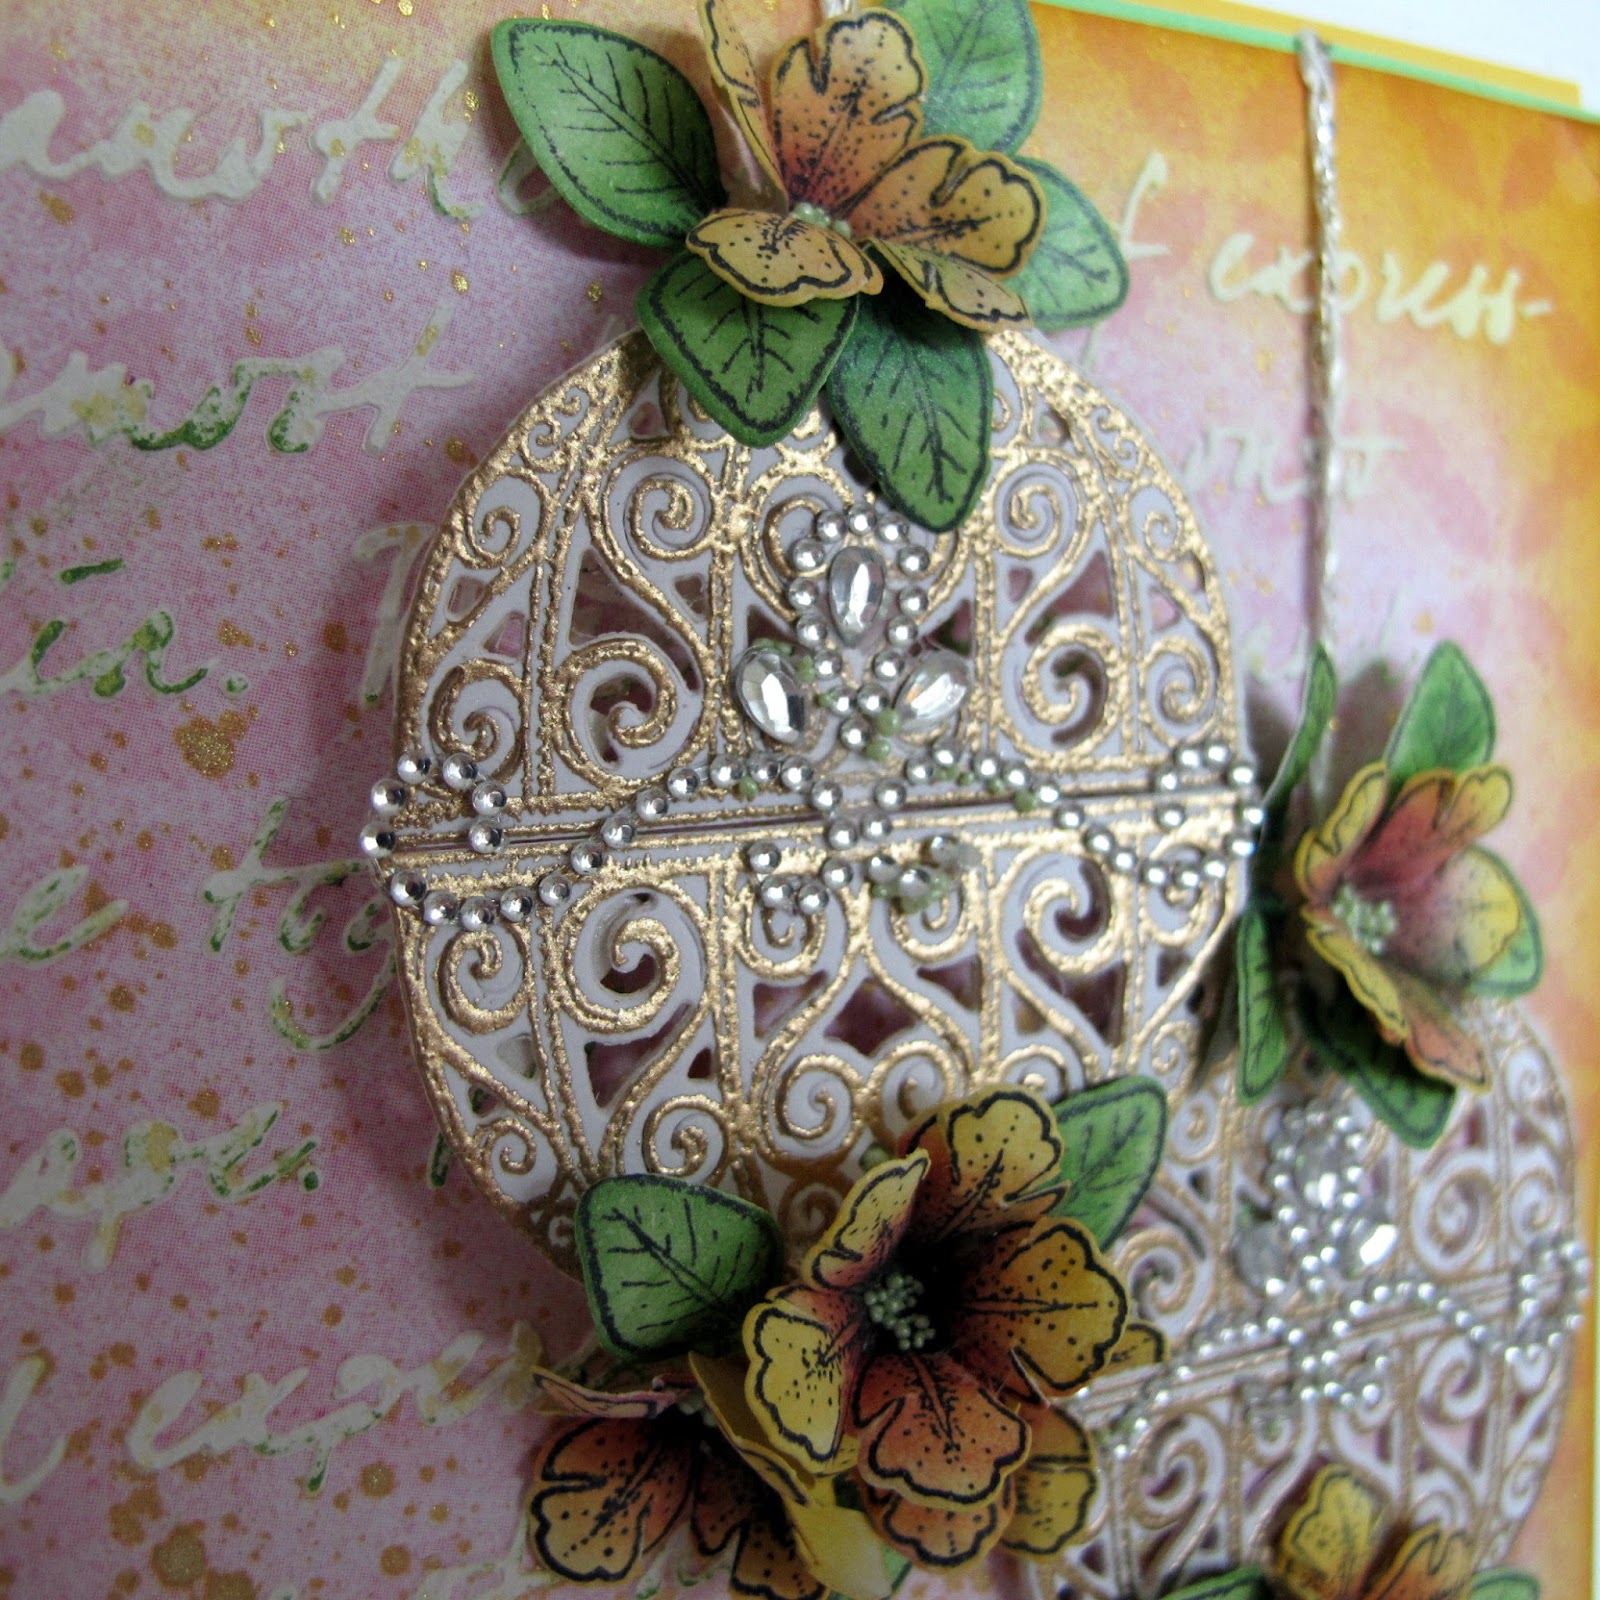
A different way of using the basket stamp and die in this collection...'Classic Petunia'...
Ballons or lamps....read on...

PRODUCT LIST:
Heartfelt Creations Products And Products Carried On Their Website:
OTHER PRODUCTS USED:
Yellow, Green cardstock, 170gm, Aquarelle paper, Memento Inks: Elderberry, Thyme, Rhubarb Stalk, Dandelion, Cantaloupe, and Cottage Ivy. Ranger: Heat Gun, Water Mister, Inking foam tool. Bone folder, Water coloring brush, Scissors, Ruler. Mustard Seed distress ink. Lindy’s Stamp Gang sprays Golden Sleigh Bells. Black Archival Ink, Hot glue gun, Versa-mark, Fussy Cutting Scissors, Double sided Tape, Double Sided Foam Tape, Fancy string, Misti, Hot glue gun. Dutch Doo-Ba-Doo modeling paste, Crafters Workshop Script mask
#Click HERE to see the video on making these flowers
Lots of close ups and instructions...enjoy.


INSTRUCTIONS:
This tent fold card measures 6.1/2"x 6.1/2"(16.5 cm x 16.5cm ) when completed. Taking the white cardstock make the tent fold card base. Using the yellow cardstock cut a little smaller for the matting. Taking the green cardstock, cut this to 6 " x 6 ". Find the pink background design paper in the paper collection, cut this a little smaller than the green cardstock. Taking the mask and the modeling paste, apply to the design paper. When the paste is dry ink the edges with the Mustard seed distress ink. Add a touch of green on the letters with the Thyme ink (green). Adhere all the layers to the card base with glue or tape, except the top layer. This is done with double dots or foam double-sided tape to give height. To make the three lanterns, use the white card stock and stamp with the gold embossing powder, make six. You will find the petunia basket stamp and die in the Classic Petunia Bouquet sets. When die cutting the image, cut a few extra for each basket so the lantern will become a chipboard when all the layers are adhered together. Adhere the fancy string to the back of the card front and to the placement of the top of the lantern. Adhere the lanterns in place with double dots and glue. Make the flowers and leaves by stamping with the black archival ink, die cutting then shaping. Apply the Lettuce Entertain You prills to the flower centers. When dry adhere in place to the lanterns with the hot glue gun or the clear drying glue. The leaves are snipped so they become separate leaves then they are tucked in under the flowers and adhered in place with the hot glue gun or the clear drying glue. Taking the bling border trim so it can be laid across the join in the lantern. Taking once again the yellow and green cardstock die cut the Aloha so this forms also a chipboard tittle. Adhere all the layers together then to the card front. Apply the crystal lacquer to the top layer to finish the card. Put aside to dry.
I hope you enjoyed seeing a little mixed media on this card. Quite simple but fun. Of course you can adapt and go crazy...what ever takes your fancy...lol
Have a scrappy inky fingers day....till next week.
Inky hugs from sussipoppins
OXO
Gorgeous project with lots of details.
ReplyDeleteStunning love what you have done with those baskets Hugs S xx
ReplyDeleteVery creative and oh so pretty!
ReplyDeleteGorgeous! Very creative!!
ReplyDeleteWow...this is gorgeous Susan! I LOVE how you've used the baskets!
ReplyDeleteThese make me think of Faberge eggs. So clever!
ReplyDeleteExcellent and beautiful card this week!
ReplyDeleteOh those ornaments are beautiful!! I love the bg and also the flower colors as well!
ReplyDeleteSuch a pretty card!!
ReplyDeleteWow, Such beautiful ornaments.
ReplyDelete