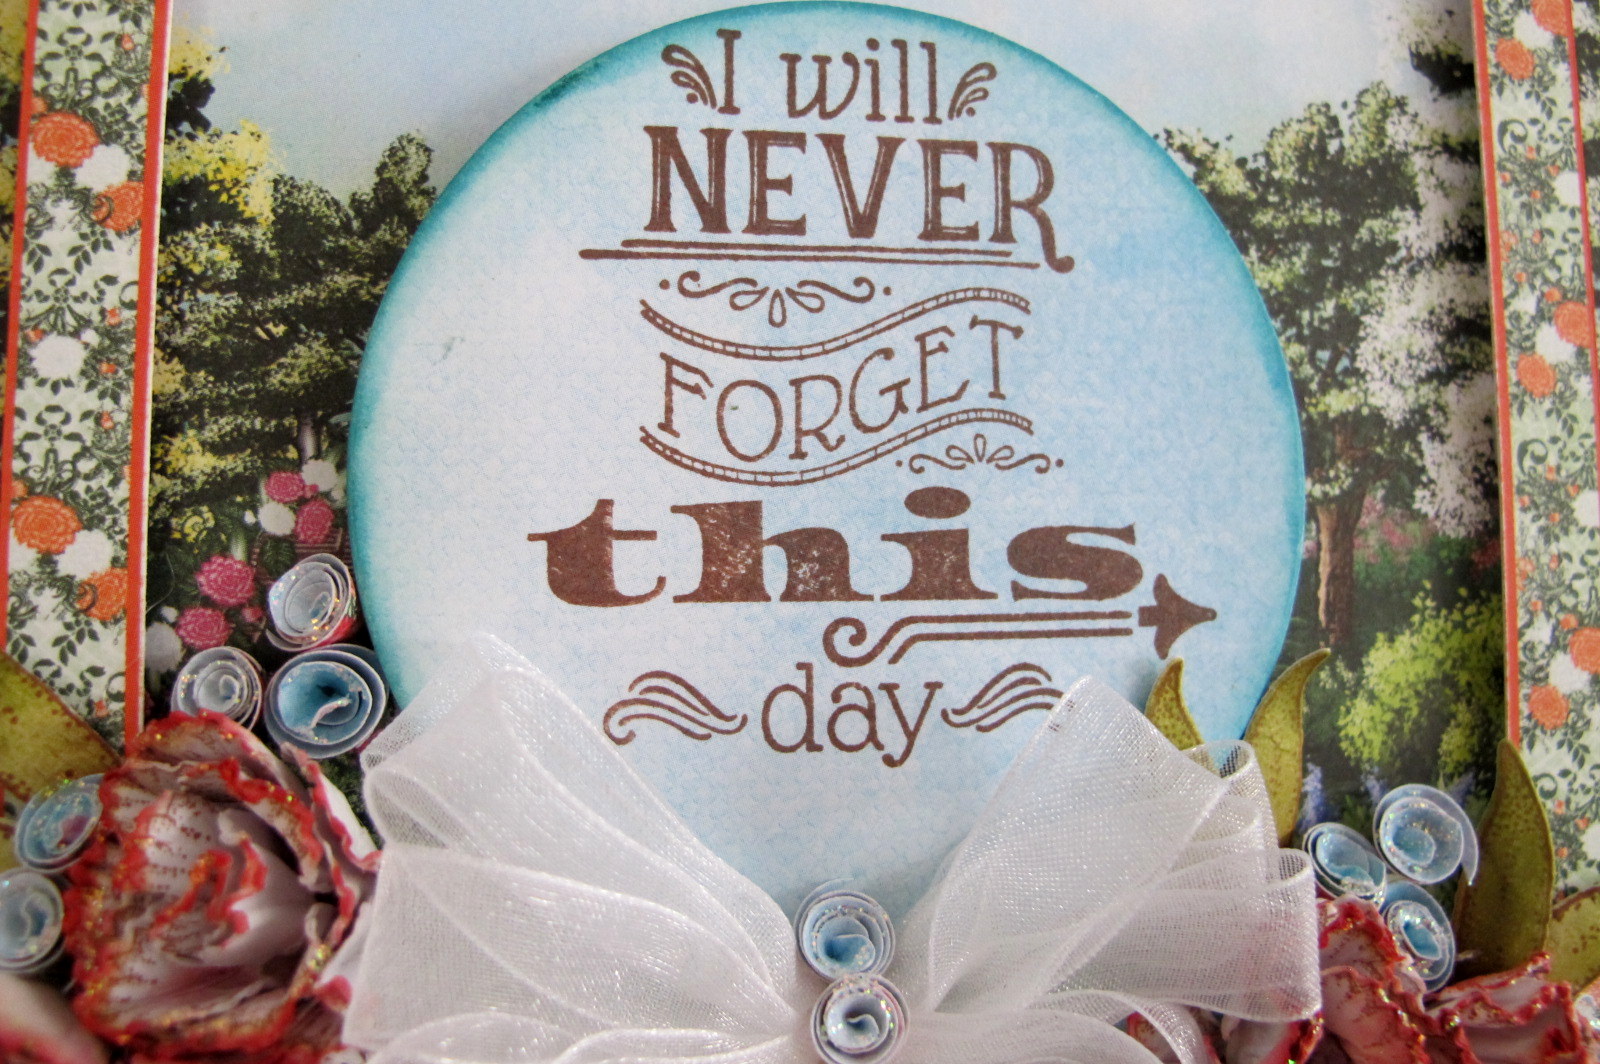
"I will never forget this day" card.
Featuring the Camellia Carnation collection and the sentiment from the "Todays Quotes"
Enjoy the visit.
Heartfelt Creations Products And Products Carried On Their Website:
Other Products Used:
Inks: Coffee Archival ink. Distress Inks: Forest moss, Peeled
Paint, Barn Door, Broken China, Ripe Persimmon, Fossilized Amber. Card Stock: Kraft
300gm. Other: Diamond Stickles, Hot Glue Gun, Water Mister, Bone folder, Water
coloring brush, Paper distressing tool, Scissors, Ruler, White Organza Ribbon,
Misti Stamping Tool. Paper cutting knife and steel edged ruler. Tweezers
VIDEO ON MAKING THE CARNATIONS
Instructions:
The finished size of this tent fold card is 5.90in x 5.90in (15cm x 15cm)
*Make the card base, using the Kraft card-stock to measure 5.90in x 5.90 in when folded into the tent fold.
*Find in the paper collection the design paper with the orange and white carnations in the border. Cut the border out of the paper using the paper cutting knife and steel edged ruler. Put aside the cut away centre for another project, keep the pale green out side and adhere this to the card base with the wet glue or double sided tape. Find the design paper with the garden scene and cut this a little smaller than the card front as the second matting. Adhere now the frame to the card front with the 3d dots.
*Taking the white card-stock, stamp the sentiment with the Archival coffee ink. Find the die circle from the Large Circle die set that fits around the sentiment. Die cut the stamped circle, then die cut 4x extra circles. Adhere all the layers together to form a chipboard circle. Ink the edges of the sentiment circle with the Broken China and daubers. Adhere to the centre of the card front.
*Find the smallest die circle from the Small Circle die set and the design paper with the blue-sky colour, die cut 17x circles. Cut into the circles in a swirl shape. With the tweezers hold the centre of the swirl and curl around the tweezers point as you are holding the paper. Keep twirling this for a short while to iron the shape. Remove the tweezers; this will now take the form of a rose bud. The rose bud tail end will later be secured at the same time the bud is adhered to the card with the hot glue gun.
*Make the carnation flowers and leaves using the white card-stock. Stamping with the archival coffee ink. The carnation stamp size chosen is the third from largest and one down. The carnations are made using 4 x layers. Adhered together using the hot glue gun, the barn door ink is added to the petal tops then sprayed with water mist so the colour will fade into the carnation flower. The leaves will be coloured using both the forest moss and peeled paint green inks. Give the leaves shape by using the flower shaping tool kit.
*Taking the organza ribbon, wrap around the card then adhere at the card front. Make a full bow, adhere this to the card front with the hot glue gun. Using the hot glue gun to adhere the 3 rose buds in place across the bowknot, the carnations and leaves on each side of the bow. Place the rest of the rose buds as fillers to both the carnation clusters. To finish the card, apply the diamond stickles to the rose bud and carnation petal tips.
Today is also another way to use the quotes from the Black Friday stamps release in November. These are so up building and timeless. They great are a good way to use the prevoius investment of the circles and oval die sets.
Have a scrappy creative inky day....week, till next time.
Sussipoppins hugs to you....
don't forget to go back on over to the
Heartfelt Creations site for more scrappy yum from the other DT members!
OXO'S


Absolutely gorgeous!!!
ReplyDeleteStunning Hugs Sand xx
ReplyDeleteBeautiful flowers Susan! Beautiful card!
ReplyDeleteGorgeous design Susan! Love your beautiful flowers and that pretty bow!
ReplyDeleteStunning job!
ReplyDelete