Showing posts with label Heartfelt Creations. Show all posts

Wednesday, July 20, 2016

'You're the best' card

 Hi, 
Thinking out of the box with.....using the Celebrate the Season and Under the Sea collection from Heartfelt Creations...yes...I am using two collections together...nothing new for me...but you can not have a sleigh with out horses...even if they are sea-horses. 
I could not resist! 


Heartfelt Creations Products And Products Sold On Our Website:
Other Products Used:
Memento Inks: Pistachio, Pear tart, Dandelion, Grape jelly, Angel pink, Tangelo.
 Card Stock: Crafters Companion-snow white hint of gold. Ranger: Paper distressing tool, Star dust stickles, Heat Gun, Water Coloring Brush, Water Mister, Inking Foam Tool. Gold , Bone folder, water mister, Water coloring brush, distressing tool, Distress Inks: Mustard Seed, Seedless preserves. Other: Versa-mark, Fussy cutting scissors, Double sided foam tape, Red micro beads, Martha Stewart Turquoise flakes, Needle and gold thread, Pink pearls. Gold mini string of pearls.  

Instructions: 
Click HERE to see the  Deluxe Flower Shaping Tool Kit .
Click HERE for tips on making the Hibiscus flowers…
The finished size of this tent fold card is 21 cm x 4.8 cm. Please note all the stamping is done with the gold embossing powder. Cut and fold the cardstock to make a tent fold card to the above measurements. 
Cut from the paper collection 2 matting layers. 1st 20.5 cm x 14.3 cm 2nd 19.7 cm x 13.4 cm Stitch the edges with the gold thread. 


Distress the edges of these papers with the paper-distressing tool. Adhere to the card base with foam dots or tape. 


Stamp, color, die cut and shape the embellishments for this card. The seahorse is cut a few times extra to make chipboards. 


The sleigh is attached from the base, the flowers are tucked and glued, into the sleigh then the leaves are added from behind. 


Make the sentiment and adhere with the coral swirl peeking from behind.


The mini gold string of pearls,  are adhered to the seahorse’s neck and sleigh front swirl. 


Cut the shell corner border in 2, then adhere in a line. 


Add a flower to hide the join. 


Apply crystal lacquer or clear glue in thin lines along the border then sprinkle the Turquoise flakes.  This makes it so... yum!


Add the pink pearls to the flower centres. The pearl centres makes the under water scene so much more appealing and luxurious.


To finish, as always, apply a layer of stickles to the flower stamens, swirls on the sleigh and to the seahorses. Can't not have any bling!


A close, close up of the stickles placement...and this wonderful sea-horse....love sea-horses!


You can see how the stickles, follows the swirl lines. You also get a angled close up of the gold string of pearls connecting to the sleigh front.
******
Well, I hope you had fun on this visit, seeing how it can be so much fun thinking out of the box. This sleigh can be used in so many ways in combo with other collections...another reason why getting each collection can be a wise investment....hahaha.
I ask you.....do we really need an excuse?

With that thought in mind I wish you all a very inky scrappy week. 
Till next Wednesday, Inky hugs,
sussipoppins


Tuesday, June 14, 2016

'SYMPATHY' card


A few words about this elegant collection....
Showy, elegant and graceful, the divine orchid flower is one that is most certainly recognizable for its unique shape and known for taking center stage all on its own!  Heartfelt Creations presents to you their newest collection…The Botanic Orchid.  Overflowing with stunning floral images enveloped in soothing moss like greens, soft sky blues, creamy whites and flowery pinks, alongside rich burgundies and vibrant teals this collection is sure to appeal to any flower enthusiast.  Intricate illustrations and die cuts of orchid blossoms and bouquets, accompanied by delightful hummingbirds and scripted sentiments will have you creating your very own botanical experience with hand shaped orchid flowers bringing a realistic touch to all of your paper creations!  Preprinted sentiments along with those in the stamp collection are ideal for covering a wide range of occasions including weddings, friendship, sickness, encouragement and sympathies.  As one of the oldest flower species in the world, this unusual blossom native to rainforests and jungles has also taken on beautiful meanings relating to each specific orchid color including innocence, grace, joy, respect, admiration, health, happiness and passion, making this the perfect flower to convey a silent but special message for friends and loved ones on any paper creation!

‘SYMPATHY’

PRODUCT LIST

Other Products Used: 
Derwent-inktense pencils 72:Fern-1560, Cadmium yellow-0210, Tangerine-0300, Fuchsia-0700. Paper and cardstock: Crafters companion-snow white hint of gold 300 gm, Water aquarelle paper, Gold card stock. Tonic: Paper cutter, Die cutting machine
Other: Water brush pen, Heat gun, Versa-mark. Spellbinders S4-448-Victorian tags.Tonic paper cutting machine, Tonic die cutting machine.

Click HERE to see tips on the Window Frame die
Click HERE for tips on this collection

Instructions
This finished card measures 20.8 cm x 14.6 cm. Take the A4 cardstock and fold in half for the card base. Choose the design paper from the paper pad and cut 14 cm x 20.4 cm. 
With the Elegant word background stamp, stamp the background on the design paper. Adhere to the card base with foam tape or foam dots. Stamp, color and die cut the orchids and humming bird, using the water aquarelle paper. 


Cut with the gold cardstock the window frame and tag. With the design paper stamp and die cut the sentiment.  


Adhere one of the orchid sprays, trimming on the left side to fit the shape of the window.
 Adhere the window in place. 


Using foam dots adhere the 2nd orchid spray and tag. 
Above you can see how the die cut is placed over the window.
Under you see all the layering.


Adhere the cut away pieces of the orchid spray to the left of the tag. 


Place and adhere the sentiment and humming bird.
 Sorry the lighting was not that great on the gold, but you get the idea. The real life card is much better than shown in the photo....but that is always the case...2nd...can't be good at everything...lol
Hope you had fun and got some inspiration while visiting my place today.
Inky hugs 
sussipoppins

Wednesday, January 13, 2016

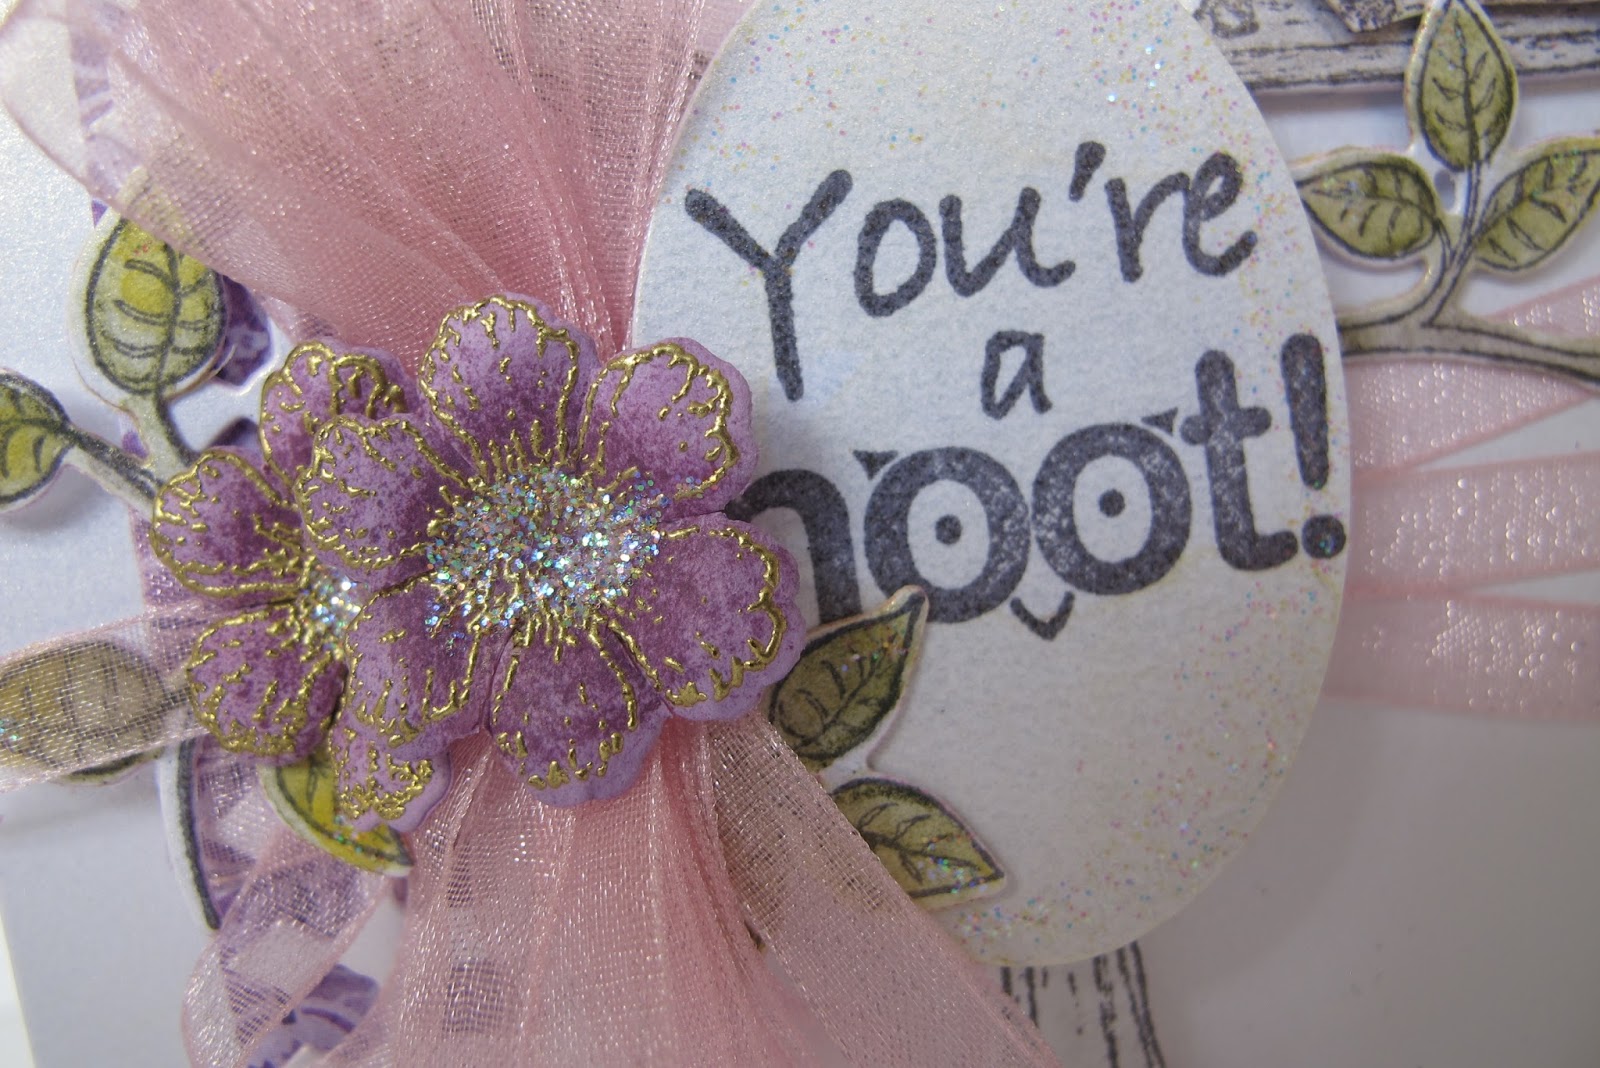
You're a Hoot

YOU’RE A HOOT!


Heartfelt Creations Products and Products carried by Heartfelt Creations:

Other Products used: 
Ranger: Archival jet black ink, Star dust stickles, Gold embossing powder, heat gun, water coloring brush, Seedless preserves distress ink. 
Card stock: Crafters Companion -centura pearl- snow white hint of gold 300gm. 
Inktense Derwent water color pencils 72 set: 0520 Carmine pink, 0730 Dusty purple, 1400 Apple green, 1230 Mallard green, 2010 Sepia ink, 0200Sun yellow, 0900Iris blue, 1546 Light olive
Other: SUP oval punch 2" x 1" Pink organza ribbon 6mm wide. Darning needle. Fussy cut scissors. 
Glue dots. 3d double sided foam tape

Instructions:
The finished measurement of this card is, 21 cm x 14.7 cm.
All the stamping is done with the Archival ink except the flowers. This is done with the gold embossing powder.
Make a card base to the above measurements using the centura pearl card stock. From the design paper cut the matting for the card base. 21 cm x 13 cm.
For the card front, taking the centura pearl card stock, cut to 21 cm x 13 cm.
Use the boarder die on both sides of the 21 cm edge. Using the darning needle and organza ribbon, thread the ribbon through the wholes on the boarder. 


Adhere ends. Adhere the matting and card front together. Adhere the ribbon across the front as seen in the card photo. The crossing will be behind the sentiment about 5.5 cm up and 5 cm across.


Stamp the owls x 1, swing x 1, tree x 3, flowers x 1 set and the sentiment x 1. For the flying owl and swing, die cut 2 x extra die cuts. For the tree cut 4 x extra die cuts. Adhere all together to make chip bards from the images. 


The remaining 2 stamped trees will be trimmed to fit when adhering to the card front. Using the inktense pencils, color the images.
Use the punch to give the sentiment the oval shape. Prepare flowers and make a bow from the ribbon with 6 loops.


The tree is cut about 3.2 cm from the bottom. 
Adhere the swing to the tree branch, trimming as needed.
This card stock is sooooo yum! Pearly and shimmery. You don't see it with these photos...sorry. What I love about the card stock is it is 300 gms so it will hold all my extras and still stand straight....and the pearl shimmer shows through when inks are applied. To get a shard inking on this card stock, I have found archival jet black to be the best. You must leave it a while for the ink to dry before doing any other work on the card though.
Sorry about the hairs in the photo...it really shows up with the close up. You can see all the layering as well....don't you love the hand made look?


Align the tree trunks, leaving a gap for the sentiment oval. 


These owls are so sweet! You can do so much with them!
Adhere the sentiment with double dots or foam tape, do the same for the owls sitting on the swing. 


Adhere the bow and flowers to the edge of the sentiment. Love that gold embossing powder.


Cut and adhere the tree branches as shown in the photo.  Don't worry...you won't see the cuts and joins until you tilt the card and look for them. A birds eye view of the nasties....that you won't see..lol.


When all is dry and secure, apply stickles to the owls, flower centers and leaf edges.
Well thats it for this week....got more coming next week so keep tuned. I am having fun at the CHA...burning the candle at both ends...if there weren't two ends I would not be able to burn them...lol I shall be back home on the 16th...all jet legged....will have a few days to catch up before falling back into the grind. Will be needing a few days to give a little TLC to my DH who has been missing men for the duration of the CHA....what a sweetie he is.

Till I get back have a inky time...scrappy hugs
sussipoppins xox

Wednesday, October 21, 2015

Riviera collection Belly Band Card

Hi, I shall welcome you to my place this week with the....
 a bellyband - gate fold card, using once again...the fantastic.... Italiana Riviera Collection. 
Introduced by Heartfelt Creations


Heartfelt Creations Products and Products carried by Heartfelt Creations:

Other Products used:
Ranger: Gold embossing powder, Heat gun, Diamond stickles, Hole piercer, Dusty Concord, Forest Moss distress inks, Water coloring brush, Prick pen, Paper-distressing tool. Cardstock: Ivory for the card base and belly band, white for embellishments and Lilac card for the flowers. Other: Versa-mark, Gold thread, Needle, Large Pearl bead x 2, Washi tape, Double sided tape, Pencil.


Directions: 
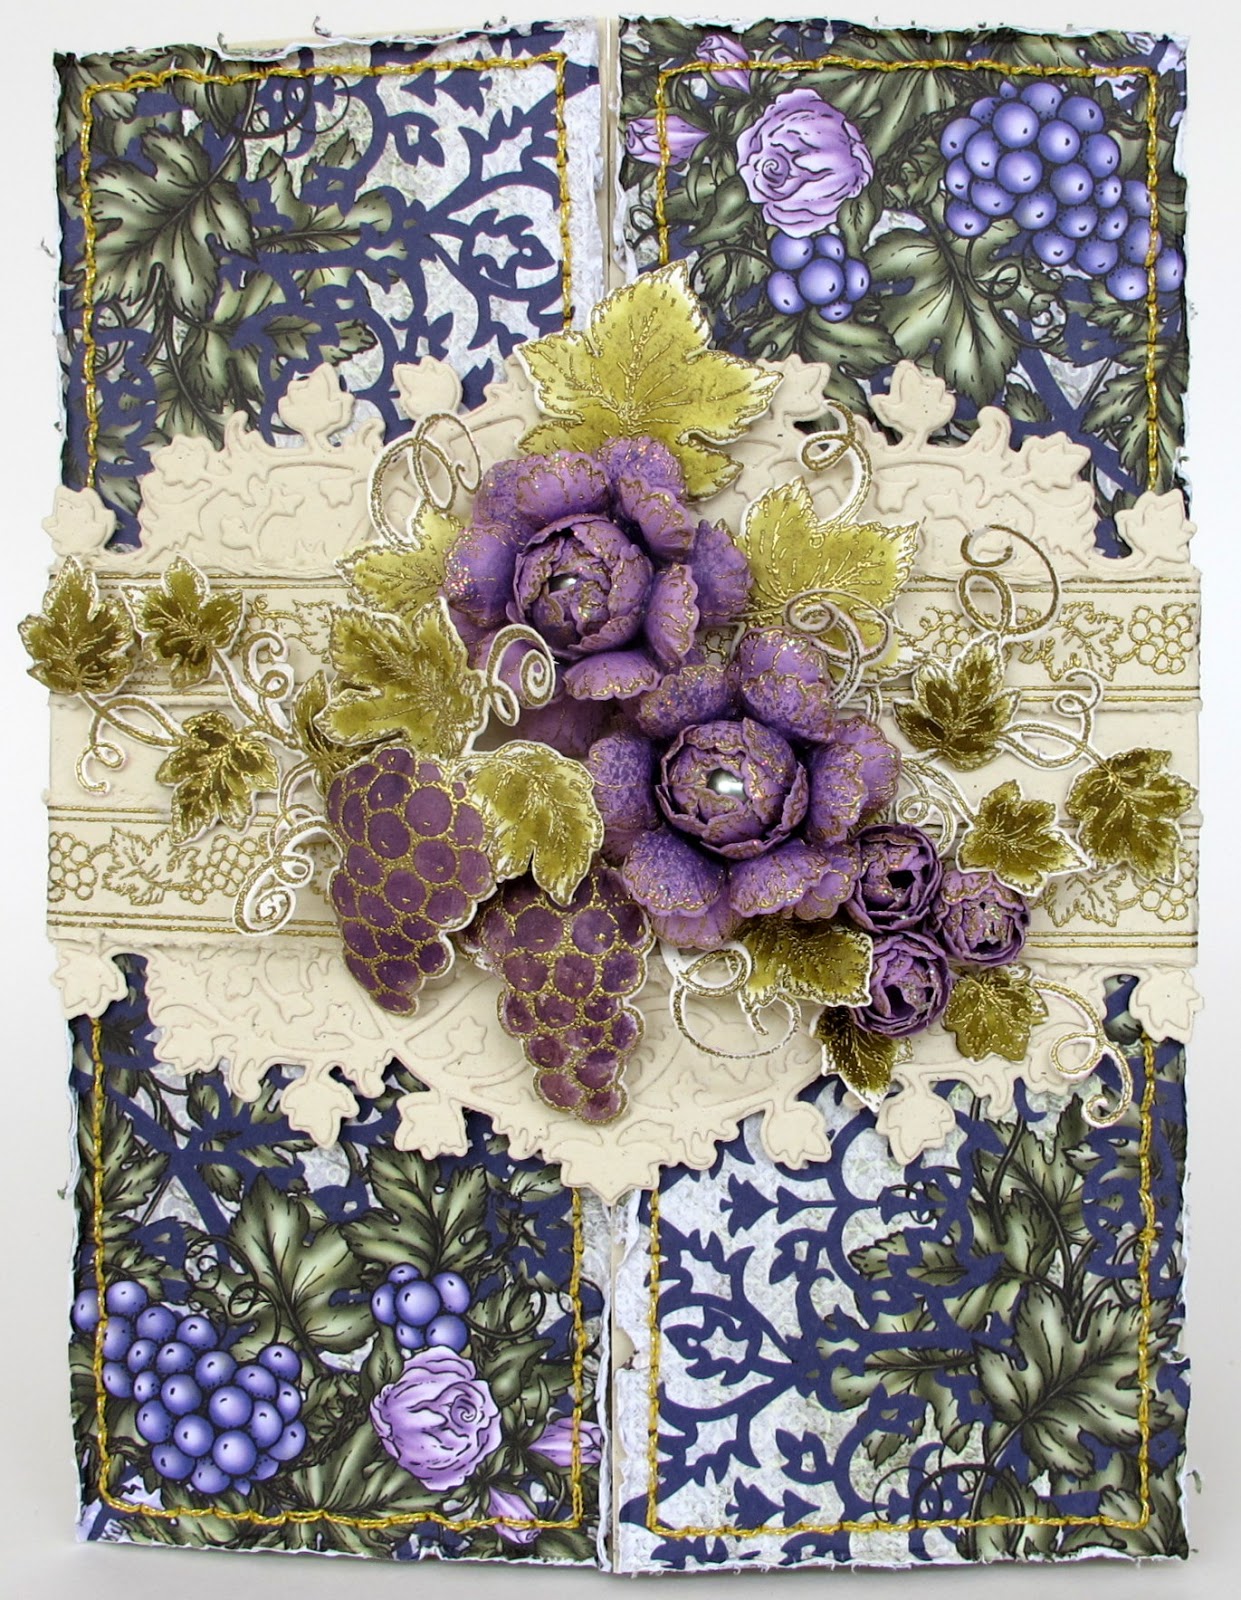
The finished gatefold and bellyband card measures, 14.8 cm x 20 cm
All the stamping is done with the gold embossing powder. For the card base cut from the card stock 20 cm x 29.6 cm, make this into a gatefold. Find the paper from the paper collection with the design shown on the card fronts. To get the same pattern used in the card fronts you will need both papers, cut and flip so you get the same pattern in the top right and left lower corners. 

The size for both these papers, 7.5 cm x 20 cm.  Using the prick pen to make the holes for the back stitching along the edges with the gold thread. Once the backstitching is done, distress the edges with the distressing tool. Adhere to the fronts with foam tape / double dots. 

To make the bellyband: 


Taking the cardstock, cut 12 cm x the length of the cardstock. Taking the pencil, mark the center of the longest edges. Place the point of the solid boarder die at the pencil mark. Use the washi tape to secure the die in place so it will not move while die cutting. Repeat on the opposite side. Taking another piece of cardstock cut x 2, 15 cm x 4.5 cm. Die cut these pieces with the fancy cut boarder die. Trim so they will fit to the die cut base boarder. Adhere to the boarder base with wet glue so you can slide them to fit. 


To hide all the raw untidy edges make a paper ribbon with the thin boarder image. Stamp this x 5, trim these so you have enough to paper distress the edges. Adhere the paper ribbon so the joins will not be seen when the roses and vine leaves will be placed. (see below photo) Score at the point where the die cuts end so the band will fold around the card. The bellyband will be too short to close, therefore, you will need to do some patchwork. 


Cut a piece of cardstock to fit and adhere the ends so the band can be closed. Using the remaining paper ribbon to tidy any unwanted nasty edges. (see above photo)


For the making and placement if the embellishments on the bellyband: Stamp and die cut enough for 2 x roses and 3 x rose buds, 2 x large grapes, 1 x large vine leaf clusters, 1 x vine leaf boarder. Color the die cuts with the distress inks and water color brush, then shape with the aid of the Flower Shaping Kit. 


(The pearl beads are used for the rose flower centres)
 For tips on making the roses, look to the product list for the video. Assemble and arrange before adhering the embellishments with foam tape and glue. 


 Once all is dry, add a little stickler to the roses and buds to finish the cluster.

This sure was a fun card to make. The only hard part was getting the band to fit the card. Once that is done...then it is pure fun making all the flowers and leaves...don't you love these leaves! 
Coloring is also great therapy...love getting my fingers all inked up this way..LOL

Have a scrappy inky day...till next week
Inky hugs, sussipoppins


Wednesday, October 7, 2015

You Inspire Me

Hi, I am sure you too, will be inspired by these sweet dragonflies found in the Enchanted Mum Collection from Heartfelt Creations...scroll down and see how this card is put together.


Heartfelt Creations Products and Products Carried by Heartfelt Creations:
Other Products: 
Ranger: Diamond stickles, Gold embossing powder, Heat gun, Water color brush, Prick tool, Distress inks: Peacock Feathers, Evergreen Bourgh, Dusty Concord. Other: Needle and gold thread, Versa-mark, fussy cut scissors, Off white card stock. Double side tape, Masking paper.

Directions: 
This hinge card measures, 18.7 cm x 13.5 cm.
Note: All the stamping is done with the gold embossing powder. For all the stamping and cutting, the off white card stock is used unless stated.
For the front and back of the hinge card cut x2 18.7 cm x 13.5 cm, for the hinge cut a strip, 13.5 cm x 3 cm. Adhere together with tape and glue.
Cut matting, 18 cm x 13 cm, adhere to the card base. Find the green colored design paper with the dragonflies in the Enchanted Mums paper collection. Cut this to 17.4 cm x 12.4 cm. Use the prick tool to make wholes 5mm from the edges for the needlework. Backstitch this with the gold thread and needle. Adhere this to the card base with the Double Dots. 


Take the Cut Mat Create die, 3.75 " x 5.75 " and 2.75 " x 3.75 ". Place the dies on the card stock so you get a die cut hole in the center, 3.9 cm from the bottom edge. Cut x 5. Keep one of the die cut centers for the stamping, the rest keep for another project. Stamp the sentiment " You Inspire Me " under the whole on one of the die cuts. Adhere the entire die cut layers together with wet glue so you can get the edges straight to make a chipboard. 


Apply the embossing powder to the inside edge. Using the stamp positioner, the Enchanted Mum Cluster stamp set, stamp on to the kept card stock die cut center. For the 2nd image, you need to mask the Dragonfly before stamping. Taking another piece of cardstock, stamp the Dragonfly only, color and fussy cut the image. 


Take now the Enchanted Dragonflies stamp and die sets, stamp, color and die cut the two Dragonflies. Center and adhere the chipboard to the card base. Adhere the stamped card stock in the chipboard frame. Shape and adhere the Dragonfly with Double Dots to the Dragonfly image. 


Adhere with glue, the two Dragonflies to the left of the sentiment. To bring some bling onto the card, you could add stickles to the wing tips.

I hope you found this inspiring, if you visit the Heartfelt Creations blog, you will find even more inspiring works of art full of eye candy.
Next week Heartfelt Creations will be bringing out a new stamp and die collection.....if you visit their blog you get to see a preview...WARNING!....it's a must have!

Till next time, inky hugs,
sussipoppins

Wednesday, September 23, 2015

Thinking of You Today

Hi, today a LO using the enchanted Mums collection from Heartfelt Creations.
Such a cutie of a photo, look at those eyes! She is turning out to be a true beauty.
To see a previous LO with this beauty click
I did not want to over do it...but the Mums are perfect for the job...of course in real life this is much more....


Love these dragonflies...all different sizes...always makes a delightful finish to a project!


The photo below shows my lack of resistance on adding those great Sparkling Poinsettias from a previous collection this year from Heartfelt Creations. They can make great fillers for any project.
Don't you love the leaves!....so yum!


See below, the gold emboss stamping peeks out from under the flower clusters. You get a birds eye view on how to place the banner.


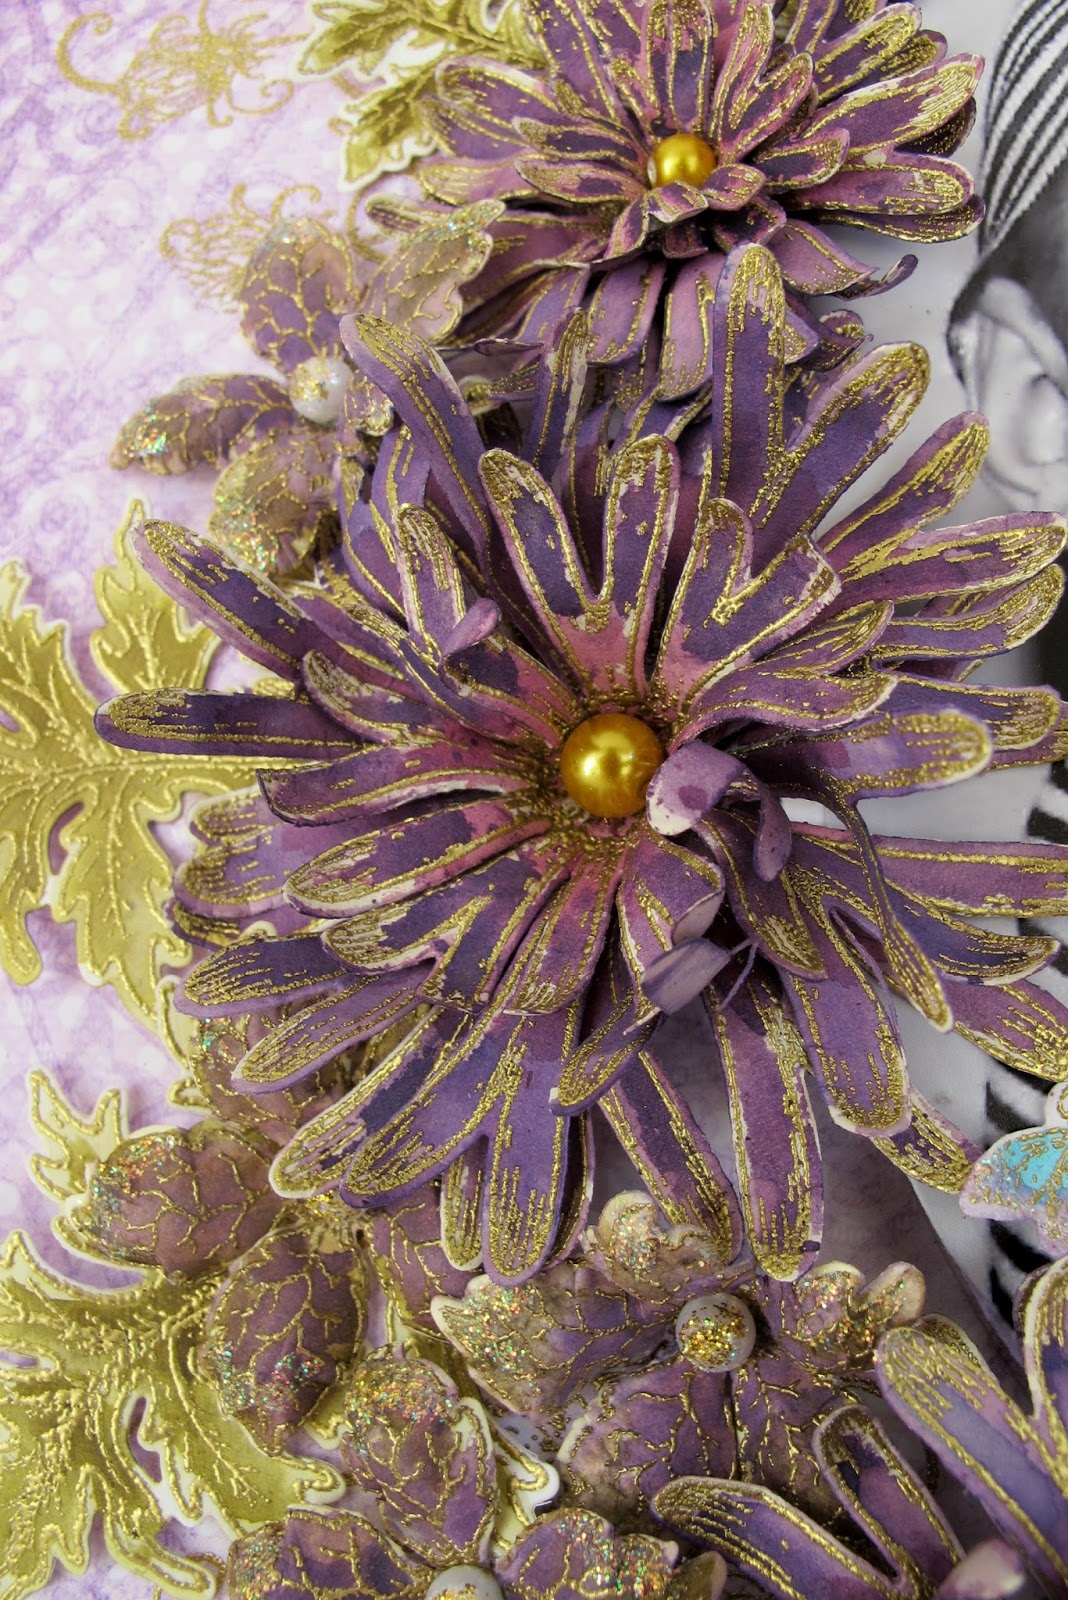
Another close up on the Mum finished with a gold pearl beed. Love how the distress inks blend...or don't. The close ups show how they work great together...love the richness. Don't forget, when the paper/card stock dries, it dries hard, so it keeps it's shape better.


See the close up below, showing the placement for the Mum flower buds. You can make them smaller or larger depending on the size stamp used, that is what is so great about the new Heartfelt Creations stamp sets, you get all the sizes in one go. The matching die, the same...and they match the stamp much better than they used to!
Heartfelt Creations have up graded their dies! They align true to the stamp, no edge to allow for.
Always the case, you get what you pay for! I think it is worth paying that little bit extra for all the bother taken out of die cutting....don't you?


"Thinking of You Today" Product list

Heartfelt Creations Products and Products carried by Heartfelt Creations:

Other Products used:
Ranger: Gold embossing powder, Heat gun, Water coloring brush, Inking tool, Diamond and Gold Rod stickles. Inks: Tim Holtz Distress Inks; Forest Moss, Dusty Concord, Peacock Feathers. Other: Pencil, Cardboard, White card stock, Gold Pearl beads x 3,
Pearl beeds x 5. Spellbinders Grand Oval LF-110

Directions: this Lay Out measures 30.5 cm x 30.5 cm. The photo size: 13 cm x 17.5 cm All the stamping is done with the gold embossing powder for this project.
Find the design paper in the collection. Adhere this to a cut to size cardboard. Ink the edges with the Dusty Concord ink. Take the grand oval die and cut the photo and x3 cardstock. Adhere together then ink the edges. Place this in the center of the page, draw around the oval with the pencil. Using the stamp poisitioner and stamp image from Single Enchanted Mum set. Gold emboss so the image will show under the flower placements. Stamp x2 above to the left of the oval and x3 under the oval. To raise the photo from the page, cut and adhere together, x 2 cardboard squares that will fit under the photo. Adhere this to the center of the oval then adhere the photo. Stamp and die cut the leaves and flowers. For tips on how to make these flowers click HERE. After coloring and shaping the flowers leaves and Dragonflies place and adhere along the left side of the oval. Adhere the Pearls to the flower centers. Stamp, die cut and color the sentiment banner. Shape the banner to a curve so it will fall from the photo to the paper in 3d. Adhere two Dragonflies to the right of the oval. When all is dry and to give the Lay Out the finishing touch, add Diamond stickles to the flowers and Dragonfly wings, the Gold stickles to the Pearl Pearls.

Have a scrappy happy inky week...till next time,
Inky hugs...sussipoppins