
Hello to all visiting my place today.
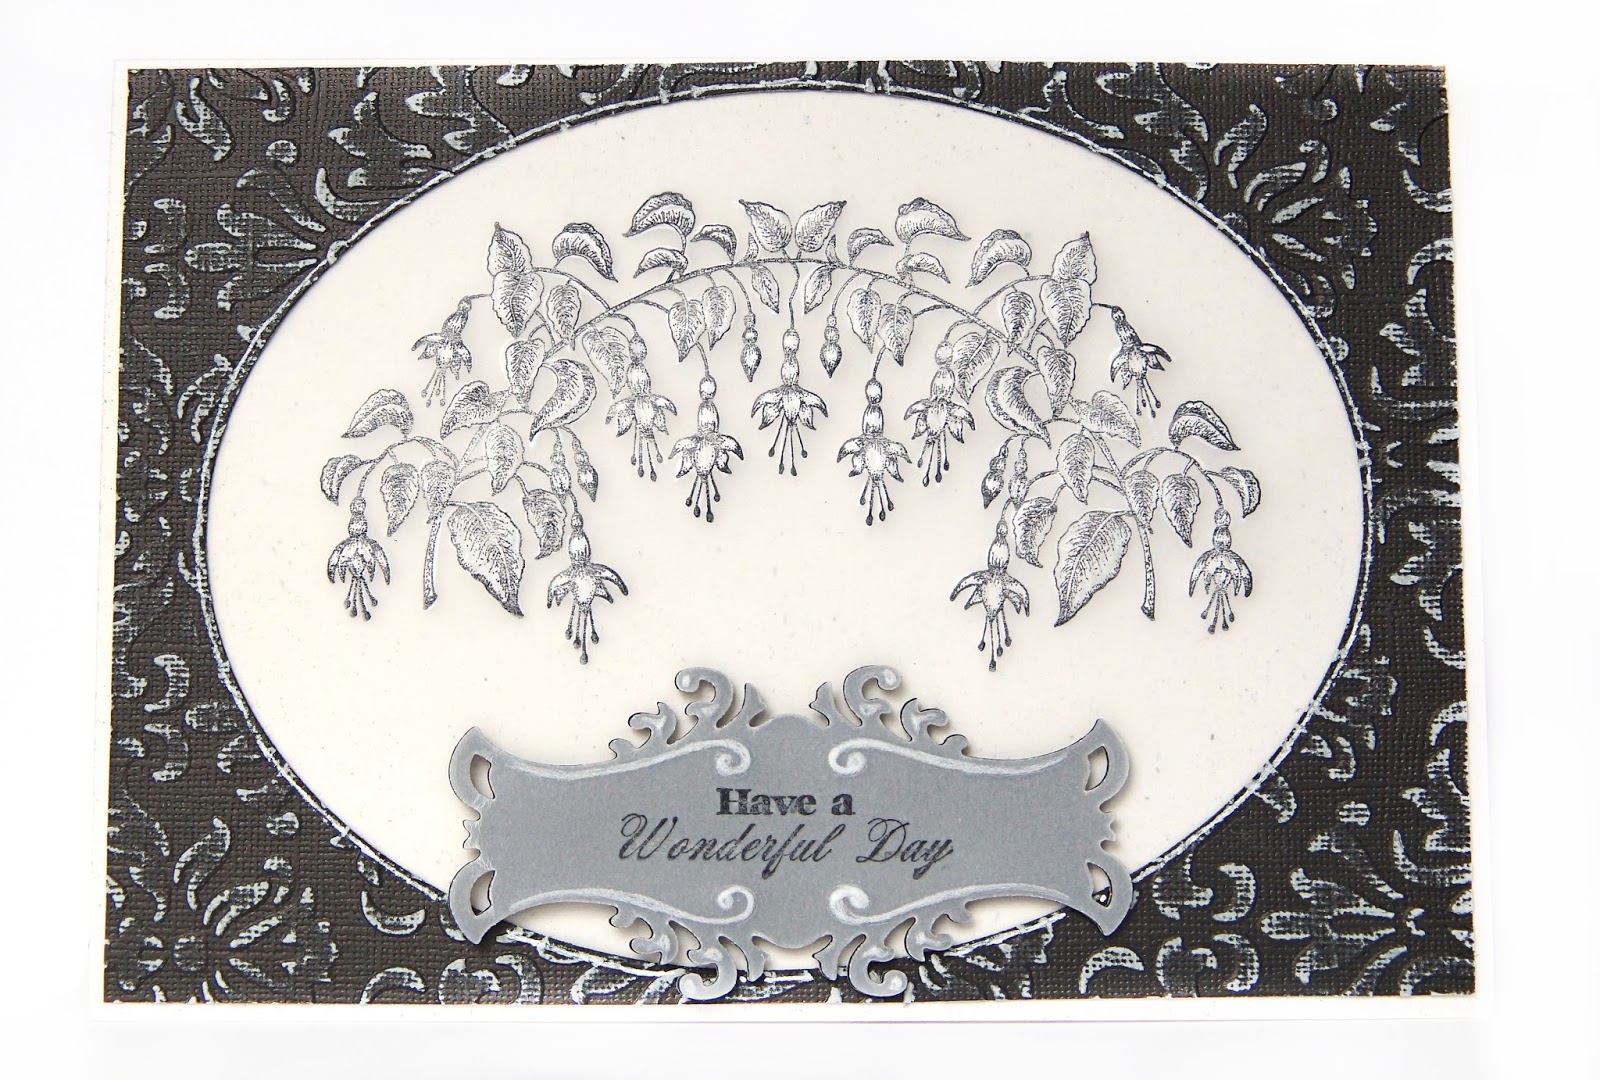
This Cascading Fuchsia Collection card looks simple, but it sure has a elegant charm!
It is such a shame the photo's don't do it justice.
Take the time to follow the text, then you will see. Have fun.
This Cascading Fuchsia Collection card looks simple, but it sure has a elegant charm!
It is such a shame the photo's don't do it justice.
Take the time to follow the text, then you will see. Have fun.
Heartfelt Creations Products And Products Sold On Our Website:
Other Products Used:
Papers: Perkament vellum. Card Stock: SUP Natural White, Core'dinations core color CS Nightfall FB040-12 Spellbinder Dies: LF-110 Grand Nestabilities Ovals 2nd largest size, S5-031 Fancy Tags Three.
Other: Stazon black ink, Double sided Tape, Bone folder, E-boss A4 embossing folder
Sanding paper, White gelly-roll 08 pen

Instructions:
The finished size of this card is, 14.8 cm x 21 cm. Taking the SUP A4 card stock, for the card base, fold in half. Use the bone folder to sharpen the fold. Cut the vellum and core'dinations card stock to, 14.8 cm x 20.4 cm. this is your card front. Using the Grand oval die cut an oval from the core'dinations card front. Emboss with the embossing folder, then sand the embossing to expose the white core. With the gelly-roll pen, draw and the edge of the oval.

Taking the vellum, stamp the image from the Vining Fuchsia stamp with the Stazon. On the flip side of the stamping using the two finest nibs from the Deluxe Flower Shaping Kit, trace and fill in the image. Where you do this, it will become white and ball a little on the reverse side.

Careful not to press too hard or you will make a whole in the paper.
Taking a scrap of vellum, core'dinations and spellbinders tag die, die cut a tag from each. Once again using the same nibs from the Deluxe Flower Shaping Kit, trace on the vellum tag the embossing area of the die. (You will not be able to emboss the vellum in the normal way. The velum will crack and break) Stamp the sentiment on the tag using Heartfelt Sentiments Stamp Set. Adhere this to the core'dinations tag with finely cut strips of double sided tape behind the stamped words.

To put all together: Adhere the core'dinations card front to the vellum with double sided tape, then to the card base. Adhere the tag with double dots to the card front center bottom.
*******
Now you need to get into your craft space and get started.
Don't forget over at scrapbookdepot, they have the goodies...at least you can order them there.....and when you are done here...get back over to Heartfelt Creations......because there is so much great stuff going on over there this week. Warning....you will spent most of the day there! So brace yourself!
You all have a wonderful scrappy day,
scrappy Inky hugs sussipoppins
Wow I just love this! Hugs xx
ReplyDeleteThis is so stunning.
ReplyDeleteAhhh! Great technique, this turned out beautifully Ms. SussiP!
ReplyDeletethis is so elegant, love it!
ReplyDeleteJust beautiful! Love the vellum technique!! Hugs!
ReplyDeleteBeautiful Susan, I love what you did with the image and the dry embossing is awesome.
ReplyDeleteBeautiful, just so beautiful! Love the sanding and vellum techniques!
ReplyDeleteHugs,
Tracey
wow this is spectacular ... made with love , I can tell x
ReplyDeleteSo elegant & beautiful Susan... Love the dimension you created by embossing the vellum :)
ReplyDeleteHow did I miss this??? It is so elegant, and it looks like old metal in the photo, which is very, very cool! I love the monochromatic color scheme, too. You have magic in your fingers for sure!
ReplyDelete