
BOTANIC ORCHID ' lay out'

Heartfelt Creations Products Sold And Carried BY Heartfelt Creations
Other Products Used:
Card Stock: White, Blue.
Ranger: Star dust stickles, Heat Gun, Water Coloring Brush, Water Mister, water mister, Water coloring brush, distressing tool. Distress Inks: Crushed Olive, Dusty concord, Chipped sapphire. Spellbinder dies:S4-572 wreath, S4-541 Majestic oval, S4-388 Standard Circles sm, S4-531 Romantic Vines. Other: Versa-mark, Fussy Cutting Scissors,
Double Sided Foam Tape, Cardboard from a packing box, Tonic paper cutter, Tonic die cutting machine, Grey ? pearls,
Click HERE to see the video on using the Deluxe Flower Shaping Tool Kit…https://www.youtube.com/watch?v=rdsIOVMXjIQ
Click HERE https://www.youtube.com/watch?v=FSAGIaqK5TI to see the video on this collection….

Instructions:
The finished size of this LO is 30.5 cm x 30.5 cm. The photo/ paper print is a 6.5 circle.
All the stamping is done with gold embossing powder.
Distress the edges of the LO base.

Tear the edges in to form tears in the sides. Adhere to the blue card stock. Taking the window die and the vellum paper, cut x 7 windows. Cut away all the strips in the window frame.

Adhere the ends together to form an oval shape. Adhere on the LO base in a circle.

Make 14 Orchid swirls, trim and adhere between the vellum windows. Make x 6 med Orchids, adhere these in the center of the window.

Make x 7 Orchid swirls x 1 large Orchid and x 7 small Orchids to place later.

Cut the Large wreath x 2, the small wreath from the blue design paper using the S4-572 die. Trim to fit the inner circle. Adhere.

Make the vellum frames from S4-541 cutting x 2. Trim to fit the circle.

Using card from a cardboard box to raise the frames. Cut and adhere the stately circle. Add the blue small wreath. Place the photo.
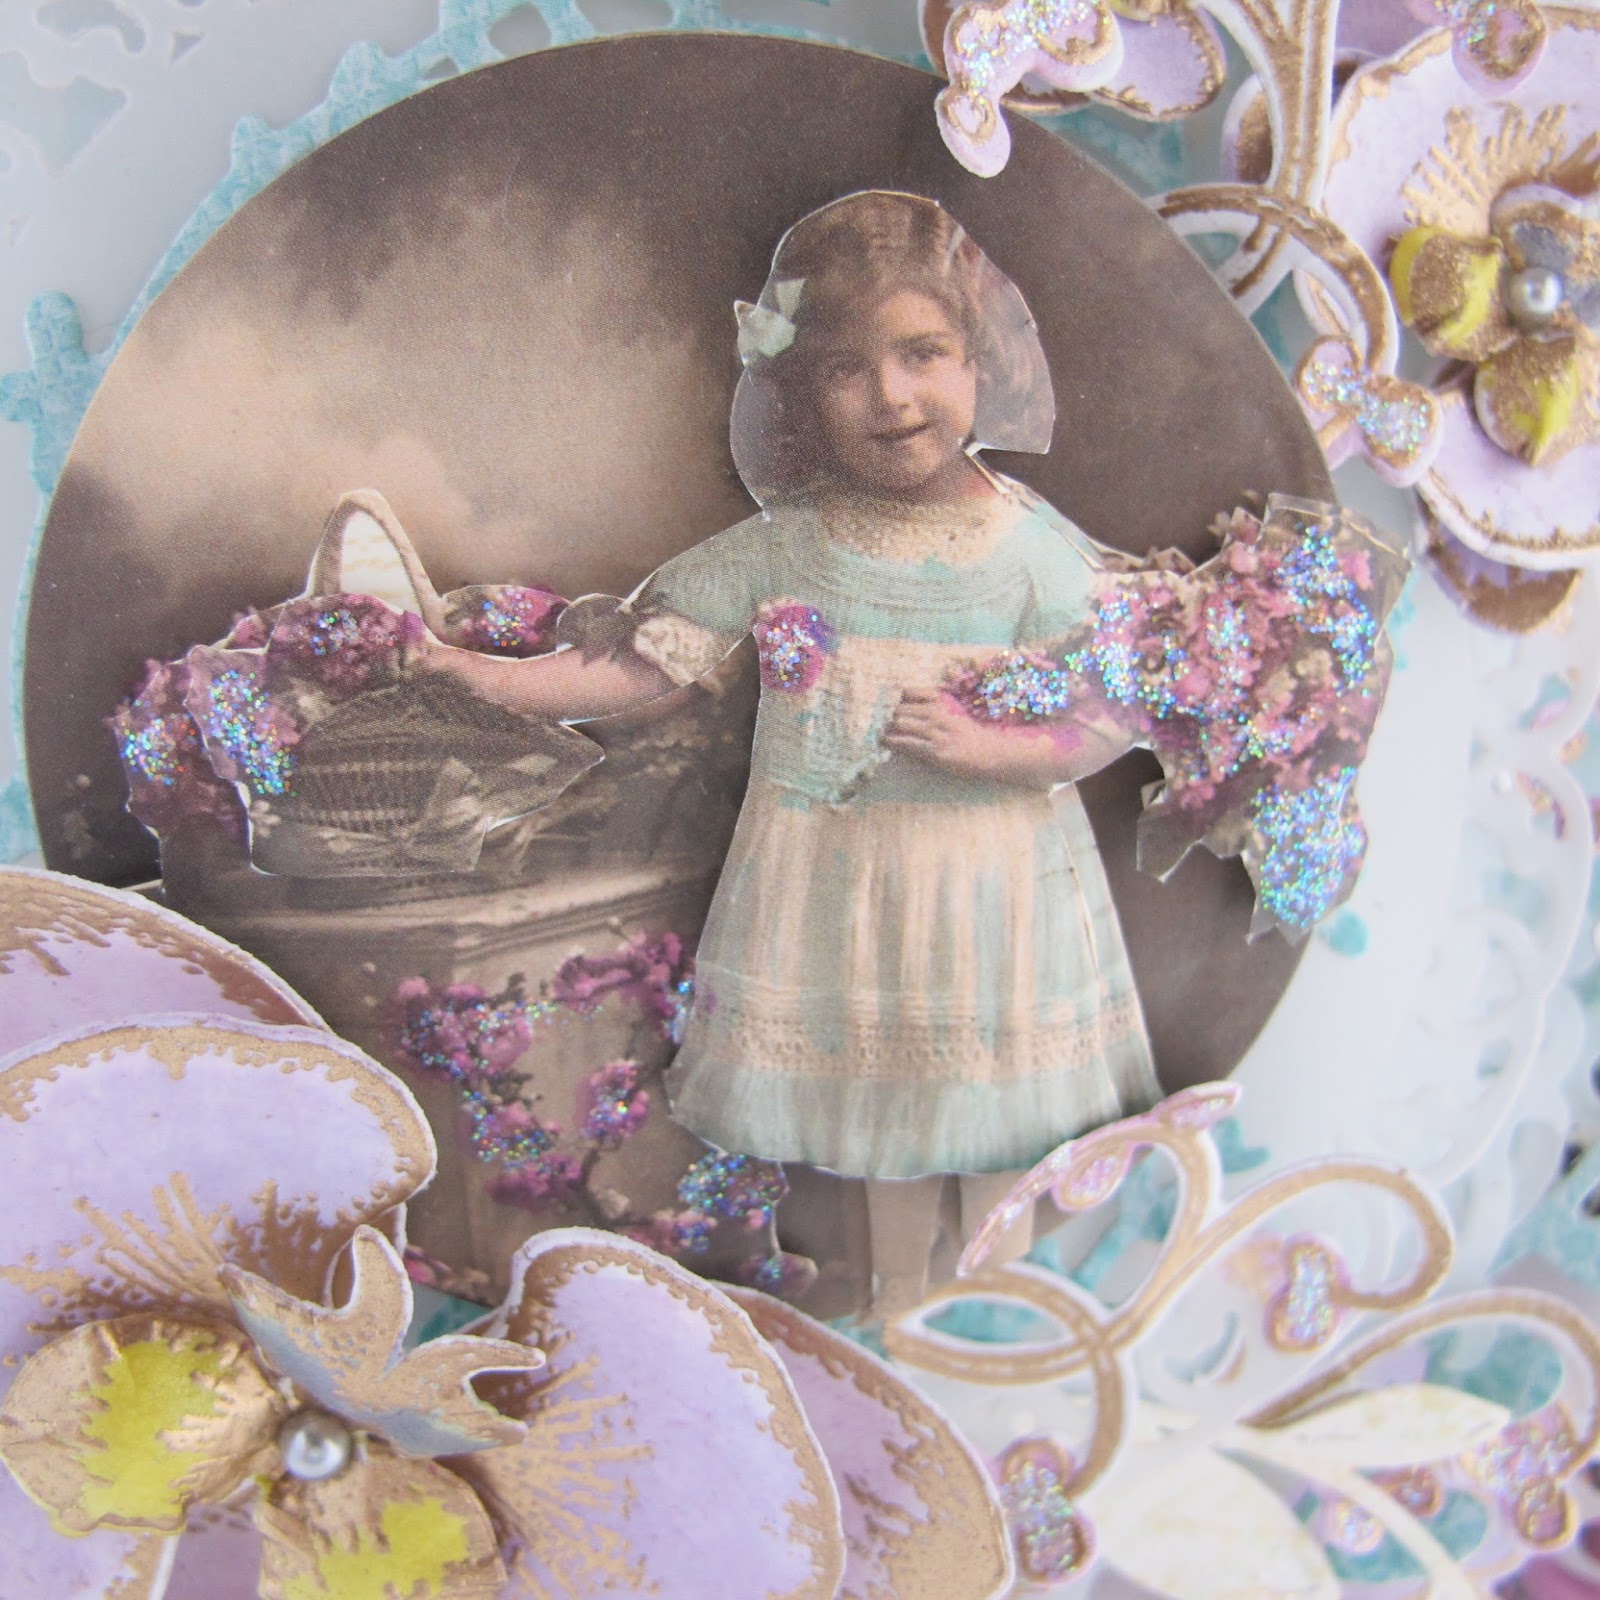
You can see...I did not use a photo...I used a 3d cut out of a vintage child. Of course a photo of a loved one is much better.

Using the rest of the leaves Orchids and swirls, arrange and adhere as seen in the photo.

Add the 1/2 pearls to the Orchids and window points.

When all is dry and secure, apply stickles to finish the LO. Below give a birds eye view on the layering.
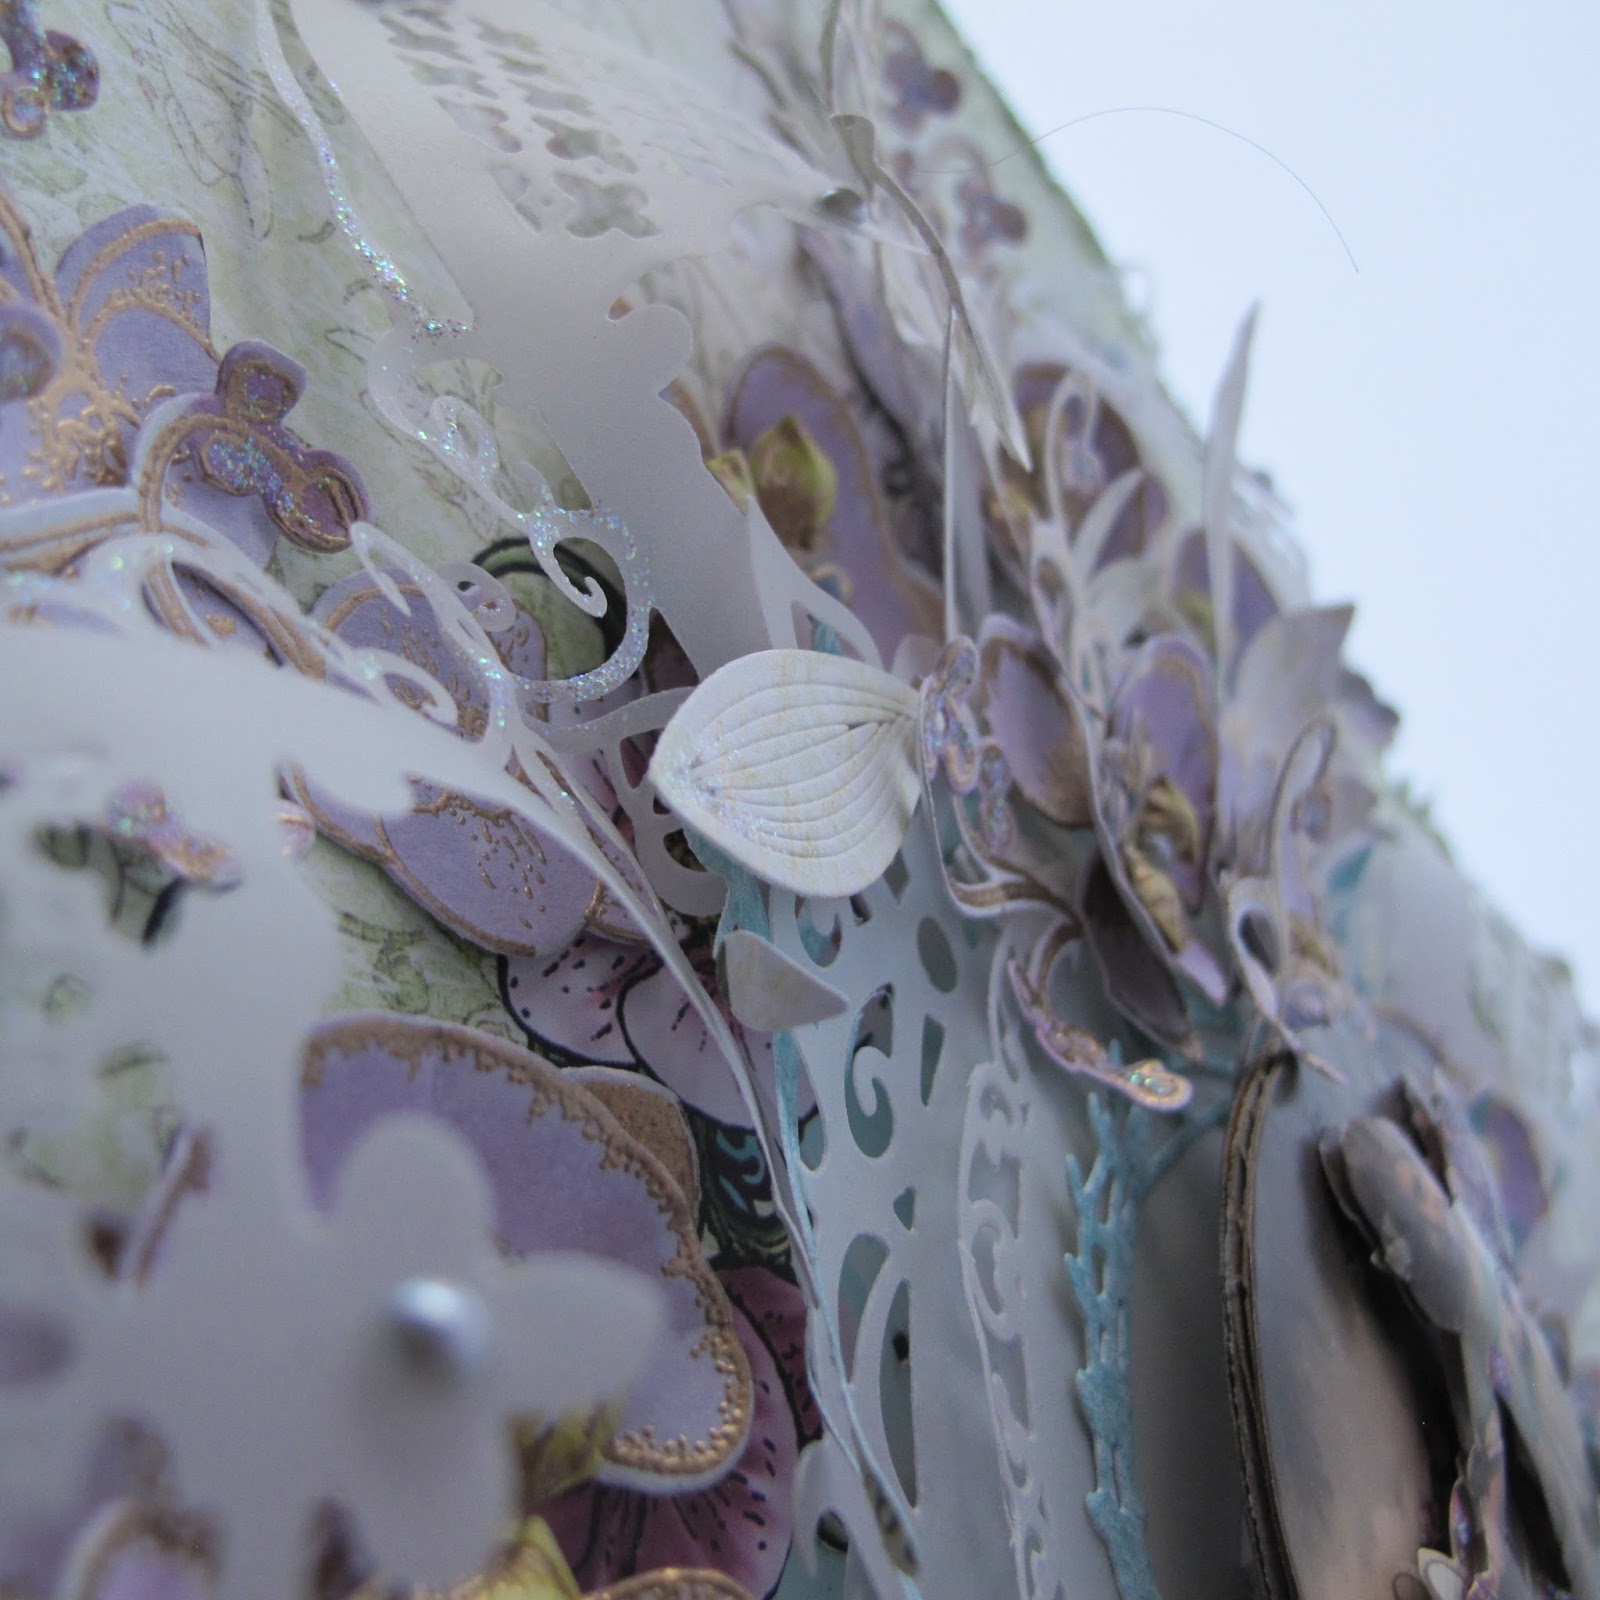
A few more close ups


Thats it for today. I hope you have enjoyed your visit today at my place. See you next time....
Don't forget to return to Heartfelt Creations to take a look at all the eye candy over there today.
Have a scrappy inky good one,
xoxoxox
No comments:
Post a Comment