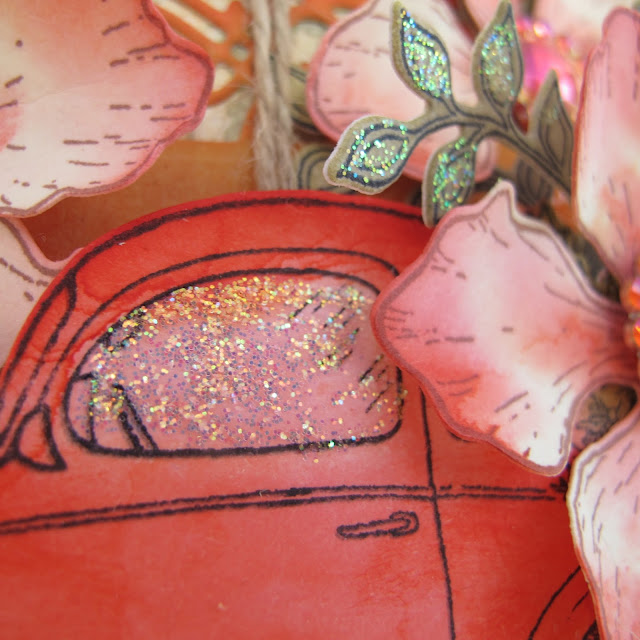
Hi again....here is the second goodness on my blog this morning....

“Journey gift box”
Heartfelt Creations Products And Products Carried On Our
Website:
HCDP1-Young At Heart paper collection
HCPC-3801 Simply Classic stamp set
HCD1-7159 Simply Classic die set
HCPC-Good Times Sentiments stamp set
Other Products Used:
Inks: Black Archival.
Distress Inks: Walnut Stain, Forest Moss, Barn Door,
Wild Honey. Other: Double sided Tape, Double Sided
Foam-tape, Misti
Pale Yellow Card Stock, Diamond Stickles, Water Mister,
Inking tool, Bone folder,
Paper distressing tool, Paper Distressing tool, Double sided
tape, Scissors, Ruler, 3x crystal buttons, Natural colored string, Doo-Baa-Doo
DDBD Dutch Box Art 2 A4 470713040 Gift box stencil.
Instructions:
The finished size of this gift box is 3 “ x 5 ½ “ ( 7.7 cm
x 14.4 cm )
Using the yellow card stock, click HERE to see the DOOBADOO gift box.
Cut out the gift box pattern.Adhere together with strong double-sided tape. Taking the Wild honey ink, ink the edges of the box. Apply a little Walnut stain also to the edges. Finding the world map design paper in the Young of Heart paper collection, cut from this paper a little smaller than the box front for a matting layer. Ink the edges with the Wild Honey ink then distress the edges with the paper distressing tool. Adhere to the box front with both double sided tape and glue so it will be very strong.
Cut out the gift box pattern.Adhere together with strong double-sided tape. Taking the Wild honey ink, ink the edges of the box. Apply a little Walnut stain also to the edges. Finding the world map design paper in the Young of Heart paper collection, cut from this paper a little smaller than the box front for a matting layer. Ink the edges with the Wild Honey ink then distress the edges with the paper distressing tool. Adhere to the box front with both double sided tape and glue so it will be very strong.
Taking the white card stock,
stamp, die cut the leaf branches x 3, the VW Beetle car and the sentiment sign
x 1 base, x 1 sign border round and x 4 the sign center. Die cut the border x
1. Trim the border to fit the box front. Taking the yellow card-stock stamp and
die cut with the matching dies, the flowers. Using the distress inks bring
color to all the embellishments.
Once the lace borders are placed on the box
front, place and adhere the string in place so you can tie a bow later to close
the box. Adhere the car in the center of the box front, the Journey sign to the
right under side of the car wheel.
Adhere the flowers in place then add the
leaf branches under the flowers. Adhere the crystal buttons to the flower
centres.
To finish off the gift box add diamond stickles to the car window,
wheels and the leaf tips.
Tie the string bow. You can also see the detail of the border lace when it is adhered to the front.
Is this 'a must have' or not collection!
If you are not yet convinced....visit the blog back at
for more yum, then I am sure you will at least be putting this on the shopping list. I am sure this is going to be a sell out collection, so don't wait too long to make it your own....lol
Have a scrappy day, sending inky love, and till next week...
sussipoppins
OXO


Absolutely gorgeous!!!
ReplyDeleteLove this sparkling gift box Susan!
ReplyDeleteSuch an adorable gift box, Susan! Love all the sparkle and shine!
ReplyDelete