
Hi...if you like a lot of details....this is for you.....
a lot of fussy mini flowers, but well worth the time and effort.
Enjoy your visit.
a lot of fussy mini flowers, but well worth the time and effort.
Enjoy your visit.

Heartfelt Creations Products And Products Carried On Their Website:
OTHER PRODUCTS:
Carad`ache Neocolor II watersoluble wax pastels:
140-Ultramarine, 230-Yellow Green, 070 Scarlet, 220 Grass green, 031-Orangish
yellow, 159-Perssian blue, 081-Pink, 059-Brown, 051-Salmon, 211-Jade green,
100-Purple violet. Distress Inks: Walnut Stain, Victorian Velvet. Other: Diamond
stickles, Heat Gun, Water Mister, Inking tool, Water coloring brush, Scissors,
Ruler, Coffee Archival Ink, Hot glue gun, Fussy Cutting Scissors, Double sided
Tape, Double Sided Foam dots, White organza ribbon, Misti stamping tool.
Instructions:
The finished size of this card is 5.31 in x 5.31 in (13.5cm
x 13.5cm) Taking the white card-stock, make a tent fold card to the above
measurements. From the paper collection find the pink design paper and cut a
card front matting a little smaller than the card base. Ink the edges of this
paper with the Victorian velvet distress ink. Then with the Walnut stain ink.
Using the same design paper cut a small heart shape using both the scalloped
heart edge and the plain heart edge to make a heart shaped ring. From the same
heart dies, cut 2 extra from the white card stock to make a chippie. Again from
the same design paper cut the two dollies using the Festive Holiday die and cut
once the window box from the Window Box Elements die set. Using the Victorian
Velvet ink, ink the edges of the window box and the heart ring. Find the
printed tag used in the paper collection. Ink around the edges with the
Victorian velvet ink. Taking the white card-stock, archival coffee ink and
stamp the images used for this card from the Wildwood Florals, Rain Boots And
Blossoms, Songs Of Spring and the Wildwood Accents stamp sets. Bring color to
the images using the colors listed as a guide. Once all has been colored die
cut the images with the matching die sets.

To decorate the card front:
Adhere
the two dollies to the card front then the window box to the lower center of
the card front.

Wrap the ribbon around the card front and secure with a triple
bow. Secure in place with the hot glue gun.
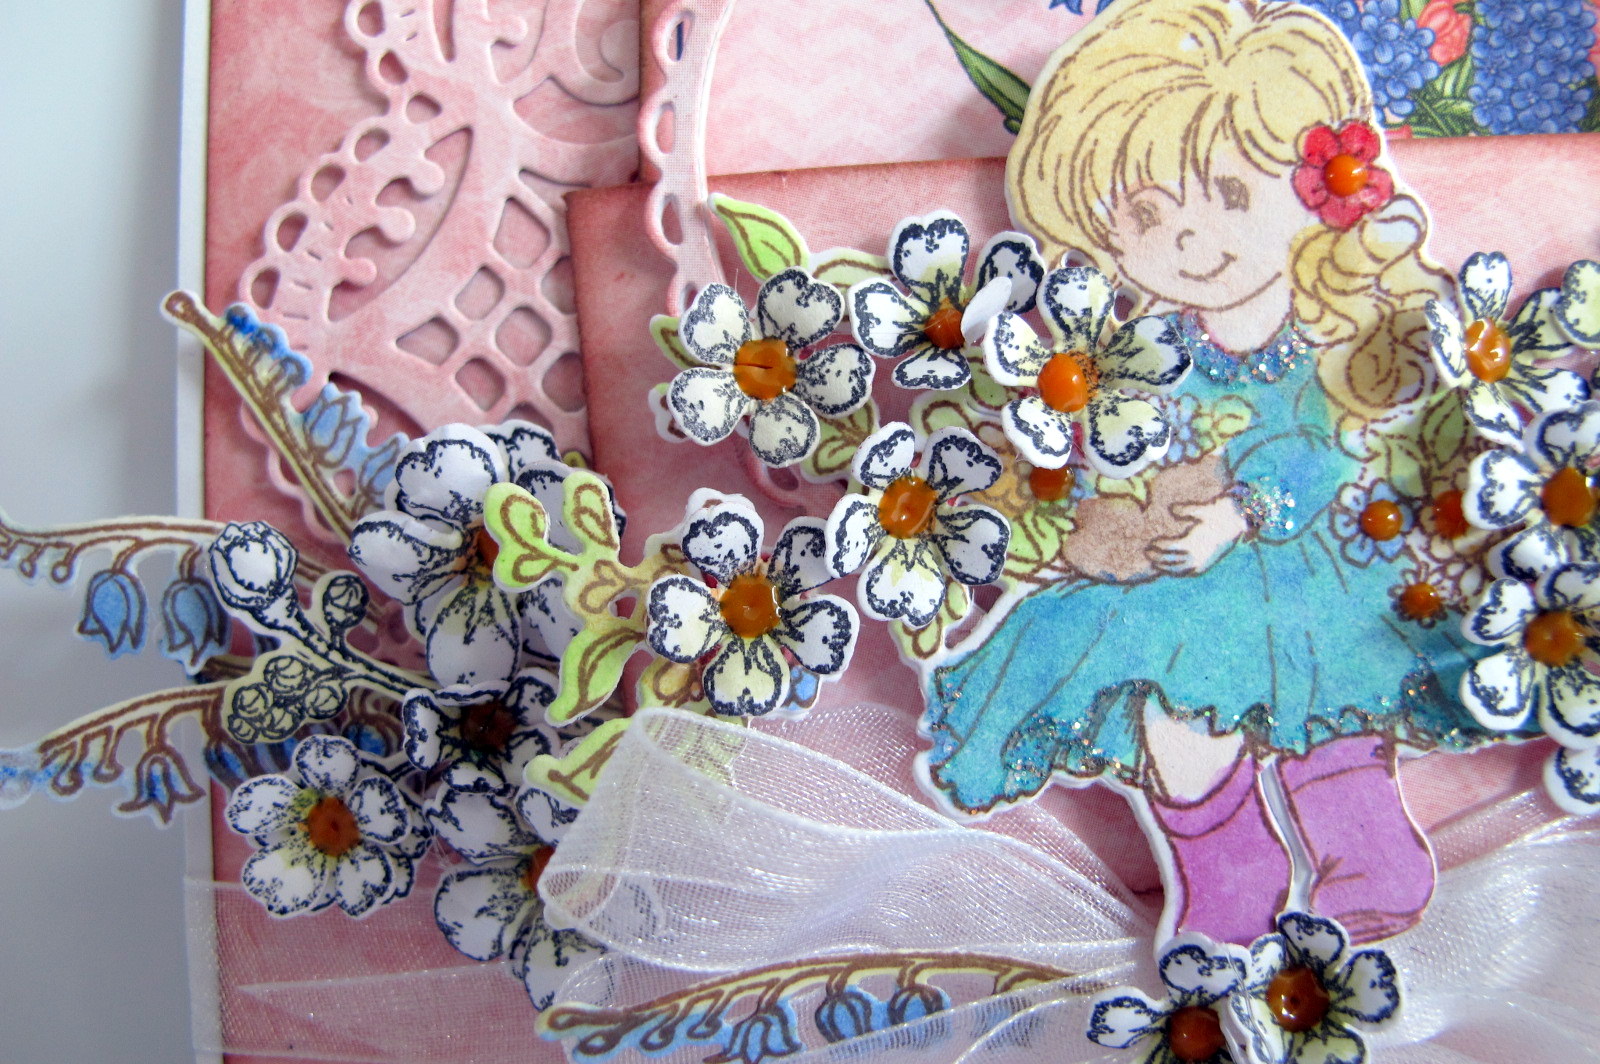
Adhere the heart circle to the
window box then adhere the girl sitting on the branch. Bring shape to the
flowers then adhere to the arrangement.
Add the flower clusters to each side of
the window box inline with the already adhered flowers. Adhere a few flowers
over the knot of the bow.
Taking the tag, adhere a flower cluster arrangement
to the top of the tag. Apply the Nuvo crystal drops to the flower centres.

Adhere the tag in place in the window box with double-sided tape. To finish the
card, apply stickles to the little girls dress skirt edge, collar, and cuffs.
You have probably noticed I have cut the wings away....you don't have to only use these little sweet heart girls as fairies
I love to be able to use product for more than one use.....you get to get more out of the investment.
****
Have a scrappy happy day, with inky love,
Sussipoppins
OXO
You have probably noticed I have cut the wings away....you don't have to only use these little sweet heart girls as fairies
I love to be able to use product for more than one use.....you get to get more out of the investment.
****
Have a scrappy happy day, with inky love,
Sussipoppins
OXO
Such a stunning card Hugs Sand xx
ReplyDeleteAbsolutely gorgeous!!
ReplyDeleteLove all the beautiful details on this Susan! Gorgeous!
ReplyDeleteWhat a beautiful card with all the different layers. It is gorgeous!
ReplyDeleteI love all your pretty layers and beautiful ribbon! This is a gorgeous project!
ReplyDeletebeautiful details on this Susan!
ReplyDelete