
...."Sweet Peony"

So, breathe deep, drink in the sweetness of the peony blossoms, and feel free to linger awhile as we take in the gentle beauty of the Sweet Peony Collection

Heartfelt Creations Products And Products Carried On Their
Website:
Other Products Used:
Maroon Archival Ink, Pink card-stock, Gold thread and
darning needle, Golden Rod Stickles, Hot Glue Gun, Water Mister, Bone folder, Water
coloring brush, Paper distressing tool, Hole pricking tool, Pricking mat, Scissors,
Ruler, Fussy Cutting Scissors, Double sided Tape, Double Sided 3d Foam Tape,
Cream color wired ribbon, Cardboard from a packing box, Misti stamping tool,
Crop-a-dial

Click HERE to see the video on using the Deluxe Flower
Shaping Tool Kit
Click HERE to see a video on the lush lilacs
Click HERE to see a video on the lush lilacs

Click HERE to see a video on making flowers with the
flower shaping molds
Click HERE to view a video on the Peony’s


Instructions:
The finished size of this Lay Out is 12” x 12” (30.5cm x
30.5cm)
The photo used for this LO is 2.36” x 3.34” (6cm x 8.5cm)
Taking the Sweet Peony paper collection and find the design
paper with the birdhouse and white picket fence print. You will need both
papers. Find the two papers with the printed stripes and the cardboard backing
from the paper pad.
Taking the papers with the birdhouse and fence, fussy cut
the birdhouse and the two birds leaving the edge of the paper intact. Taking
the 2nd paper cut a circle 9.40”
(23.9cm) Cut the circle in the lower left side corner. Thus having the
birdhouse and fence in the circle.
Taking the cardboard box cut enough for two layers to fit
the circle. This does not have to be an exact circle; it can be patches of
cardboard, as you will not see it. Adhere to the back of the circle. Adhere the
circle to the LO base. At this stage you will still see the cut away from the
base this will be covered later.
Taking the striped design paper, cut into strips. The wider
strip with the green print will be used. Put the other strips aside for another
project. You will need at least 8 strips for this LO. Make box pleat folds in the strips joining as
needed to make a long pleated paper. Distress the edges with the
paper-distressing tool. Lay the pleated paper flat on a prick mat then prick
the wholes to make a centerline. Taking the gold tread and darning needle and
backstitch in the wholes. This will make the base for a pleated frill. Adhere
to the LO base around the circle making sure the edge of the frill covers the
circle edge. Now the cut away is covered.
Spritz the frill with water, when the frill almost dry,
using your forefingers and thumb round the pleats so they become a rounded
frill. Put aside to dry.
Taking the stamps and dies for the Sweet Peony’s, stamp
using the Archival inks and white card-stock. Bring color to the stamped flower
petals and leaves with the 3d stamping inks. This will give a beautiful
metallic sheen to your flowers. Taking the crop-a-dile, make a small hole in
the center of each petal. Using the flower shaping molds bring shape to the
petals. The rose flower-shaping mold was used for the pink peonies and the
basic flower-shaping mold was used for the lilac pink flowers. The yellow stamens
are used for the pink and the purple rock candy is used for the lilac pink
flowers. Thread the stamens through the wholes as you stack the flower petal
layers. See the video to see how this is done. Use the clear drying glue to
apply the glitter to the flower petals and leaf veins.
Taking the lilac stamp and matching die, make the lilac
flowers. Using again the 3d stamping paint to bring color to the lilacs. Use
the lilac flower-shaping mold.
Taking the wired ribbon, make a double triple bow. Adhere
the bow to the lower left side on the paper frill.
Apply 3d dots or 3d foam tape to the fussy cut birds and
birdhouse. Adhere in place on the same printed image.
Taking the photo, back this with cardboard from the packing
box. Two layers. Once your flowers are made, arrange the photo and the flowers
as seen in the photo of the LO. Adhere in place. Arrange the peony flowers
around the bow and on the paper frill. Adhere the peonies in place then adhere
the leaves under the peonies. Arrange and adhere the lilac flowers around the
photo and frill. Add also as fillers to the flower clusters. To finish apply
the golden rod stickles to the lilac enters.

*******
Is this a fantastic romantic collection or not!
You are going to have so much fun with this....I know you will be ordering 2 or 3 of the paper pads as they are to die for! Be in quick as i know this collection is going to be a sell out!
Till next week with more yum,
Inky scrappy hugs....Sussipoppins love,
OXO
Extra! Extra! Extra!
....step by step picture tutorial on how I made my flowers.
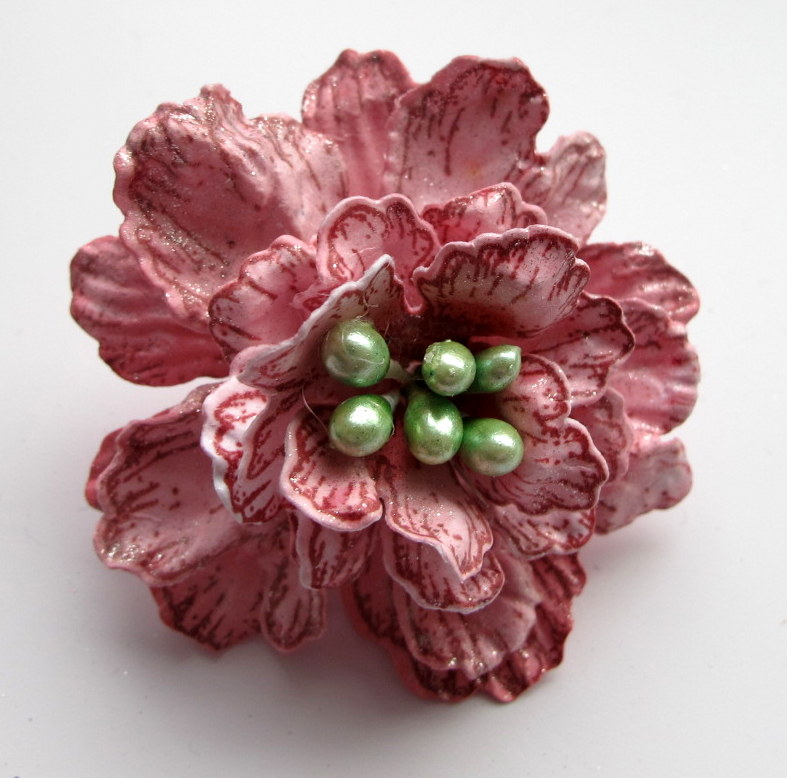
1. You will need 3 stamens, fold them in half as shown. Apply glue or the hot glue gun, Twist with the thumb and forefinger to have all stems glued together ready to thread into the flowers.

2. See below what you will be needing to make the flowers. Once colour is applied run them through the flower shaping moulds as seen in the video in the LO instructions. the hole is made with the smallest hole maker in the crop-a-idle. You also see how to shape the petals. The deluxe flower shaping tool is used to bring a little more shaping into the petal center.


4. Once all the petals have been threaded with the stamens, you see below how the stamens are scared with the hot glue gun. Once I have put the hot glue onto the stamens, fold them back and place onto a silicone mat to cool. Once cooled, trim the excess with a pair of scissors. Then you are ready to go.


7. What ever you do....have fun. OXO
7
Absolutely gorgeous!
ReplyDeleteThanks Olga...oxo
DeleteThis is just gorgeous Susan! It looks like you put your heart and soul into it...so much beauty!
ReplyDeleteThanks Jan...OXO
ReplyDelete