

HCPC-2121 Dazzling Dahlia paper collection
HCFB1-494 3D Dazzling Dahlia mold
HCPC-3928
Dazzling Dahlia cling
HCD1-7323
Dazzling Dahlia die
HCPC-3929
Dahlia and Leaves cling
HCD1-7324
Dahlia and Leaves die
HCD2-2191
Intricate Swirl Frames die
HCPC-3915 Welcome Baby cling
HCD1-7300 Welcome
Baby die
HCPC-3916
Baby’s Friends cling
HCD1- 7301 Baby’s Friends die
HCDA1-449 Stack and Store Daubers- pack of 6
RACP500
Ranger Archival Ink Pad- Sepia
RACP436
Ranger Archival Ink Pad- Leaf Green
PACP663
Ranger Archival Ink Pad- Tea Rose
RACP475
Ranger Archival Ink Pad-Library Green
159723
Designer Dries Clear Adhesive
ANC818 Go Man Go Prills
OTHER PRODUCTS USED:
Cardboard (empty cereal box), Hot glue gun, Green organza ribbon, Foam Inking tools, Double sided 3D foam tape, Double sided tape, Ranger Archival Ink Pad- Saffron, Sanding paper,Glitter.

INSTRUCTIONS:
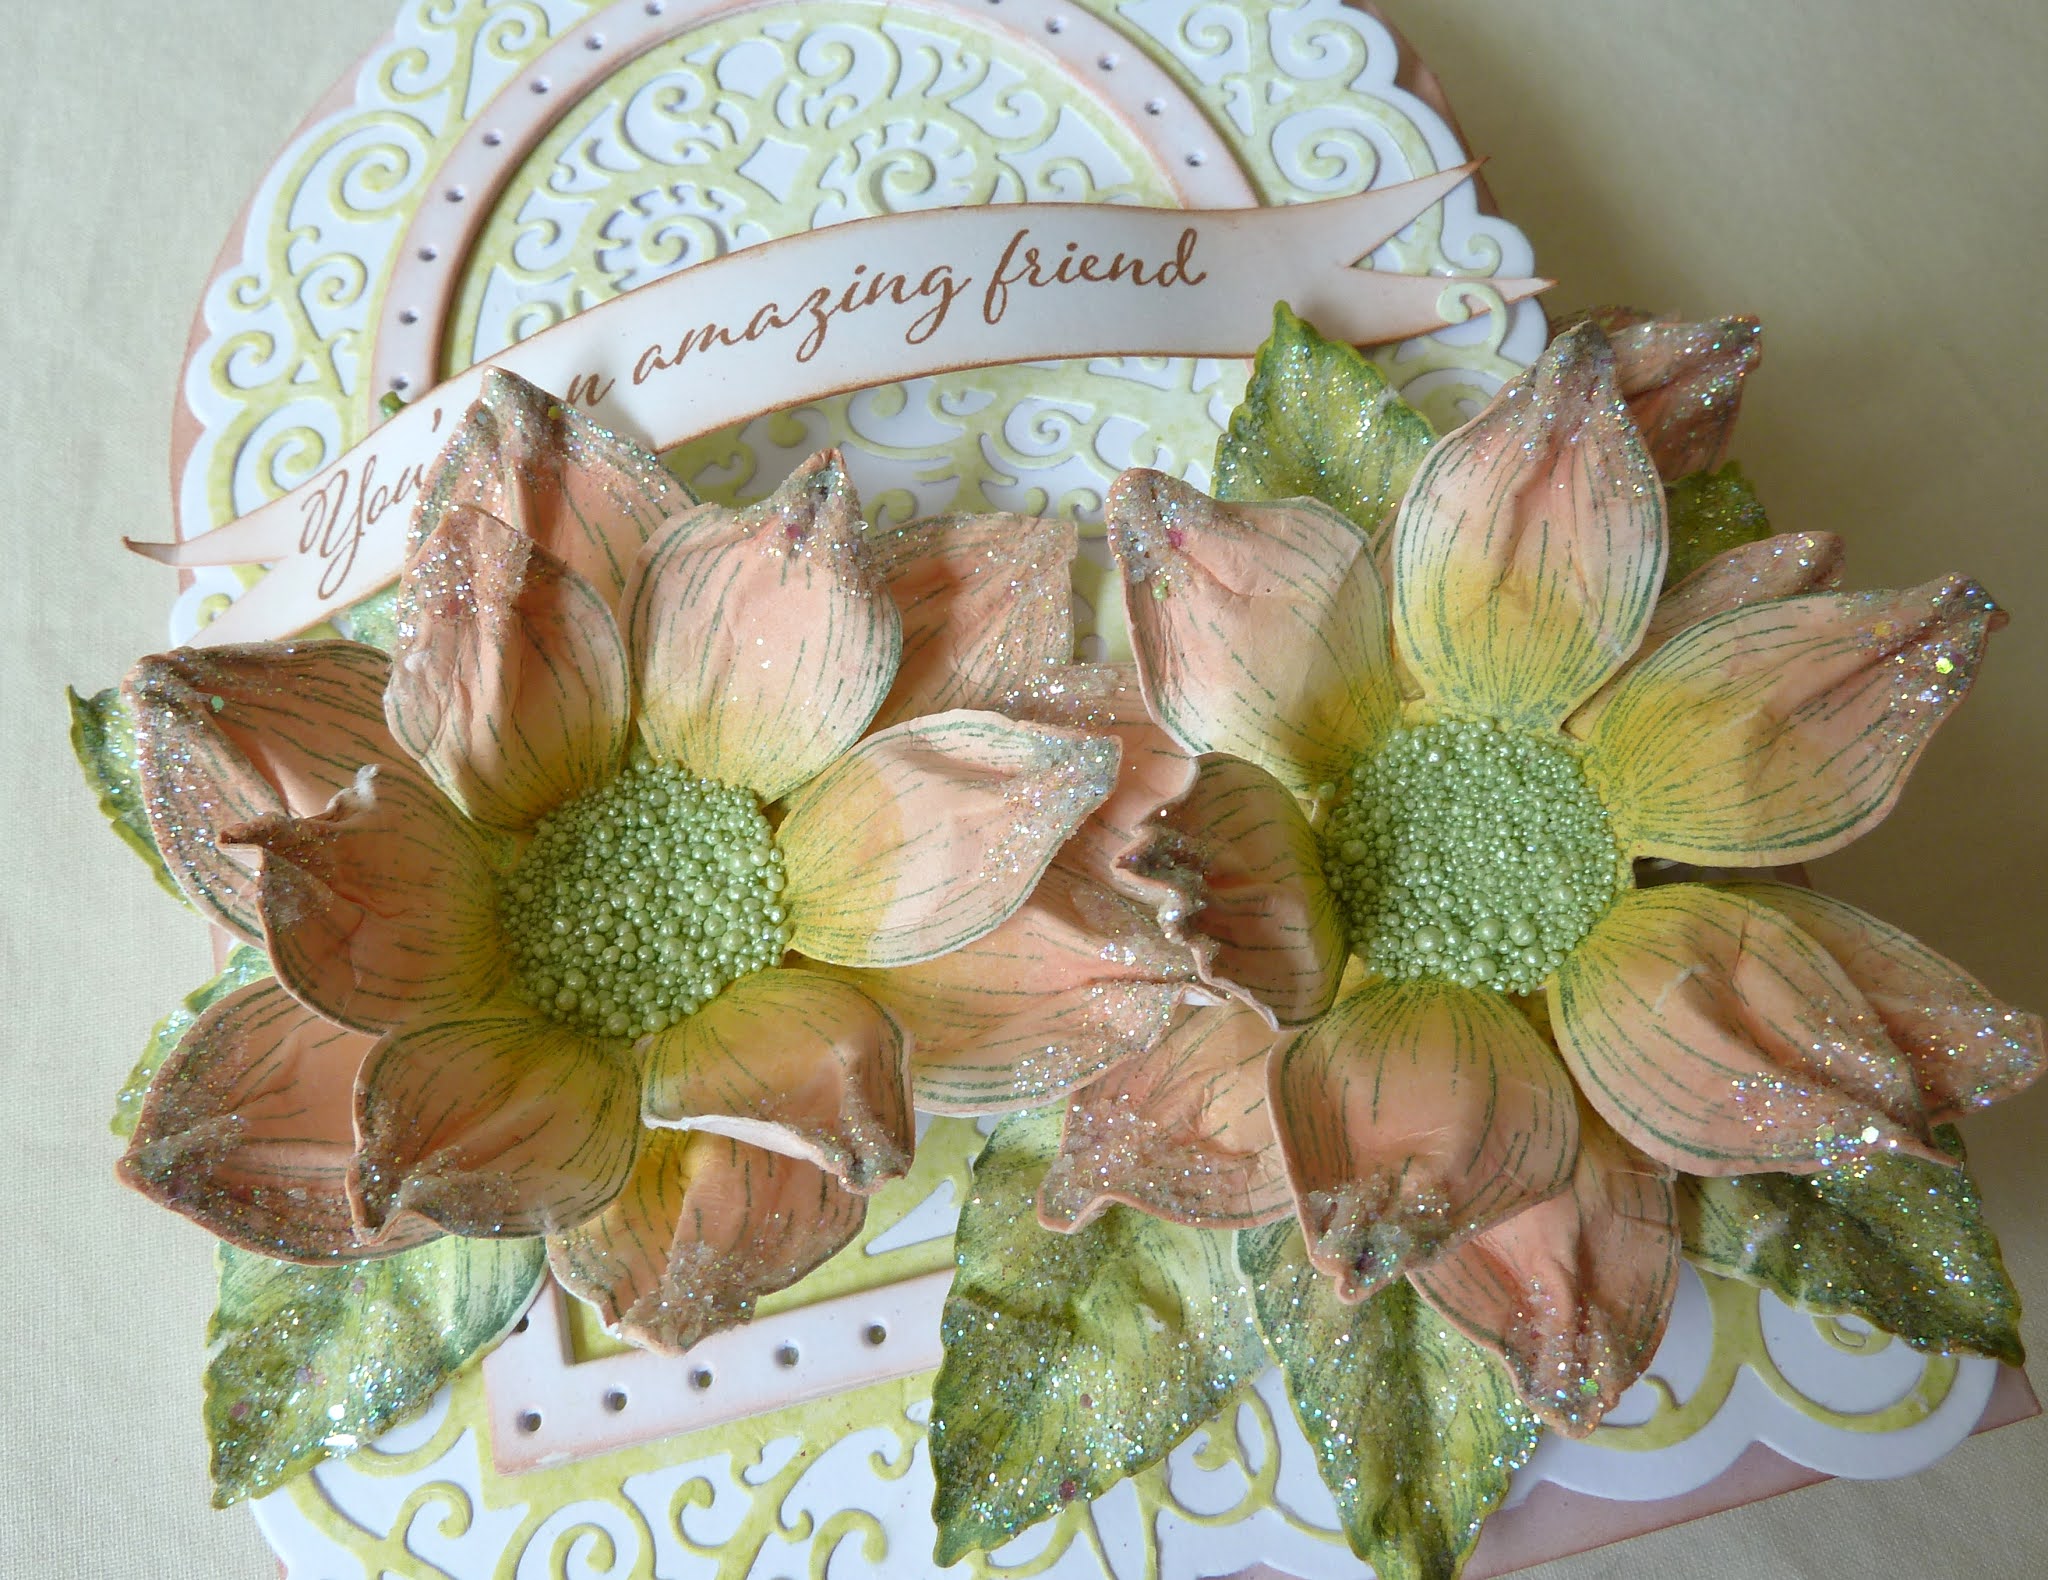
Using the sheet 2b from the paper collection, trim away the white strip ready for use. Find the sheet 9b and the die frame from the Intricate Swirl Frames die set. Cut the frame out and if needed trim the frame and join it to fit the photo. Using the cardboard make a backing for the photo and sand the edges of the photo. Adhere in place both the frame and the photo to the LO base.To make the embellishments for this LO: Stamp the baby’s friends with the sepia ink and the flowers and leaves with the library green ink. Bring color to the elements using the Saffron, Tea Rose, Green Leaf inks and the inking tools or the daubers. Bring shape to the Dahlia’s and leaves by using the matching mold and the shaping tools. Pinch the petal ends or pleat them so they look more like a Dahlia petal. Apply clear drying glue to the ends of the petals and the leaves then dip then into the glitter and put aside to dry. The larger flower has three petal layers, two large and a smaller layer. The smaller Dahlia’s also have three layers but only from the small sized petals. The centers of the Dahlia is made using the prills and clear drying adhesive. The title is made using the stamp from the Welcome Baby sets. Stamp onto the white card stock using the sepia ink, color with the Leaf Green ink then die cut the words. Die cut four extra from the cardboard then adhere all the layers together. Ink the edges with the Tea Rose ink. Using a green organza ribbon, make a triple bow.
Putting it all together: Arrange a cluster of Dahlia’s and leaves then adhere in place- Under the photo at the printed line in the paper so the printed flowers show from under the cluster. Add the bow then arrange and adhere the Baby’s Friends in their place. Do the same for the flower cluster above the photo. Last adhere the title to its place.


Till next time, with more eye candy...and that will be BLACK FRIDAY.
So that means lots of fun goodies...here is something of a appetizer of what is to come..


No comments:
Post a Comment